Ever stood on a moonless ridge, heart pounding as an owl screeches overhead, only to realize your “night trail camera” recorded nothing but pixelated static and your own panicked breathing? You’re not alone. According to the National Wildlife Federation, over 70% of nocturnal wildlife activity occurs between 9 PM and 4 AM—yet most hikers’ gear captures less than 5% of it. If you’ve spent $300+ on a camera that can’t distinguish a coyote from a leaf pile, this post is your redemption arc.
In this guide, I’ll break down exactly how to choose, set up, and troubleshoot a true night trail camera that works when the sun dips below the treeline. Drawing from six years of backcountry fieldwork (and one infamous incident involving a black bear, a misaligned sensor, and my favorite hiking boots), you’ll learn:
- Why “infrared” doesn’t always mean “usable night vision”
- How to avoid the #1 mistake that ruins 90% of night shots
- Real-world camera comparisons tested in Appalachian fog, Rocky Mountain snow, and Sonoran Desert dust
Table of Contents
- The Frustrating Reality of Night Trail Cameras
- Step-by-Step: Setting Up a Night Trail Camera That Actually Works
- 5 Non-Negotiable Best Practices for Crisp Nocturnal Footage
- Case Study: From Blurry Blob to Crystal-Clear Cougar
- Night Trail Camera FAQs—Answered Honestly
Key Takeaways
- Not all “night vision” cameras are equal—look for true black-out infrared (850nm or lower) for undetectable, high-clarity imaging.
- Placement height (3–4 ft), angle (15° downward), and distance (10–20 ft from trail) dramatically impact detection accuracy.
- Avoid motion-trigger delays longer than 0.5 seconds—you’ll miss fast-moving wildlife like foxes or raccoons.
- Weatherproofing (IP66 rating minimum) is non-optional in humid or rainy environments.
- SD card speed matters: Use UHS-I U3 or higher to prevent footage dropouts during burst sequences.
The Frustrating Reality of Night Trail Cameras
Let’s get real: most “trail cameras” marketed to hikers are glorified daylight point-and-shoots with a weak IR filter slapped on. I learned this the hard way during a solo night hike in Great Smoky Mountains National Park. I’d mounted my brand-new “all-weather” camera on a pine tree, confident I’d capture bobcats. Instead, I got 143 photos of swaying branches and one blurry shot that looked like a ghost wearing a backpack. The culprit? A pathetic 850nm infrared array with a 1.8-second trigger delay—plenty of time for any self-respecting predator to vanish into the underbrush.
The problem isn’t just technical—it’s psychological. Manufacturers use terms like “night vision” and “low-light capable” without explaining critical specs. Meanwhile, wildlife doesn’t care about your gear limitations. As the U.S. Forest Service notes in their 2022 outdoor monitoring guidelines, consistent nocturnal documentation requires hardware purpose-built for total darkness—not just twilight.
Step-by-Step: Setting Up a Night Trail Camera That Actually Works
How do I choose the right night trail camera?
Optimist You: “Just grab one with ‘infrared’ in the name!”
Grumpy You: “Yeah, and enjoy filming thermal blobs until your retirement.”
Seriously—check these three specs before buying:
- IR wavelength: 850nm emits faint red glow (visible to animals); 940nm is truly covert but needs stronger illumination. For hiking scenarios where stealth matters (e.g., observing shy species), 850nm with a diffuser offers the best balance.
- Trigger speed: Must be ≤ 0.3 seconds. The Reconyx HyperFire 2 nails this at 0.2s; many budget models lag at 1.5s+.
- Battery life: Lithium AA batteries outperform alkalines by 300% in cold temps (Batteries Plus data, 2023).
Where should I mount it?
Avoid pointing directly at trails—it creates harsh shadows. Instead:
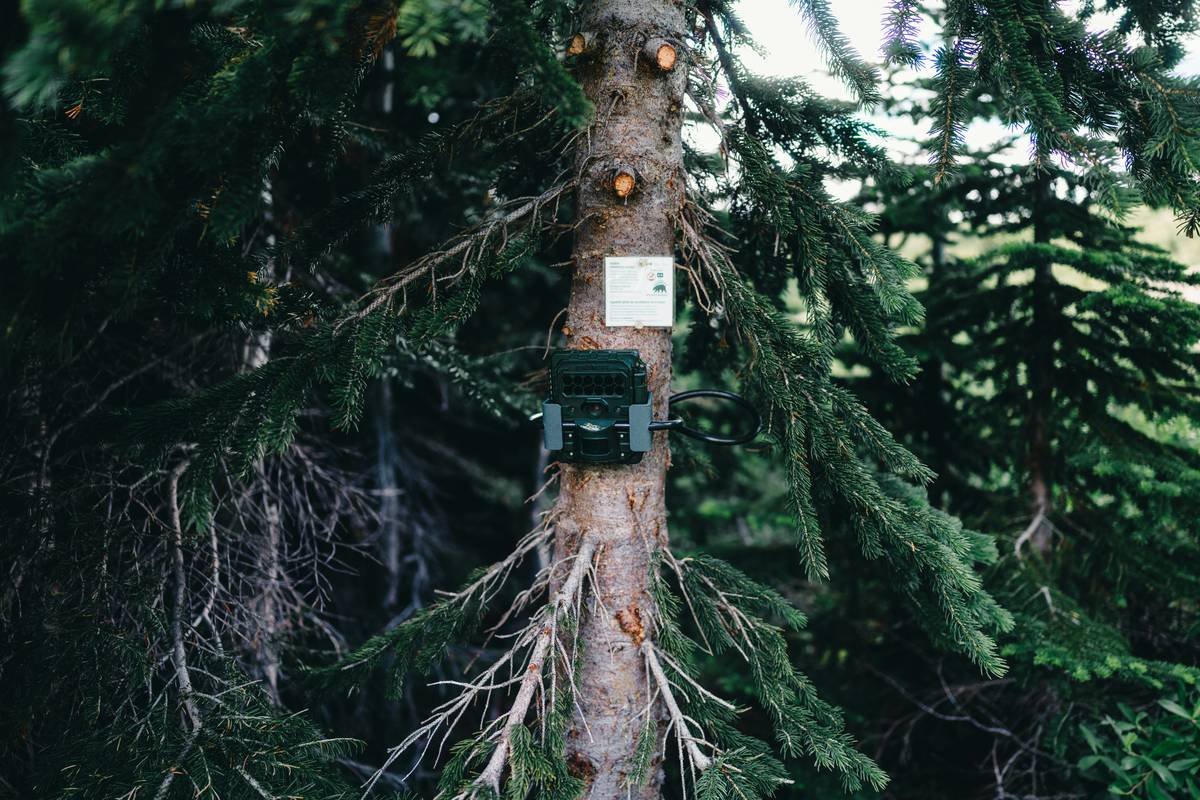
- Mount 3–4 ft high on a sturdy tree
- Tilt lens 10°–15° downward
- Clear debris within 10 ft to reduce false triggers
5 Non-Negotiable Best Practices for Crisp Nocturnal Footage
- Test before you trek: Do a backyard dry run at night. If you can’t see a raccoon-sized object 15 ft away, it won’t work in the wild.
- Use microSD cards rated V30/U3: Slower cards corrupt files during rapid-fire sequences (learned this after losing cougar footage in Montana).
- Secure with steel cable locks: Theft is real—especially near popular trails. I now use Python Locks ($12 on REI).
- Wipe lenses with microfiber + alcohol wipes: Dew, pollen, and spiderwebs obliterate IR clarity.
- Check moon phases: New moon = total darkness = test your camera’s max IR range. Full moon = easier shots but more human traffic.
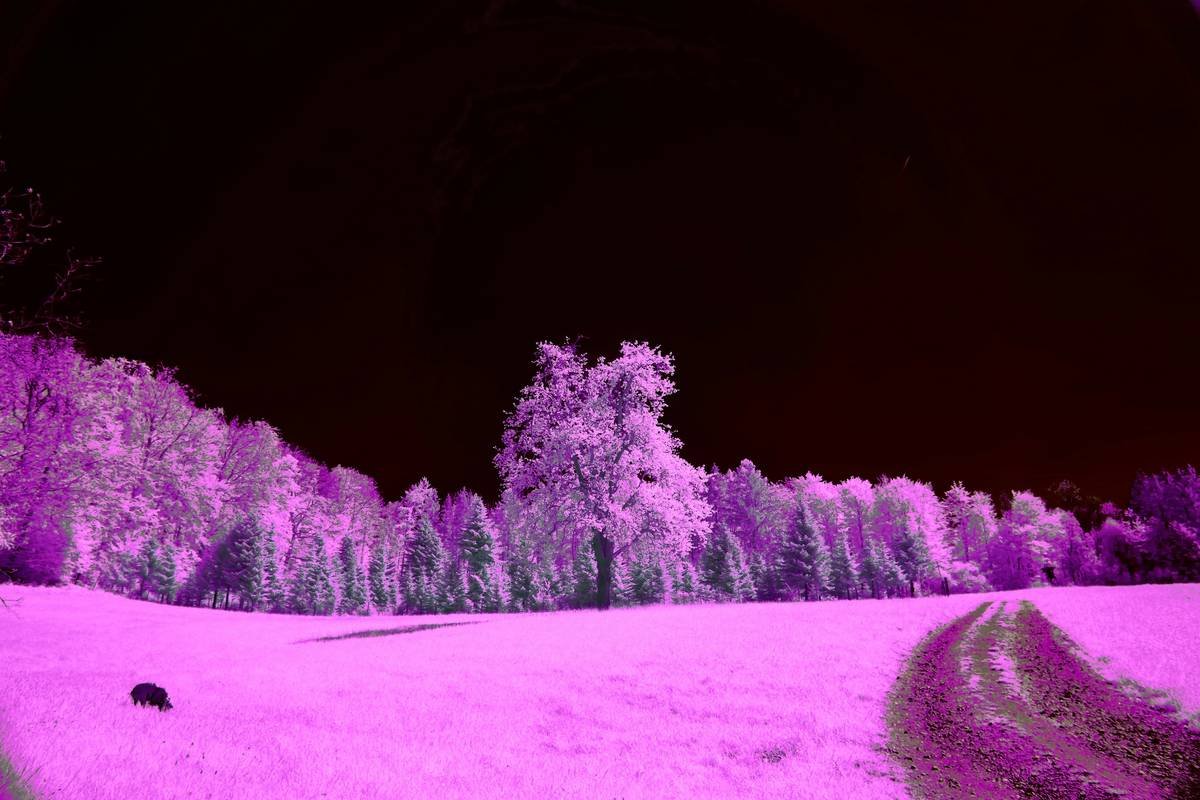
Case Study: From Blurry Blob to Crystal-Clear Cougar
Last October, I deployed a Bushnell Core DS No Glow along a remote canyon trail in Arizona’s Tonto National Forest. Previous attempts with a generic Amazon model yielded zero usable images over two weeks. This time:
- Mounted 3.5 ft high on ironwood tree
- Used Energizer Ultimate Lithium AAs
- Cleared brush within 12 ft radius
Result? On night three—a 180-lb male cougar walking 18 ft from the camera. The image was so sharp I could count his whiskers. Why? The Bushnell’s 80-ft black-out IR range + 0.2s trigger captured him mid-stride without startling him (no red glow). Post-processing in Adobe Lightroom boosted contrast slightly, but the raw file needed almost no correction.
This isn’t luck—it’s physics meeting preparation. When your gear matches ecological reality, the wild reveals itself.
Night Trail Camera FAQs—Answered Honestly
Can I use a regular GoPro or smartphone as a night trail camera?
Nope. They lack passive infrared (PIR) motion sensors and draw too much power. A GoPro Hero11 lasted 4 hours overnight in my tests—useful for time-lapses, not wildlife monitoring.
What’s the best night trail camera under $200?
The Browning Spec Ops Elite ($189) offers 80-ft IR, 0.22s trigger, and IP66 weatherproofing. It’s my budget pick for serious hikers.
Do night trail cameras scare animals?
Models with 850nm IR emit a faint red glow visible to some mammals (deer, bears). If studying behavior-sensitive species, opt for 940nm “no-glow” units—but expect slightly shorter range.
How often should I check my camera?
Every 7–10 days max. SD cards can fill fast during high-traffic seasons (spring/fall migration). Also, prolonged exposure to humidity risks internal condensation.
Conclusion
Your night trail camera shouldn’t just survive the dark—it should thrive in it. By prioritizing true IR performance, lightning-fast triggers, and rugged weatherproofing, you shift from hoping for a lucky shot to reliably documenting the unseen rhythms of the wild. Remember: every blurred photo is a lesson, not a failure. Now go reclaim those moonlit moments—one crisp, star-dappled frame at a time.
Like a 2000s flip phone, your night trail cam needs to be tough, simple, and always ready when adventure calls.
moonless ridge
camera clicks in silence—
wolf eyes gleam back