You trek 8 miles uphill, sweat through rain, dodge ticks—and your photos still look like muddy snapshots. Frustrating? Absolutely. The issue isn’t your legs or your trail mix. It’s your gear. Most hikers slap on a cheap point-and-shoot or rely on smartphone zoom that crops detail into oblivion. But there’s a fix: a purpose-built nature zoom lens kit designed for distance, durability, and dynamic light.
Why Standard Gear Fails in the Wild
Smartphones and entry-level DSLRs miss the magic. Their “zoom” is often digital—not optical—so you’re just blowing up pixels. You lose texture in fur, feathers, bark. Worse, they’re fragile. One drop on granite = $600 lesson.
And don’t get me started on weight. Carrying a full-frame rig with three primes? On a 12-mile loop? Good luck enjoying the view.
Building Your Ideal nature zoom lens kit
Forget one-size-fits-all. Your ideal setup balances reach, weight, and weather resistance. Here’s how to build it without blowing your budget—or your back.
Prioritize Optical Zoom Over Megapixels
A 20MP phone can’t compete with a 12MP camera sporting a true 100-400mm lens. Optical range captures distant subjects cleanly—no interpolation, no softness. Look for at least 6x optical zoom if you’re shooting wildlife.
Ditch Full Frame for APS-C or Micro Four Thirds
Full frame excels in studios. In the field? Overkill. Crop-sensor bodies are lighter, cheaper, and give you extra effective reach. A 100mm lens on Micro Four Thirds acts like 200mm on full frame. That’s free magnification.
Seal It Against Rain and Dust
If your camera isn’t rated for moisture or dust ingress, leave it home. Trails aren’t photo studios. Look for IPX1 or higher sealing—especially around buttons and ports.
| Kit Type | Weight (Body + Lens) | Effective Zoom Range | Avg. Price | Best For |
|---|---|---|---|---|
| Smartphone + Clip-on Tele | <1 lb | 2x–3x (digital) | $0–$100 | Casual snaps, social media |
| Entry Mirrorless + 55-200mm | 1.8–2.2 lbs | 85–300mm (equiv.) | $600–$900 | Serious hobbyists, weekend treks |
| Pro Compact (e.g., Sony RX10 IV) | 2.4 lbs | 24–600mm (equiv.) | $1,700 | Wildlife specialists, solo expeditions |
The Industry Secret: Shoot Wide First, Zoom Later
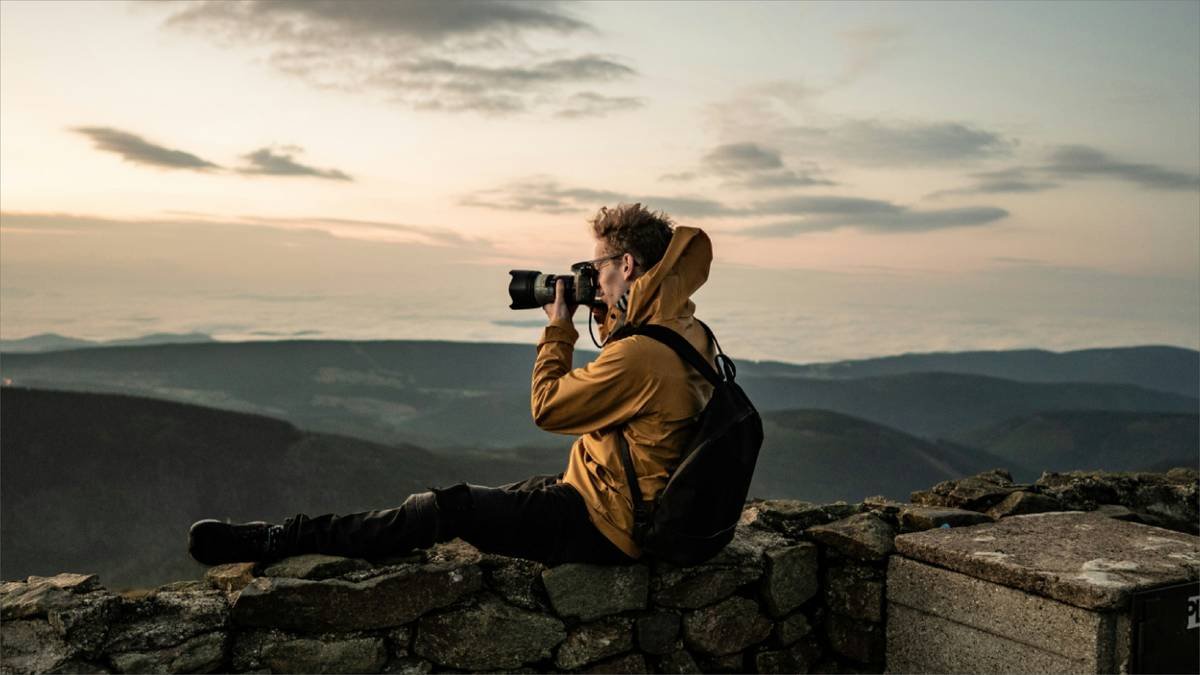
Here’s what no gear review tells you: your best zoom shots start with a wide-angle mindset. Before you crank to 400mm, step back. Capture context—the ridge line, the storm rolling in, the scale of solitude. Then zoom in for detail. This two-shot method builds narrative depth. And it forces you to move, not just magnify. Pros do this instinctively. Amateurs stay glued to max zoom and miss the story.
Also—turn off image stabilization when using a tripod or resting against a tree. Counterintuitive? Yes. But IS systems can “hunt” for motion that isn’t there, causing micro-blur. Manual discipline beats automation here.
Frequently Asked Questions
Can I use a nature zoom lens kit in heavy rain?
Only if it’s weather-sealed. Check manufacturer specs for moisture resistance. Even then, avoid downpours—sealing isn’t submarine-grade.
Is 400mm enough for bird photography?
Barely. For songbirds or raptors at distance, 500–600mm equivalent is ideal. But 400mm works if you’re patient and stealthy.
Should I carry a spare battery?
Always. Cold drains power fast. A spare adds ounces but saves heartbreak when your shot of a lifetime appears at 4 p.m.—and your battery dies.