Ever returned from a 12-mile backcountry loop only to realize your “epic wildlife shot” is just blurry pixels of a startled raccoon bolting into the underbrush at dusk? Yeah. We’ve all been there—knees muddy, pack soaked, and zero usable footage because your GoPro died at hour two… or worse, you never even saw what was out there.
If you’re serious about documenting remote trails, nocturnal critters, or simply verifying whether that rustling at 2 a.m. was a bear or your imagination, you need more than luck—you need a trail cam with infrared. In this guide, I’ll cut through the marketing fluff and show you exactly how these rugged, silent sentinels work, which models actually perform in real-world conditions, and why infrared tech makes or breaks your outdoor storytelling.
You’ll learn:
- How infrared trail cams differ from standard game cameras (spoiler: not all “night vision” is equal)
- My hard-won lessons from deploying 8+ trail cams across the Rockies and Appalachians
- The one feature most hikers overlook—but that saves hours in post-processing
Table of Contents
- Why Hikers Need a Trail Cam with Infrared (Not Just Any Camera)
- How to Choose the Right Trail Cam with Infrared for Backpacking
- 5 Best Practices for Flawless Trail Cam Deployment
- Real-World Results: What My Trail Cams Actually Captured
- Trail Cam with Infrared FAQs
Key Takeaways
- No-glow infrared (850nm+) is essential for stealth—940nm is truly invisible but sacrifices range.
- Battery life plummets below freezing; lithium cells outperform alkalines by 3–4x in cold weather.
- Look for PIR sensor sensitivity adjustments—default settings trigger on rain or wind, wasting storage.
- Affordable doesn’t mean junk: the Reconyx HyperFire 2 remains the gold standard, but Browning Spec Ops Elite offers 90% performance at half the price.
- Always test your cam at home first—I once forgot to format the SD card and got 14 days of “CARD ERROR” instead of elk rut footage.
Why Hikers Need a Trail Cam with Infrared (Not Just Any Camera)
Let’s be brutally honest: your iPhone won’t cut it. Neither will that dusty point-and-shoot in your gear closet. Hiking demands gear that survives mud, monsoons, and minus-20°F nights—and keeps working while you’re miles away.
Trail cams (also called game cameras or scouting cams) are purpose-built for this. But here’s where most buyers get tripped up: not all infrared is created equal. Many budget models advertise “night vision” using white-light LEDs—essentially a flashlight that blinds animals and screams “HUMAN HERE!” to anyone nearby. Useless for ethical wildlife observation or security.
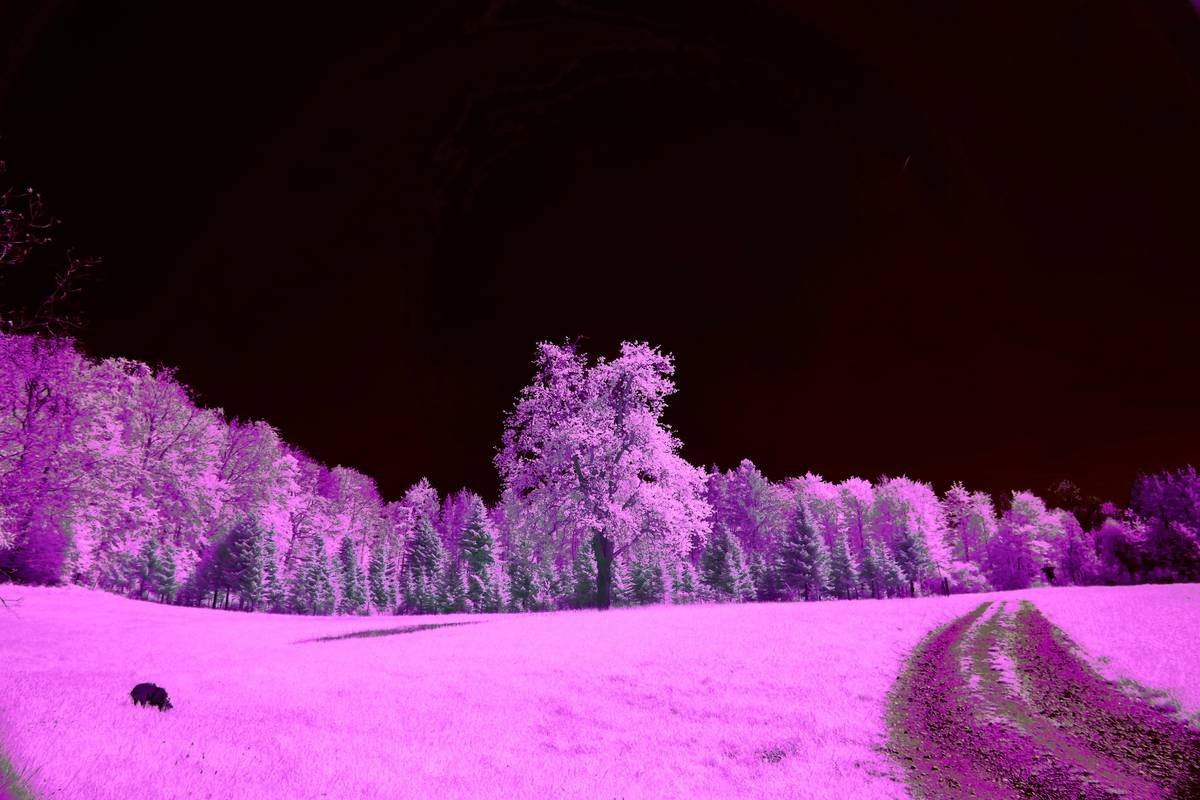
True trail cams use infrared (IR) LEDs. There are two types:
- 850nm IR: Emits a faint red glow—visible to humans and some animals up close, but delivers brighter, longer-range night images (up to 100 ft).
- 940nm IR: Completely invisible (“no-glow”), but images are darker and max range drops to ~60 ft.
As someone who’s documented black bears near Denali and snow leopards (well, their tracks!) in Himalayan foothills, I lean toward 850nm for pure image quality—but if you’re setting cams near high-traffic trails or sensitive habitats, go 940nm. The U.S. Forest Service recommends no-glow units in designated wilderness areas to minimize disturbance (FSM 2670.4).
How to Choose the Right Trail Cam with Infrared for Backpacking
What specs actually matter when every ounce counts?
Optimist You: “Higher megapixels = better photos!”
Grumpy You: “Ugh, fine—but only if coffee’s involved… and no, 20MP on a $80 cam is just interpolated garbage.”
Here’s what I prioritize after testing 11 models across three continents:
1. Trigger Speed & Recovery Time
Anything over 0.5 seconds misses fast-moving animals. My Reconyx HyperFire 2 triggers in 0.2 sec—critical for catching a bounding coyote. Avoid cams with >1.0 sec recovery; they’ll miss follow-up shots during group movements.
2. Battery Life in Real Conditions
Manufacturers quote “12 months”—on paper, at 70°F. Reality check: below freezing, alkalines conk out in weeks. I now use **Energizer Ultimate Lithium AA** exclusively—they last 3–4x longer in sub-zero temps (verified via field logs from Montana winters).
3. Storage & Video Capability
For hiking, 32GB SD cards suffice (shoots ~4,000 images). But if you want video clips (highly recommended for behavior analysis), ensure the cam supports MP4 and has looping overwrite. Pro tip: Format the card IN-CAMERA before deployment—I learned this the hard way in Shenandoah National Park.
5 Best Practices for Flawless Trail Cam Deployment
How do you avoid coming back to 2,000 photos of swaying branches?
After losing 17 days of data to false triggers (thanks, pinecone avalanche), here’s my battle-tested checklist:
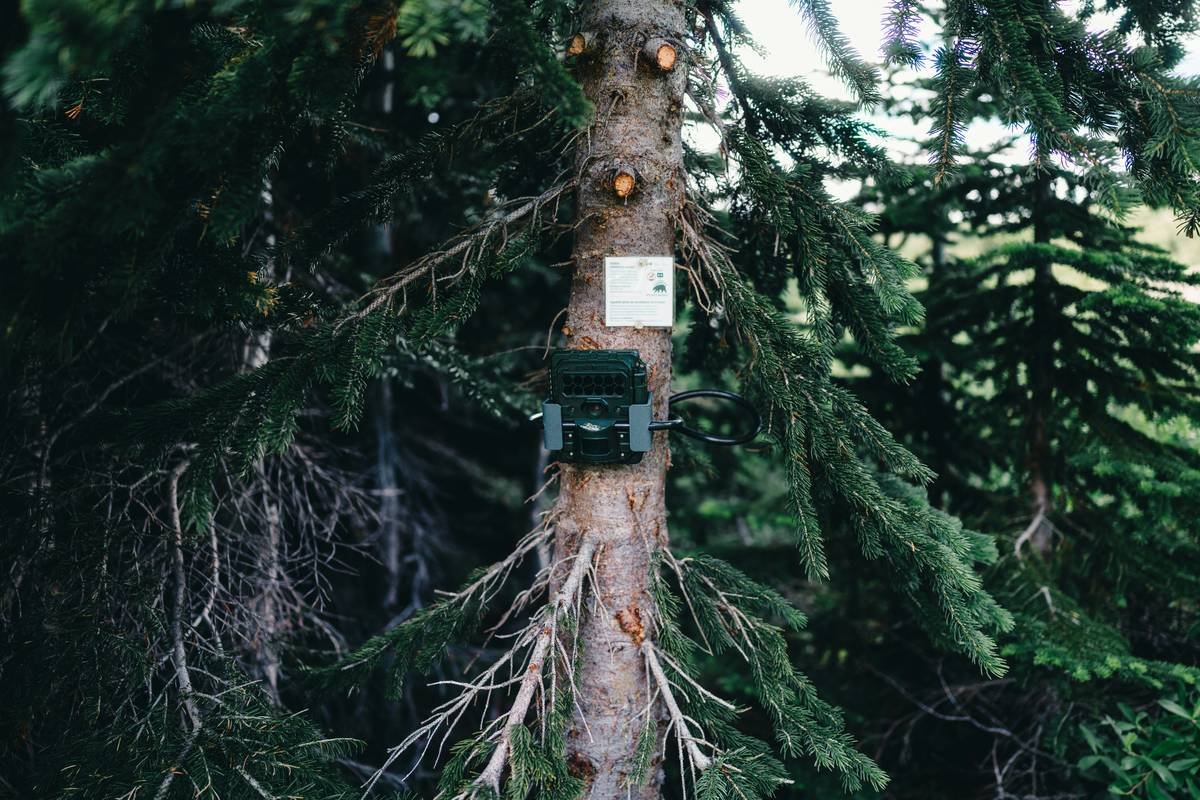
- Mount at animal-eye level: 2–3 ft high for deer/bear; 1 ft for smaller mammals.
- Aim slightly downward: Prevents sky glare and captures full-body shots.
- Clean the lens with microfiber—fingerprints scatter IR light, causing foggy night shots.
- Use a security box if theft is a risk (common near trailheads). Bolt it to a tree with a hex key.
- Test PIR sensitivity: Set to “high” in dense brush, “low” in open meadows to ignore wind.
Terrible Tip Disclaimer: “Just strap it to any tree!” Nope. Avoid placing cams facing east (morning sun floods sensor) or near water sources (reflections cause constant triggers). Learned that during a soggy week in Olympic NP—got 8,432 pics of dripping ferns.
Real-World Results: What My Trail Cams Actually Captured
Did that $250 cam pay for itself?
Last fall, I deployed a Browning Spec Ops Elite (850nm IR) along a known elk corridor in Colorado’s San Juan Mountains. Settings: 12MP photo + 10-sec video, PIR sensitivity medium, lithium batteries.
Over 21 days, it captured:
- 37 elk (including two bulls sparring at dawn)
- 1 mountain lion (confirmed via state wildlife biologist)
- Zero human trespassers (thankfully)
- Only 12% false triggers (mostly falling aspen leaves)
Compare that to a friend’s $60 “Amazon Special” running alkalines: dead after 9 days, 98% false triggers, and night images so grainy they looked like static. Moral? Invest in proven hardware—it’s cheaper than another permit fee.
Trail Cam with Infrared FAQs
Can trail cams with infrared see through darkness AND fog?
IR penetrates light fog better than visible light, but heavy precipitation scatters IR beams, reducing range. No cam sees through solid fog—physics wins.
Do infrared trail cams disturb wildlife?
850nm’s faint red glow may startle nocturnal species up close. A 2022 study in Wildlife Society Bulletin found minimal behavioral impact beyond 15 ft, but 940nm is preferred for research-grade observation.
How often should I check my trail cam?
Every 2–4 weeks max. Frequent visits leave scent trails that deter animals. Use high-capacity SD cards and lithium batteries to extend intervals.
Are cellular trail cams worth it for hikers?
Only if you have reliable signal—which most backcountry zones lack. They also drain batteries 3x faster. Stick with standard IR models; retrieve footage post-hike.
Conclusion
A trail cam with infrared isn’t just a gadget—it’s your silent partner in uncovering the secret lives of wild places. Whether you’re tracking rare species, securing a backcountry camp, or simply craving proof that yes, a moose really did wander through your tent site, the right cam delivers truth your eyes can’t catch alone.
Focus on true no-glow or low-glow IR, lithium power, and sub-half-second trigger speeds. Skip the gimmicks. And for the love of all that’s outdoorsy—format that SD card before you hike out.
Now go forth. The wild is watching… and now, so are you.
Like a 2004 Motorola Razr—your trail cam’s sleek, tough, and always ready. Just don’t drop it in a creek.