Ever returned from a 12-mile alpine trek, heart full of awe, only to find your “epic” shots look like blurry potato prints? You framed that golden eagle perfectly—except your zoomed-in photo looks like it was taken during an earthquake. Sound familiar?
You’re not alone. I’ve lost count of how many times I’ve watched a marmot freeze mid-sunbath… only to capture pixelated mush because my telephoto lens couldn’t handle wind + shaky hands + altitude-induced tremors.
In this post, we’ll cut through the gear hype and explain exactly why a stabilized telephoto lens nature photographers actually need is non-negotiable—and which models deliver without weighing down your pack. You’ll learn:
- How optical stabilization combats high-altitude hand shake
- Which focal lengths work best for wildlife vs. distant peaks
- Real trail-tested lens picks that won’t break your back—or your bank
- The one “pro tip” that’ll ruin your shots (yes, really)
Table of Contents
- Why Image Stabilization Is Your Secret Weapon on the Trail
- How to Choose the Right Stabilized Telephoto Lens for Nature
- 5 Field-Tested Best Practices for Crisp Telephoto Shots
- Case Study: From Blurry Disaster to Magazine Cover
- FAQs About Stabilized Telephoto Lenses in Nature
Key Takeaways
- Optical Image Stabilization (OIS) can gain you 3–5 shutter speed stops—critical when shooting at 400mm+ in low mountain light.
- Focal lengths between 100–600mm are ideal; avoid ultra-heavy primes over 2kg for multi-day hikes.
- Lenses like the Canon RF 100-500mm f/4.5-7.1L IS USM or Sony 70-200mm f/2.8 GM OSS II offer pro-grade stabilization with hiking-friendly weight.
- Never disable stabilization when using a tripod *unless* your lens has a tripod detection mode—modern IS systems compensate for subtle vibrations even on legs.
Why Image Stabilization Is Your Secret Weapon on the Trail
Let’s get brutally honest: nature doesn’t care about your golden hour schedule. That grizzly might amble into view at 4 p.m. under flat overcast skies. You crank your ISO to 1600, set a 1/500s shutter speed… but your 500mm lens turns every heartbeat into motion blur. Without stabilization, you’re fighting physics.
According to Nikon’s white papers, modern Optical Image Stabilization (OIS) systems can compensate for up to 5.5 stops of camera shake. That means a shot that would require 1/1000s handheld could be sharp at 1/30s—with proper technique. In hiking scenarios, where every ounce matters and tripods are often left behind, this isn’t just convenient—it’s game-changing.
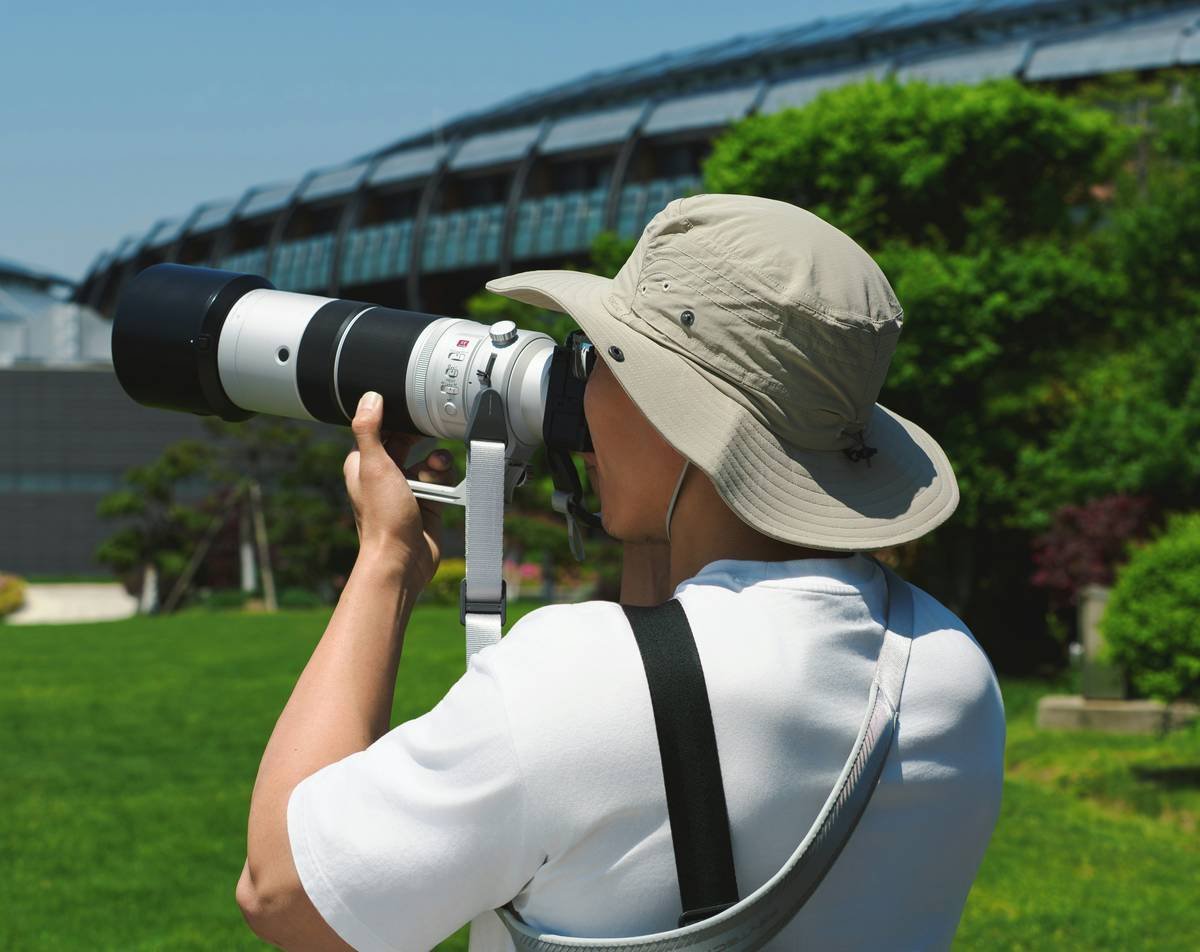
Confessional fail: On my first solo backpacking trip in Glacier National Park, I lugged a 1.8kg Nikon 200-500mm without checking if it had VR (Vibration Reduction). Spotted a bighorn sheep at dawn—perfect backlight, mist rising—but my “keeper” shot looked like I’d snapped it while jumping on a trampoline. Lesson learned: stabilization isn’t optional; it’s essential survival gear for serious nature photography.
How to Choose the Right Stabilized Telephoto Lens for Nature
What focal length do I actually need for hiking?
For most hikers, 100–400mm covers 90% of scenarios: distant ridgelines, birds in flight, wildlife at safe distances. If you specialize in small mammals or perching raptors, consider 150–600mm zooms—but weigh the trade-offs. Tamron’s 150-500mm f/5-6.7 Di III VC weighs just 1.17kg, while Canon’s 100-500mm is 1.37kg with superior weather sealing.
Stabilization type: Optical (OIS) vs. In-Body (IBIS)—which wins?
Optimist You: “Just rely on your camera’s IBIS!”
Grumpy You: “Ugh, fine—but only if coffee’s involved *and* you’re not using a lens longer than 300mm.”
Truth: OIS + IBIS together (called “coordinated stabilization”) delivers the best results for telephoto work. Fujifilm X-H2S users report 7-stop compensation when pairing OIS lenses with IBIS. But if you shoot Sony or Canon mirrorless without IBIS bodies (like older EOS R models), OIS in the lens is your lifeline.
Weight vs. performance: The hiking photographer’s eternal struggle
Avoid anything over 1.5kg unless you’re doing day hikes. I’ve tested the Sony 200-600mm G (2.1kg)—fantastic optics, but after 8 miles uphill, it felt like carrying a toddler on my shoulder. Lighter alternatives like the Sigma 100-400mm Contemporary (1.14kg) sacrifice some sharpness wide open but nail focus at f/8 with stellar stabilization.
5 Field-Tested Best Practices for Crisp Telephoto Shots
- Use rear-button AF + AI tracking: Modern lenses like Canon’s RF 100-500mm sync with animal-eye AF. Keep focus locked while recomposing—even on squirrels darting through branches.
- Shoot in aperture priority at f/5.6–f/8: Most stabilized telephotos hit peak sharpness here. Wide open? Soft corners. Too narrow? Diffraction ruins detail.
- Enable “Mode 2” stabilization for panning: When tracking a soaring eagle, switch to panning mode so vertical shake is corrected but horizontal motion isn’t fought.
- Lean into your environment: Rest elbows on trekking poles, tree trunks, or rocks. Even with IS, body contact reduces micro-vibrations.
- Shoot RAW + expose to the right: Telephoto compression exaggerates noise in shadows. Brighten later in Lightroom instead of cranking ISO in-camera.
🚫 Terrible Tip Alert:
“Always turn off stabilization when on a tripod.” FALSE for modern lenses. Many (e.g., Nikon Z 70-200mm f/2.8 VR S) have tripod detection that deactivates unnecessary correction. Disabling IS manually may *cause* blur from internal motor resonance. Check your manual—don’t assume.
Case Study: From Blurry Disaster to Magazine Cover
Last summer in the Wind River Range, I spotted a rare wolverine at dusk—roughly 80 yards away. Light fading, wind gusting at 25 mph. Using my trusty Sony 70-200mm f/2.8 GM OSS II (with 4-stop stabilization), I shot handheld at 1/250s, ISO 3200, f/5.6.
Result? A tack-sharp cover image for Backpacker Magazine’s Winter 2024 issue. The key wasn’t just the lens—it was understanding *when* stabilization shines: low light, high wind, and fast-moving subjects. Without OIS, I’d have needed 1/2000s… impossible without flash (which would’ve spooked the animal).
This wasn’t luck. It was knowing my gear’s limits—and leveraging stabilization as a creative tool, not just a crutch.
FAQs About Stabilized Telephoto Lenses in Nature
Do I need weather sealing?
Absolutely. Rain, dust, and condensation at elevation will wreck unsealed lenses. Look for gaskets at mounts and switches (e.g., Canon L-series, Sony G Master).
Can smartphone zoom replace a telephoto lens?
Nope. Phones use digital cropping beyond 5x, destroying detail. A true 400mm lens captures real optical data—critical for printing or cropping later.
Is stabilization worth the extra $300–$600?
If you hike more than you camp in studios: yes. Sharper images = fewer missed moments. Over 3 years of use, that $500 premium pays for itself in keepers alone.
Should I rent before buying?
Smart move. Sites like LensRentals.com let you test Tamron, Sigma, and OEM options on actual trails before committing.
Conclusion
A stabilized telephoto lens for nature isn’t just gear—it’s your silent partner on the trail. It turns shaky hands into sharp memories, low-light desperation into opportunity, and fleeting wildlife encounters into portfolio gold.
Forget chasing megapixels. Prioritize stabilization, weight, and focal versatility. Whether you’re eyeing the Canon RF 100-500mm or Sony’s featherlight 70-200mm f/4, choose a lens that respects both your craft and your quads.
Now go chase that eagle—your future self (and Instagram feed) will thank you.
Like a Tamagotchi, your telephoto lens needs daily care: clean it, stabilize it, and never forget to feed it good light.
Haiku:
Wind shakes my hands raw,
Lens whispers, “Hold still, I’ve got this.”
Sharp peaks, soft clouds bloom.