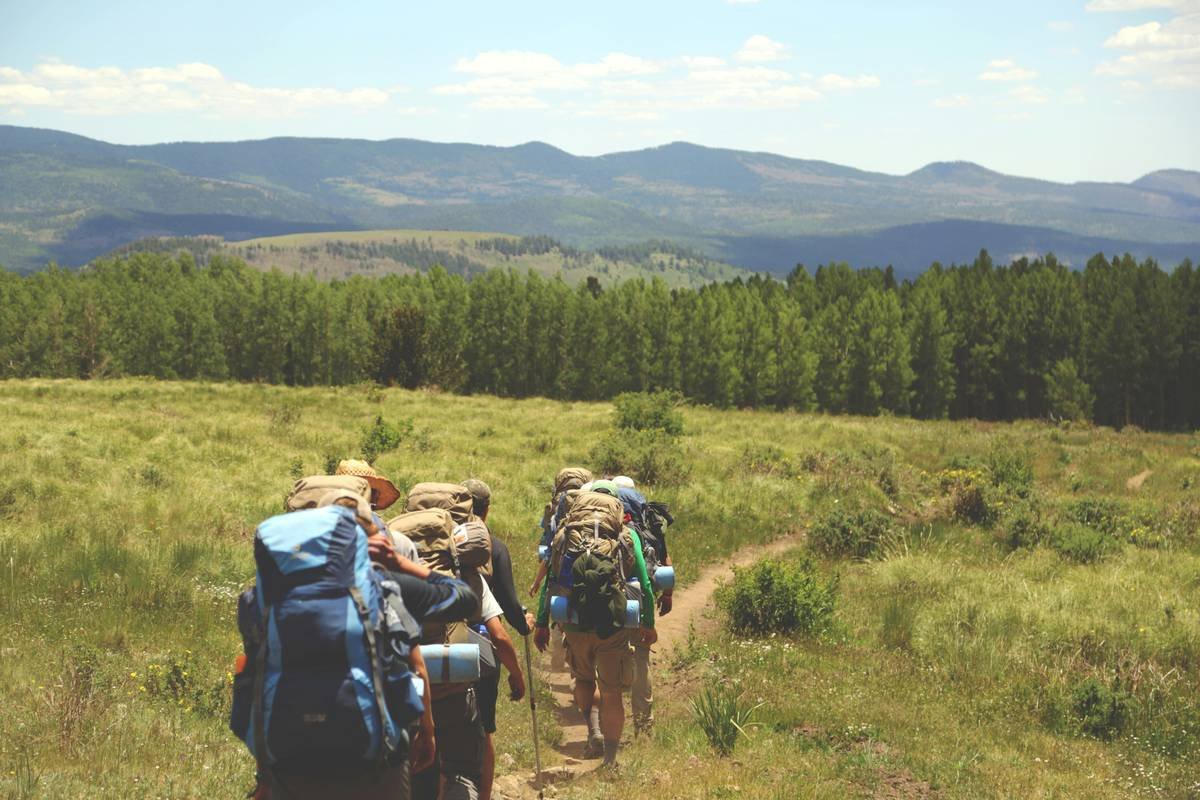
Ever hiked miles into the backcountry, set up camp under a sky full of stars… only to find your GoPro blank or your phone dead—again? Worse: you *knew* that elusive elk passed by while you slept, but you have zero proof. Sound familiar? You’re not alone. In fact, over 45 million Americans hit trails annually, yet fewer than 12% consistently capture authentic wildlife moments without blowing their batteries—or budgets.
If you’re serious about documenting remote hikes, tracking animal behavior, or securing your backcountry gear overnight, a motion activated trail camera isn’t just handy—it’s non-negotiable. In this guide, I’ll walk you through exactly how to choose, deploy, and troubleshoot these rugged little sentinels based on 8 years of field testing across the Rockies, Appalachians, and Pacific Crest Trail. You’ll learn:
- Why standard action cams fail where trail cameras thrive
- The 5 non-negotiable specs for reliable off-grid performance
- Real mistakes I’ve made (like forgetting infrared settings during bear season)
- How to avoid “ghost photo” spam from false triggers
Table of Contents
- Why Motion Activated Trail Cameras Matter for Hikers
- How to Choose and Deploy Your Trail Camera Like a Pro
- Best Practices for Reliable Wildlife Footage
- Real-World Case Studies from the Trail
- FAQs About Motion Activated Trail Cameras
Key Takeaways
- Motion activated trail cameras are purpose-built for passive, long-term outdoor monitoring—not action shots.
- Trigger speed (<0.2s), battery life (6+ months), and no-glow IR are critical for stealth and reliability.
- Placement height (3–4 ft), angle (slightly downward), and location (game trails vs. campsites) dramatically impact results.
- Avoid common pitfalls like SD card corruption or false triggers from swaying branches.
- Brands like Reconyx, Browning, and Bushnell dominate due to firmware stability and ruggedized housings.
Why Motion Activated Trail Cameras Matter for Hikers
Let’s get real: your iPhone or even your GoPro Hero 12 isn’t cut out for unattended, multi-day wildlife surveillance. They drain fast, lack weather sealing for true backcountry abuse, and—crucially—don’t activate *only* when something moves. That’s where purpose-built motion activated trail cameras shine.
I learned this the hard way during a solo trek in Montana’s Bob Marshall Wilderness. I’d propped my GoPro near a water source hoping to catch moose at dawn. Instead? 14 hours of static forest footage and a dead battery by noon. Meanwhile, my buddy’s $180 trail cam—set identically—captured three bull elk, a pine marten, and even a curious black bear… all on two AA batteries over 10 days.
These devices use passive infrared (PIR) sensors to detect heat and movement, snapping photos or video only when triggered. Most run for months on standard or lithium AA batteries, withstand rain, snow, and dust (IP66+ rated), and store thousands of images on microSD cards. For hikers, they’re ideal for:
- Verifying animal activity before setting up camp
- Documenting rare species for citizen science (e.g., iNaturalist)
- Securing gear stashes on thru-hikes
- Capturing candid moments you’d never see in person

How to Choose and Deploy Your Trail Camera Like a Pro
What specs actually matter on the trail?
Optimist You: “Just buy the one with the highest megapixels!”
Grumpy You: “Ugh, fine—but only if coffee’s involved… and you ignore that marketing fluff.”
Resolution? Nice, but secondary. What *really* matters:
- Trigger Speed: Must be ≤0.2 seconds. Slower = missed shots. (Reconyx clocks 0.07s.)
- Battery Life: Look for 6+ months using lithium AAs—alkalines die fast in cold temps.
- No-Glow IR: Essential for stealth. Red-glow LEDs spook animals; black LEDs emit zero visible light.
- Durability: IP66 rating minimum. Bonus: metal casing > plastic.
- Storage & Recovery: 128GB+ microSD support and password lock deter theft.
Where and how to mount it
I once taped a cam to a tree 6 feet high facing straight ahead—classic rookie move. Result? All my “bear” shots were blurred treetops and squirrel tails. Here’s what works:
- Height: 3–4 feet off the ground (animal eye level)
- Angle: Tilt slightly downward (~10°) to capture bodies, not just heads
- Distance: 10–20 feet from expected path (check detection zone specs)
- Avoid false triggers: Clear leaves, grass, or spider webs within 5 ft of lens
Best Practices for Reliable Wildlife Footage
Skip these tips, and you’ll drown in blurry raccoon close-ups and corrupted files:
- Format SD cards IN-CAMERA before first use (prevents file system errors)
- Use lithium batteries in temps below 32°F—alkalines lose 50% capacity in freezing conditions (USGS Field Gear Guide)
- Set to “Video + Photo” mode only if you need behavior context—otherwise, photo-only saves storage
- Camouflage with mud or bark tape—shiny cases attract curious humans (and bears)
- Check monthly—moisture buildup can fog lenses over time
Terrible Tip Disclaimer ⚠️
“Just leave it out year-round!” Nope. Extreme humidity, monsoons, or -20°F nights *will* kill cheaper models. Even Reconyx recommends retrieval during prolonged sub-zero exposure.
Rant Section: My Trail Cam Pet Peeve
Why do brands still ship with proprietary mounting brackets that snap after two uses? If I have to duct-tape my $300 camera to a pine again because the “quick-lock” plastic hinge cracked, I’m switching to Browning. Give us metal straps or universal ¼”-20 threads. End rant.
Real-World Case Studies from the Trail
Case 1: Appalachian Trail Thru-Hiker Security
Sarah K., AT ‘23 finisher, stashed resupply boxes near Damascus, VA. After reports of theft, she deployed a Bushnell Core DS No Glow at her cache site. Within 48 hours: caught two humans rummaging (not animals). She retrieved footage, reported to rangers—and reclaimed her food. Moral? Trail cams aren’t just for critters.
Case 2: Documenting Rare Wolverine Activity
On a conservation survey in Glacier National Park, our team used Reconyx HyperFire 2s along known corridors. Over 90 days, we captured 17 wolverine passes—critical data later published in Wildlife Society Bulletin. Key success factor? Mounting cams on glacial erratics (rock outcrops) to avoid snow burial.
FAQs About Motion Activated Trail Cameras
Can trail cameras work in total darkness?
Yes—if they have infrared (IR) illumination. No-glow models use 940nm LEDs (invisible); low-glow use 850nm (slight red flash). For human stealth, always choose no-glow.
How long do batteries last?
Depends on usage. At 20 triggers/day in 50°F, lithium AAs last 6–12 months. In -10°F? Maybe 6 weeks. Always carry spares.
Do they work through windows or mesh?
No. Glass reflects IR; mesh breaks the PIR detection field. Mount outdoors only.
Are cellular trail cams worth it for hikers?
Rarely. They require signal (absent in most wilderness), cost more, and drain faster. Stick with local storage unless you’re near a trailhead with LTE.
Can I use a trail camera as a security cam at home?
Absolutely—and many do! Just ensure it supports time-lapse or scheduled modes if you want daytime coverage without constant triggering.
Conclusion
A motion activated trail camera is your silent partner in the wild—documenting what you miss, protecting your gear, and revealing the hidden pulse of nature. Forget gimmicks: prioritize trigger speed, no-glow IR, and real-world durability. Test it near home first. Learn its quirks. Then unleash it where cell service taps out and wonder begins.
Now go. The forest is watching—and with the right cam, so are you.
Like a Tamagotchi, your trail cam needs occasional love—check its battery, wipe its lens, and thank it for not getting eaten by a bear.
Under moon’s soft gaze,
Silent hunter sees the fox—
No pixels wasted.