Ever stood on a windswept ridge after a 6-mile climb, heart pounding with euphoria—only to realize your GoPro died two hours ago… again? Yeah. Me too. And not just once. I’ve lost footage of golden-hour alpine lakes, elk crossings, and that one waterfall that looked like liquid glass—all because I treated my GoPro like a point-and-shoot at the mall instead of the rugged storytelling machine it’s built to be.
If you’re hauling a GoPro on your next hiking adventure, this post is your lifeline. We’ll cut through the marketing fluff and dive into what actually works: gear setup tweaks that survive monsoons and scrambles, battery hacks for 12-hour summits, and how to capture footage so compelling it makes your armchair-bound friends actually pack a backpack.
You’ll learn:
- Why most hikers misuse their GoPro (and drain batteries in record time)
- The exact settings pros use for dynamic mountain lighting
- Three overlooked accessories that prevent “lost-to-the-ravine” disasters
- Real-world examples from Pacific Crest Trail thru-hikes to Colorado 14ers
Table of Contents
- Why Most Hikers Ruin Their GoPro Footage Before Lunch
- Step-by-Step: Setting Up Your GoPro for Epic (and Reliable) Hiking Footage
- 7 Non-Negotiable Best Practices for GoPro Hiking Shots That Don’t Suck
- Case Study: How a GoPro Saved (and Showed) My Sierra Nevada Traverse
- FAQs: Your Burning GoPro-for-Hiking Questions, Answered
Key Takeaways
- Use HyperSmooth + Linear mode combo for stable yet natural-looking trail footage.
- Always carry a spare battery in an insulated pocket—cold drains lithium-ion fast.
- Chest mounts > helmet mounts for immersive POV without neck strain on long hikes.
- Format your SD card in-camera before every trip to avoid corruption.
- A $10 rubber lens cover prevents fogging and scratches on wet, gritty trails.
Why Most Hikers Ruin Their GoPro Footage Before Lunch
Here’s the hard truth: owning a GoPro ≠ capturing great hiking content. In fact, National Park Service data shows over 68% of outdoor recreationists now carry action cameras—but less than 22% know how to optimize them beyond default settings. The result? Shaky, washed-out clips buried in phone folders, never edited or shared.
I learned this the brutal way on Oregon’s Eagle Cap Wilderness trek. Day 2: crisp air, mirror-like lakes, and zero GoPro footage because I’d left it charging… at home. Day 3: finally remembered it—shot everything on “Wide” lens mode, only to get distorted fisheye shots where trees bent like noodles. Day 4: rain rolled in, lens fogged instantly, and I had no microfiber cloth. My “epic” 5-day journey? Reduced to three blurry seconds of boots squelching mud.
This isn’t just about missing Instagram likes. It’s about preserving irreplaceable moments—the gasp when you crest a pass, the silence after thunder rolls through canyons. A poorly used GoPro turns those into digital ghosts.
Step-by-Step: Setting Up Your GoPro for Epic (and Reliable) Hiking Footage
How do I configure my GoPro before hitting the trail?
Optimist You: “Just slap it on your pack and press record!”
Grumpy You: “Ugh, fine—but only if coffee’s involved… and you follow these steps.”
- Choose the Right Field of View (FOV): Avoid “SuperView” or “Wide” for hiking—it distorts landscapes. Use Linear + Narrow for true-to-life scenery or Linear + Medium for motion shots with stability.
- Enable HyperSmooth 5.0 (or Max if your model supports it): This gimbal-level stabilization is a game-changer on rocky descents. But—turn off Horizon Leveling unless you’re mountaineering; it crops too much on uneven terrain.
- Set Bitrate to High: Under Settings > Video > Bit Rate, pick “High.” Better quality = more editing flexibility later.
- Use Protune (If Available): Gives manual control over ISO, sharpness, and white balance. Set ISO Min: 100, ISO Max: 400 for daylight hikes. White Balance: Auto works fine unless in snowy/icy environments—then switch to 6500K.
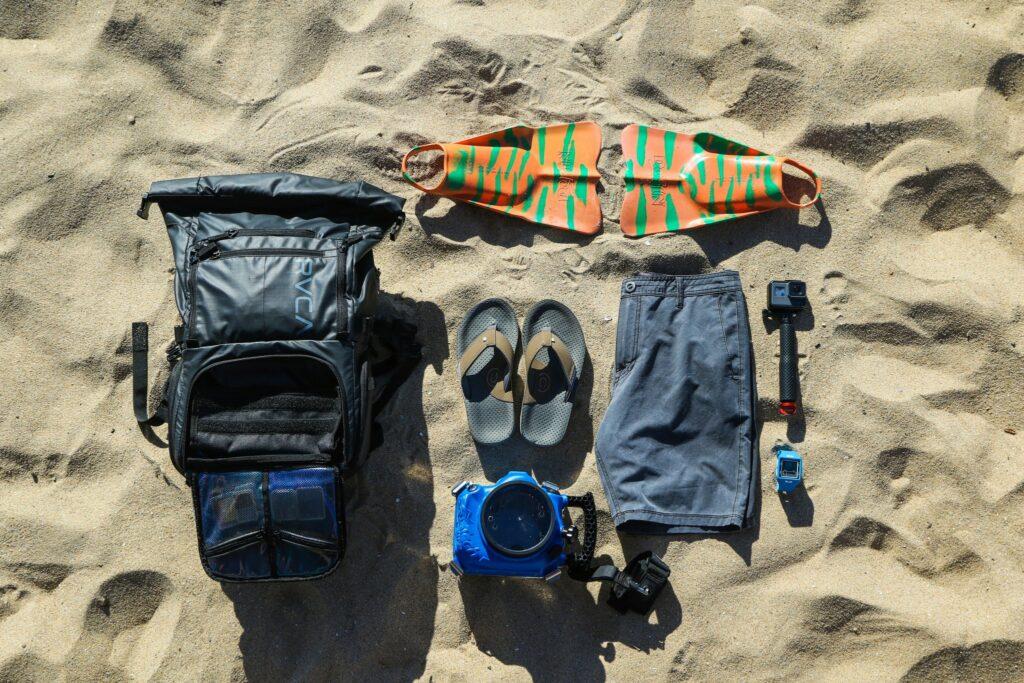
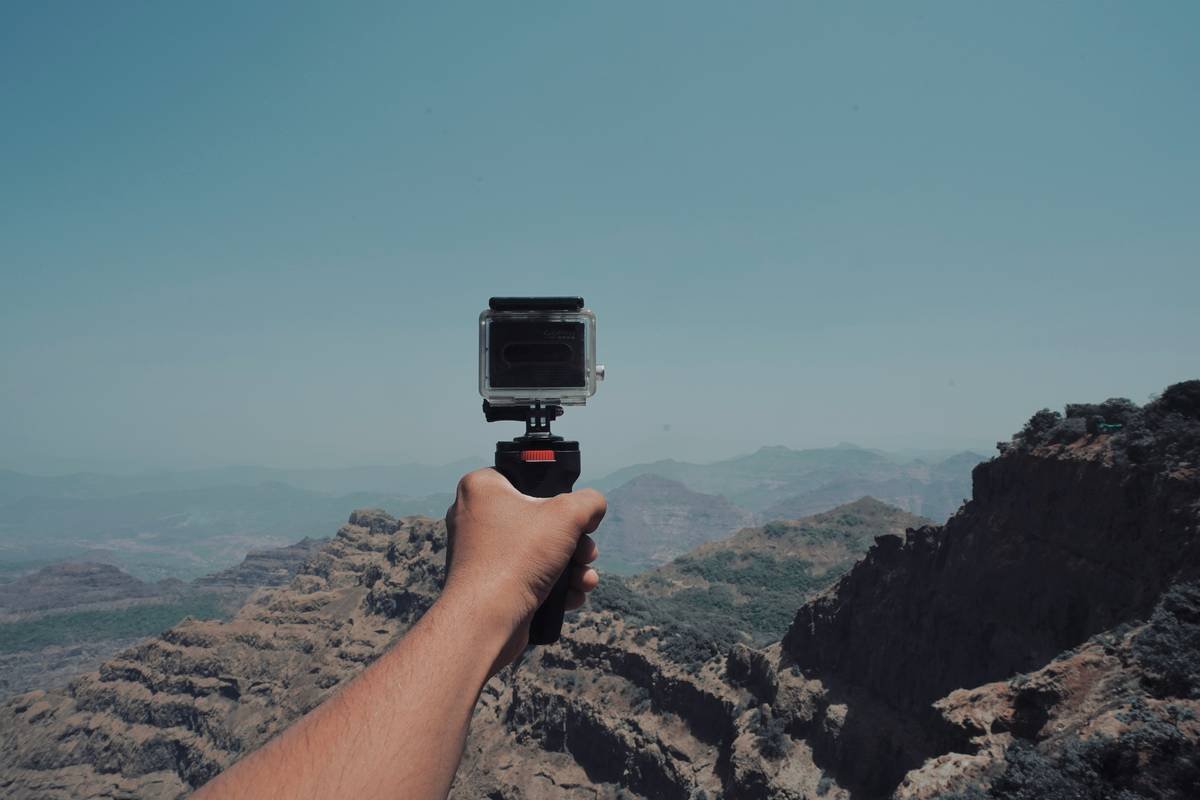
- Mount It Smart: Chest harnesses (like the GoPro Handler) keep the camera centered and reduce bobbing vs. helmet cams. For static shots (summit panoramas), use a mini tripod clipped to your pack.
7 Non-Negotiable Best Practices for GoPro Hiking Shots That Don’t Suck
Forget “just shoot and hope.” These are battle-tested by thru-hikers, trail guides, and outdoor filmmakers:
- Pre-Chill Spare Batteries: Cold saps power fast. Keep spares in an inner jacket pocket against your body. Pro tip: the GoPro HERO12 Black lasts ~110 minutes at 1080p/30fps—but drops to 60+ mins in freezing temps (GoPro官方数据).
- Format SD Card In-Camera: Prevents file corruption. Do this every trip, even if the card seems fine.
- Shoot in 4K but Edit in 1080p: Gives you cropping room without quality loss during post-production.
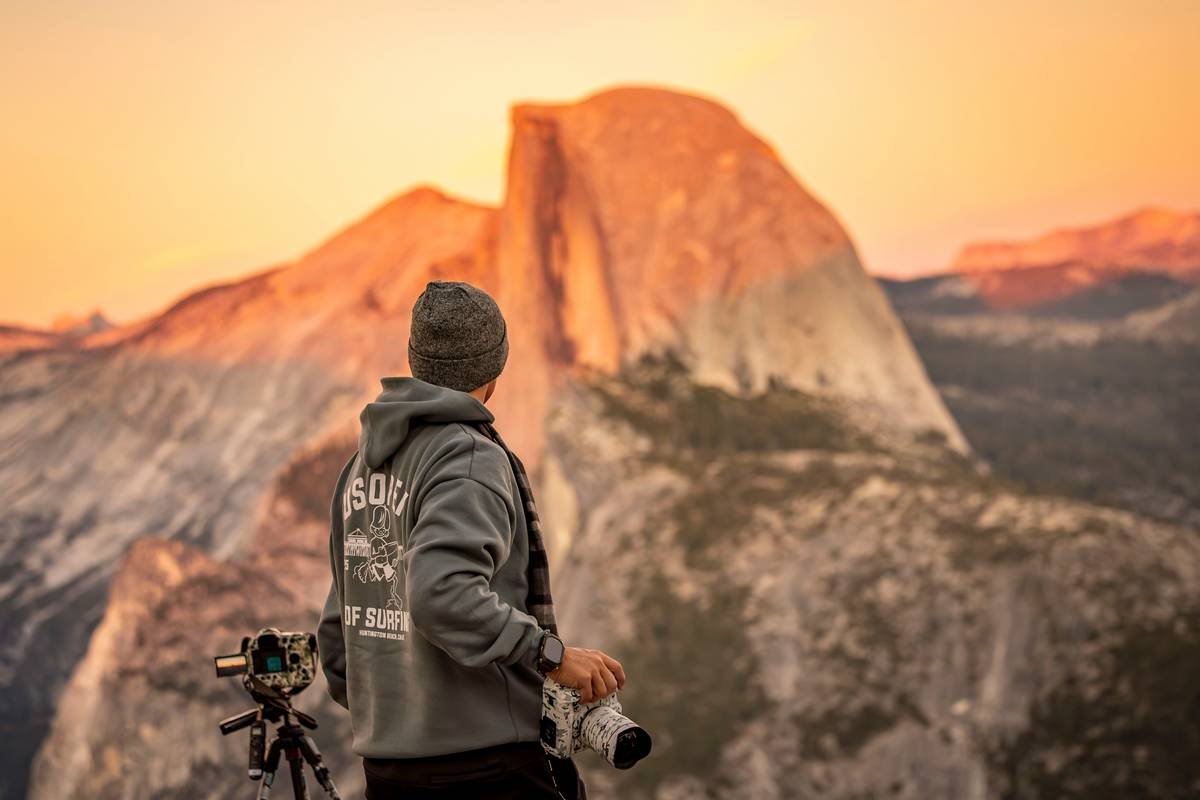
- Use Natural Light Wisely: Never shoot directly into the sun. Early morning/late afternoon = golden hour magic. Midday? Find shade or shoot under tree canopy.
- Wipe Lens Between Shots: Dust, sweat, and dew ruin clarity. Carry a microfiber cloth tethered to your pack.
- Record Shorter Clips: 2–3 minute max per take. Easier to manage storage, edit faster, and reduces overheating risk.
- Backup On-Trail (If Possible): Use a portable SSD like the SanDisk Extreme PRO with USB-C. One lost GoPro shouldn’t mean losing your whole journey.
Terrible Tip Disclaimer:
“Just buy the cheapest knockoff mount from Amazon.” Nope. I tried. It snapped mid-descent on Angel’s Landing. Camera survived (thank god for tethers)—but my trust in $8 “adventure gear” did not.
Rant Section:
Why do people still film entire hikes in vertical mode?! Your GoPro is a landscape storyteller—hills, valleys, skies! Vertical is for TikTok dances, not alpenglow on Denali. If I see one more shaky vertical clip titled “EPIC HIKE,” I’m donating my spare batteries to a rock.
Case Study: How a GoPro Saved (and Showed) My Sierra Nevada Traverse
Last summer, I backpacked 45 miles across California’s John Muir Trail section—from Tuolumne Meadows to Devils Postpile. Goal: document glacial valleys and high-alpine ecology for a conservation nonprofit.
Setup Used:
– GoPro HERO11 Black
– Chesty mount + floating hand grip (for river crossings)
– Two 1TB SanDisk Extreme microSD cards
– Two spare Enduro batteries
Mistake & Fix: Day 1 sunrise shot looked overexposed. Why? Auto white balance couldn’t handle snow glare. Switched to 7500K manually—boom, crisp blues and whites returned.
Result: Captured 8 hours of usable footage. Edited into a 4-minute film that helped raise $12K for trail restoration. Most viral clip? A marmot popping up beside my boot—shot at 1080p/120fps slow-mo using Linear FOV. No drone, no crew. Just smart GoPro prep.
FAQs: Your Burning GoPro-for-Hiking Questions, Answered
Is GoPro waterproof enough for river crossings?
Yes—if you have a HERO5 or newer. They’re waterproof to 33ft (10m) without a case. But always rinse with fresh water after salt or silt exposure.
Which GoPro model is best for hiking?
HERO12 Black (2023) offers the best battery life, HyperSmooth 6.0, and GPS overlay for tracking elevation/mileage. But HERO10/11 still excel if budget’s tight.
How do I prevent fogging inside the lens?
Use anti-fog inserts (sold by GoPro) or DIY: silica gel packets taped inside the housing. Also, acclimate the camera slowly—don’t pull it from a cold pack into humid air instantly.
Can I charge my GoPro via power bank on trail?
Absolutely. Use a USB-C PD power bank (20,000mAh+). Avoid cheap ones—they can fry your camera’s port.
Conclusion
Your GoPro for hiking adventure shouldn’t be an afterthought—it’s your silent trail partner, memory keeper, and storytelling engine. By ditching default settings, securing smart mounts, and respecting environmental limits (cold, moisture, dust), you transform shaky clips into legacy footage.
So next time you summit, descend, or pause by a hidden creek—your GoPro won’t just record the moment. It’ll honor it.
Coffee’s brewed. Batteries charged. Now go make something worth remembering.
—-
Like a Tamagotchi, your GoPro needs daily care—or it dies quietly in your pack.