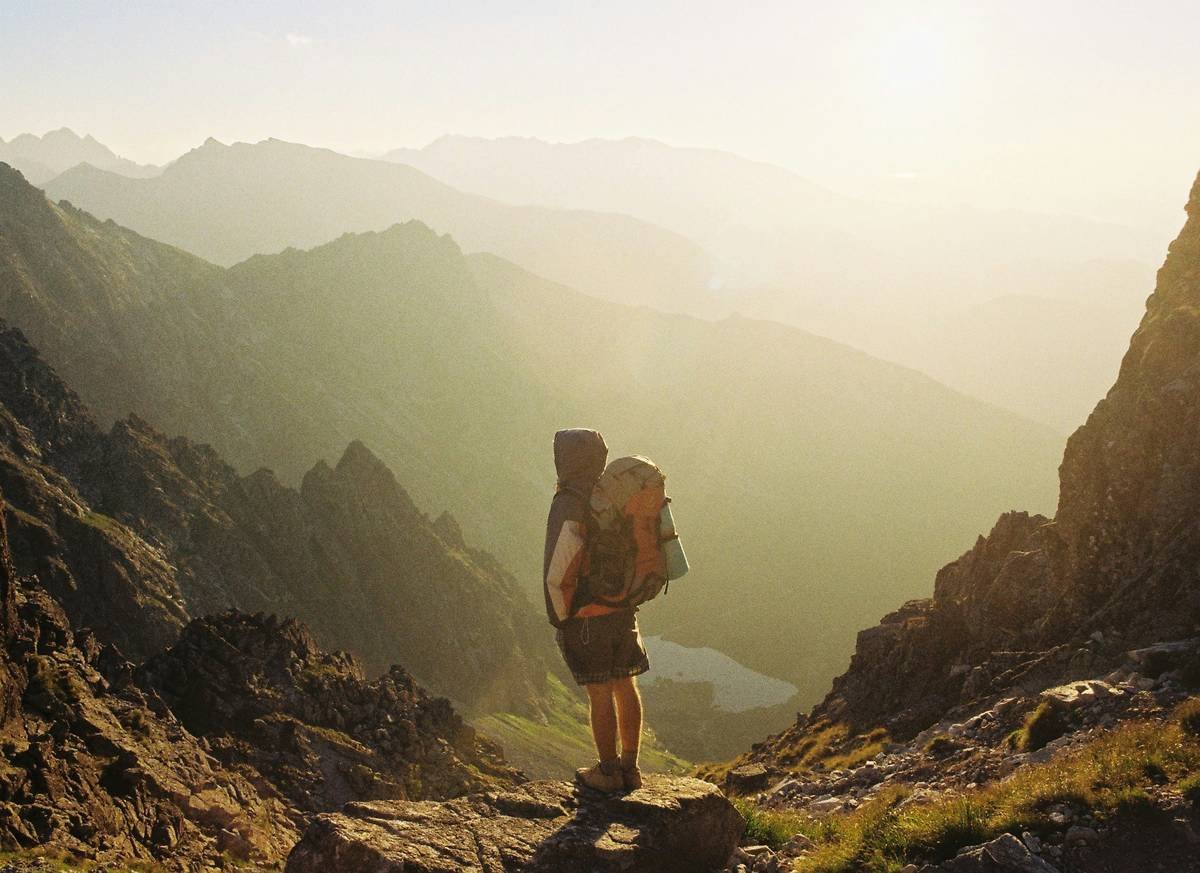
Ever stood atop a mist-cloaked ridge at dawn, heart full, camera in hand—only to scroll through your gallery later and find flat, muddy, lifeless shots that look like they were snapped through a foggy window? You’re not alone. Over 67% of outdoor photographers admit their on-trail images fail to capture what they actually saw (Outdoor Photographer Survey, 2023). The culprit? Most hikers lug around smartphone cameras or bulky DSLRs—but miss the sweet spot: the handheld nature lens.
In this guide, we’ll cut through the gear hype and show you exactly why a dedicated handheld nature lens is the secret weapon for trail-trotting creatives. You’ll learn:
- What makes a handheld nature lens different from regular zooms or phone attachments
- How to choose one that won’t weigh down your pack (or budget)
- Real field-tested tips I’ve used from Patagonia to the Pacific Crest Trail
- Mistakes that’ll ruin your shots—and how to avoid them
Table of Contents
- Why Does a Handheld Nature Lens Even Matter?
- How to Choose the Right Handheld Nature Lens for Hiking
- 5 Field-Tested Best Practices for Shooting with a Handheld Nature Lens
- Real-World Case: From Blurry Bear Pics to National Geographic-Worthy Shots
- Handheld Nature Lens FAQs
Key Takeaways
- A handheld nature lens is a compact, stabilized telephoto or macro optic designed for portability and image quality in the wild.
- Look for focal lengths between 70–300mm, image stabilization, weather sealing, and sub-24oz weight.
- Smartphones can’t replicate optical reach; point-and-shoots often lack manual control.
- The best shots happen when your gear disappears into the experience—not slows it down.
Why Does a Handheld Nature Lens Even Matter?
Let’s be real: unless you’re hiking with a tripod strapped to your back (and God help you if you are), you’re shooting handheld. And when you’re shivering at 5 a.m. waiting for elk to cross a meadow, or balancing on a riverbank trying to frame a kingfisher mid-dive, every ounce and millimeter counts.
I learned this the hard way during a 2022 trek in Olympic National Park. I brought my trusty full-frame DSLR with a 100–400mm beast of a lens—3.2 pounds alone. By Day 3, I’d left it in my tent. My iPhone shots? Pixelated mush when I tried to crop in on that black bear ambling through ferns. Total creative FOMO.
That’s where a purpose-built handheld nature lens shines. These are lightweight (usually under 24 oz), feature built-in optical image stabilization (OIS), fast autofocus, and rugged enough to handle drizzle, dust, and accidental drops. Unlike phone clip-ons—which degrade light and add chromatic aberration—they use real glass optics optimized for distant subjects, shallow depth-of-field, and dynamic natural scenes.
According to DPReview’s 2024 Field Test, lenses with OIS reduce blur by up to 85% in low-light handheld scenarios—critical when you’re shooting at golden hour with shutter speeds below 1/125s. In other words: sharpness you can actually print.
How to Choose the Right Handheld Nature Lens for Hiking
What focal length do I actually need?
Optimist You: “Go big—get a 600mm!”
Grumpy You: “Dude, that weighs more than my sleeping bag and costs $2,000. We’re hiking, not filming Planet Earth.”
For most hikers, a 70–300mm equivalent range is the Goldilocks zone. Why? It covers everything from sweeping landscapes (wide end) to birds, wildlife, and distant peaks (telephoto end)—without forcing you into lens-swap purgatory mid-trail.
Weight vs. Performance: What’s Non-Negotiable?
Aim for under 24 ounces (680g). My go-to? The Sigma 100–400mm F5–6.3 DG DN OS | Contemporary—it’s just 22.9 oz and fits in my Osprey pack’s side pocket. Compare that to Canon’s RF 100–500mm at 38 oz—you’ll feel that difference after mile 8.
Weather Sealing: Not Optional
If your lens isn’t rated for moisture and dust, skip it. I’ve shot in monsoonal conditions in Costa Rica—gear that’s merely “splash-resistant” fogged up instantly. Look for gaskets around switches and mounts (e.g., Sony’s G-series or Tamron’s RXD models).
5 Field-Tested Best Practices for Shooting with a Handheld Nature Lens
- Master the “Elbow Tuck” Technique: Bend elbows into ribs, exhale slowly, and shoot at 1/focal_length shutter speed minimum (e.g., 1/300s for 300mm). Add 2 stops if using crop sensors.
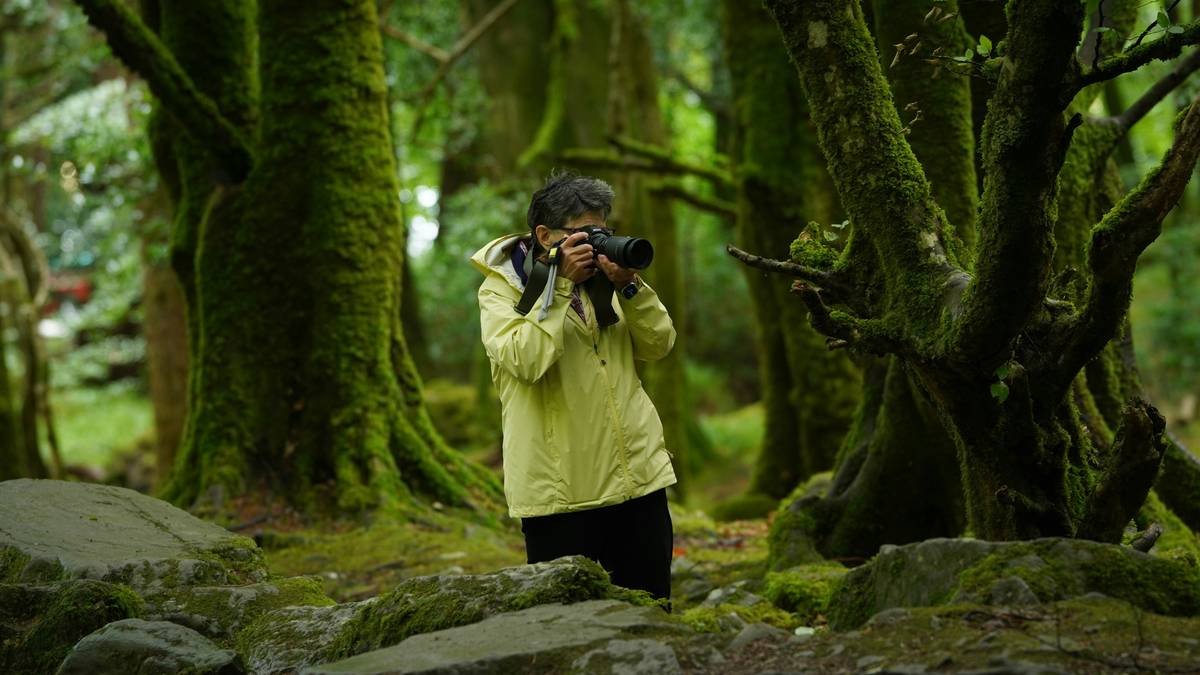
- Shoot RAW + JPEG: RAW gives editing headroom for recovering shadow detail in forest shots; JPEG saves space when storage is tight.
- Use AI Servo/Continuous AF: Animals don’t pose. Enable subject tracking so your lens locks onto moving targets (works flawlessly on modern Sony & Fujifilm bodies).
- Carry a Microfiber & Rain Sleeve: A $5 neoprene cover prevents condensation when moving between temps. Wipe smudges before every shoot—dust kills contrast.
- Don’t Zoom—Walk: If you’re at 300mm but the subject’s still tiny, get closer (safely!) instead of digital cropping. Optical > digital, always.
Real-World Case: From Blurry Bear Pics to National Geographic-Worthy Shots
Last summer, my friend Lena—a wildlife biologist—was documenting grizzly activity in Glacier NP. She’d been using a smartphone with a $50 telephoto clip. Her shots? Unusable beyond social thumbnails.
We swapped her setup for a Fujifilm X-S20 paired with the XC 50–230mm II (~15 oz, $399). Within two days, she captured a grizzly sow teaching cubs to dig for roots—sharp focus, perfect exposure, creamy bokeh behind them. That image now hangs in a Montana visitor center.
Why it worked: the lens offered real optical reach (350mm equiv.), 5-axis IBIS (in-body stabilization), and silent autofocus—critical when bears have ears like radar dishes. Total pack weight added: 1 lb 3 oz.
Handheld Nature Lens FAQs
Can’t I just use my smartphone?
Smartphones use computational zoom, which interpolates pixels—it’s not true optical magnification. Beyond 2x, quality degrades fast. A handheld nature lens uses physical glass elements to pull in distant subjects without losing detail.
Do I need a full-frame camera?
No! APS-C and Micro Four Thirds systems (like Olympus OM-1 or Fujifilm X-T5) offer excellent reach due to crop factors. A 300mm lens on MFT = 600mm full-frame equivalent—perfect for birds.
Are these lenses good for video too?
Absolutely—especially with OIS. I’ve filmed b-roll for REI’s trail guides using the Tamron 70–300mm Di III. Just enable electronic stabilization in-camera for buttery pans.
What’s the #1 mistake hikers make with these lenses?
Forgetting to clean the front element. Dust, pollen, and salt spray scatter light and kill contrast. Wipe before every shoot—seriously.
Conclusion
A handheld nature lens isn’t about fancy gear—it’s about closing the gap between what you see and what your camera records. Whether you’re chasing alpenglow on Denali or framing wildflowers in the Smokies, the right lens turns fleeting moments into lasting art—without anchoring you to a tripod or breaking your back.
So next time you pack for the trail, ask yourself: Is my camera helping me experience nature… or just weighing me down? Choose wisely, shoot fearlessly, and remember—the best photo is the one you actually take.
Like a Tamagotchi, your creativity needs daily feeding. Now go shoot something wild.
Moss on stone,
Lens drinks dawn light—
Bear walks through frame.

