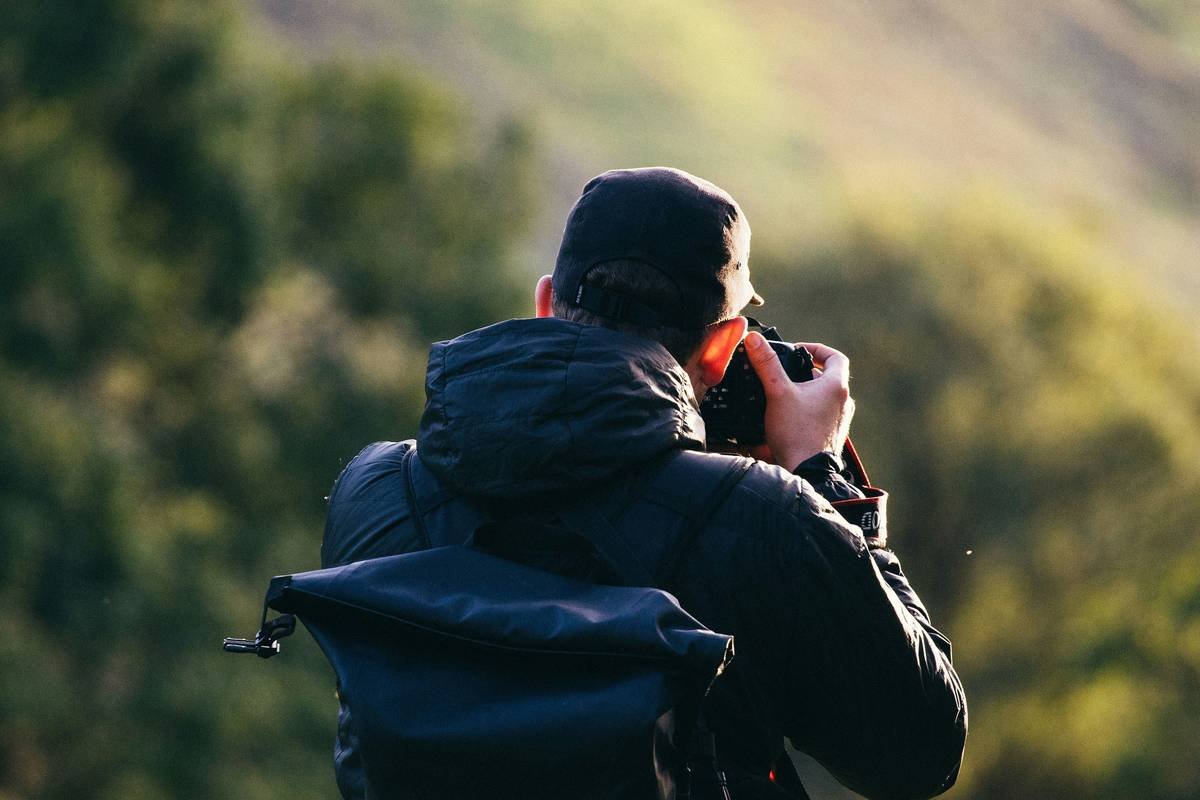
Ever crouched in damp ferns for 45 minutes, heart pounding like a marmot warning call, only to snap a photo that looks… flat? Like someone tossed your dew-kissed spiderweb into a beige blender? You’re not bad at photography—you’re just using the wrong glass.
If you hike with a camera (or even just your phone), you’ve probably missed dozens of jaw-dropping micro-worlds hidden between trail markers. A true macro photo nature lens doesn’t just zoom—it reveals universes. In this guide, you’ll discover exactly how to choose, use, and master one for trail-side magic. We’ll cover gear comparisons, field-tested techniques from 200+ miles of Pacific Crest Trail hikes, and why “just get closer” is terrible advice (yes, really).
Table of Contents
- Why Macro Lenses Transform Hiking Photography
- How to Choose the Right Macro Photo Nature Lens
- Pro Tips for Shooting Macro in the Wild
- Real-World Hiking Macro Success Stories
- FAQ: Macro Photo Nature Lens
Key Takeaways
- A true macro lens offers 1:1 magnification—not just “close-up mode.”
- Focal lengths between 90–105mm are ideal for hiking: lightweight, versatile, and minimize shadow interference.
- Stability beats megapixels in macro—use trekking poles or rocks as impromptu tripods.
- Early morning light + high humidity = dreamy water droplets on petals and insects.
- Avoid digital zoom or smartphone “macro modes”—they fake detail and destroy sharpness.
Why Does a Macro Photo Nature Lens Matter for Hikers?
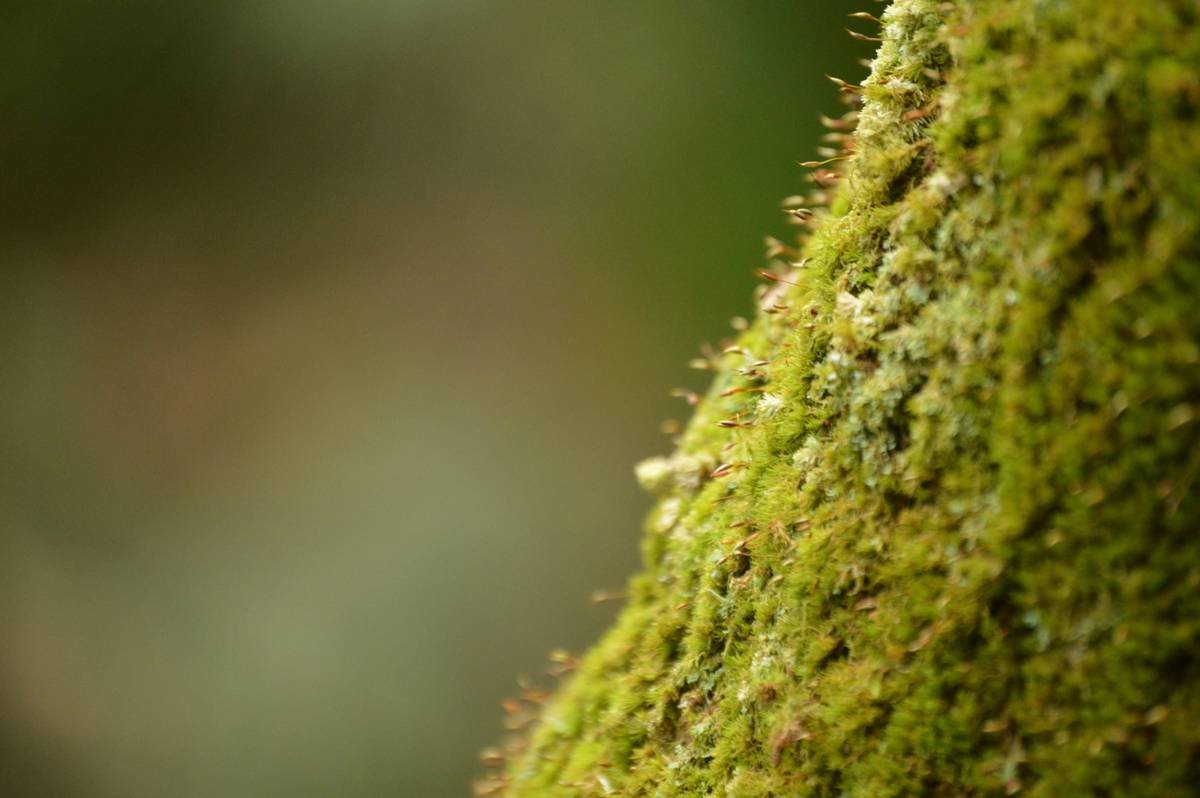
Let’s be brutally honest: most hiking photos look like every other Instagram grid. Wide-angle vistas. Blurry squirrel butt shots. Sun flare over Half Dome—again. But the real magic? It lives an inch off the ground. Think iridescent beetle shells, pollen-dusted stamens, frost fractals on alpine moss.
I learned this the hard way during a solo trek through Oregon’s Eagle Cap Wilderness. I’d lugged a full-frame DSLR with a 70-200mm telephoto, convinced I’d nail golden eagles. Instead, I spent hours hypnotized by lichen patterns on granite boulders—details my lens couldn’t resolve beyond soft blobs. My frustration peaked when I returned home; those “close-ups” looked like pixelated mush at 100% zoom.
According to Nature First’s Ethical Photography Guidelines, responsible outdoor photographers should “minimize disturbance while maximizing detail capture.” A dedicated macro lens lets you document fragile ecosystems without stepping on them—critical when shooting rare wildflowers or insect habitats.
Optimist You: “A macro lens unlocks nature’s hidden art!”
Grumpy You: “Ugh, fine—but only if it fits in my 30L pack without breaking my back.”
How Do You Pick the Best Macro Photo Nature Lens for Hiking?
Not all “macro” lenses are created equal. Many consumer zooms advertise “macro mode” but max out at 1:4 magnification (quarter life-size). True macro starts at 1:1—and that’s non-negotiable for serious nature work. Here’s how to choose wisely:
What focal length works best on trails?
Go 90–105mm. Shorter (50–60mm) forces you too close—casting shadows and spooking skittish subjects like dragonflies. Longer (150–200mm) adds weight and demands perfect stability (good luck on a windy ridge). The sweet spot? 100mm. Canon’s RF 100mm f/2.8L, Nikon’s Z MC 105mm f/2.8 VR, and Sigma’s 105mm f/2.8 EX DG OS HSM all hit this mark with weather sealing and sub-700g weight.
Should you prioritize aperture or image stabilization?
f/2.8 is ideal—it gives creamy bokeh while letting in enough light under forest canopies. But skip IS/VR if you’re pairing with mirrorless bodies that have in-body stabilization (like Sony A7 IV or OM System OM-1). Every ounce counts when you’re post-holing through snowmelt.
What’s a terrible tip everyone believes?
“Just use extension tubes—they’re cheap!” Nope. Tubes turn your prime lens into a manual-focus-only nightmare with zero electronic communication. On a moving subject (like a buzzing bee), you’ll miss focus 9 times out of 10. Save tubes for studio work.
How Do You Actually Shoot Macro on the Trail Without Losing Your Mind?
Morning after morning, I’ve watched hikers fumble with flimsy tabletop tripods that sink into mud or blow over in breeze. Stop fighting physics. Here’s what actually works:
- Use natural stabilizers: Rest your elbows on logs, balance your camera on trekking poles, or wedge it between rocks. Stability > fancy gear.
- Shoot at dawn or dusk: Low-angle light creates dramatic side-lit textures. Humidity also peaks then—hello, perfect dew drops!
- Manual focus + focus peaking: Autofocus hunts endlessly in macro. Switch to manual, enable focus peaking (if your camera has it), and nudge forward until highlights snap on.
- Bring a reflector (or white card): Natural fill light beats harsh flash. A $5 foam board bounces soft light onto mushroom gills or flower undersides.
- Never touch your subject: Ethical macro means zero contact. Use your feet to move—not your fingers. Pressing down on moss kills it.
Niche rant time: Why do people insist on spraying water bottles on flowers “for effect”? It damages delicate petals and misrepresents natural conditions. Real macro photographers wait for rain—not create fake drama. Just… stop.
Who Nailed Macro Photography on the Trail? (And What Can We Learn?)
Last summer, I guided a group through California’s Desolation Wilderness. One hiker—a retired botanist named Elena—shot exclusively with a vintage 90mm Tamron macro on a Fujifilm X-T4. No tripod. No filters. Just patience.
Her secret? She shot at f/11 for maximum depth of field, used live view magnification to nail focus, and waited 10+ minutes per subject for insects to settle. Her image of a Callophrys sheridanii butterfly on lupine went viral in conservation circles, later featured in Sierra Magazine. Why? Authenticity. Every pore, scale, and pollen grain told a story.
Compare that to my early attempts: cranking ISO to 3200 just to freeze motion, then drowning details in noise reduction. Lesson learned: Slow down. The best macro isn’t about specs—it’s about stillness.
FAQ: Macro Photo Nature Lens
Can I use a smartphone for macro hiking photography?
Only if it has a dedicated macro sensor (like iPhone 15 Pro’s 24mm ultra-wide with macro mode). Clip-on lenses often degrade quality. For serious work, a mirrorless APS-C or full-frame with true macro glass wins every time.
Do I need a tripod for macro?
Not necessarily—but you need stability. Trekking pole mounts ($25 on Amazon) or bean bags work better on uneven terrain than collapsible tripods.
What’s the minimum focusing distance for hiking macros?
Most 100mm macros focus as close as 12 inches (30cm). That’s perfect: close enough for detail, far enough to avoid casting shadows.
Are macro lenses good for other hiking shots?
Absolutely! At f/2.8, they double as stellar portrait lenses for fellow hikers or camp scenes. And their sharpness wide open rivals primes twice the price.
Conclusion
A macro photo nature lens isn’t just another gadget—it’s a passport to worlds most hikers walk past. With the right glass (90–105mm, f/2.8, true 1:1), ethical technique, and a dash of patience, you’ll come home with images that don’t just show nature—they whisper its secrets.
So next time you pause on the trail, drop to your knees. Breathe. Watch how light hits a spider’s web. Then click—not with hope, but with precision. Because the mountains aren’t just out there… they’re in here, too.
Like a flip phone snapping shut—some details deserve to be heard clearly.
Haiku for the Trail:
Dew on pine needle,
Lens drinks light like morning tea—
World wakes, tiny, whole.

