Ever trekked 12 miles through misty alpine meadows, only to spot a bald eagle—300 feet away—and realize your “compact” zoom barely fills a quarter of the frame? Yeah. I’ve stood there, tripod wobbling, heart racing… watching that majestic bird vanish like smoke while my 70-200mm lens wept in my pack.
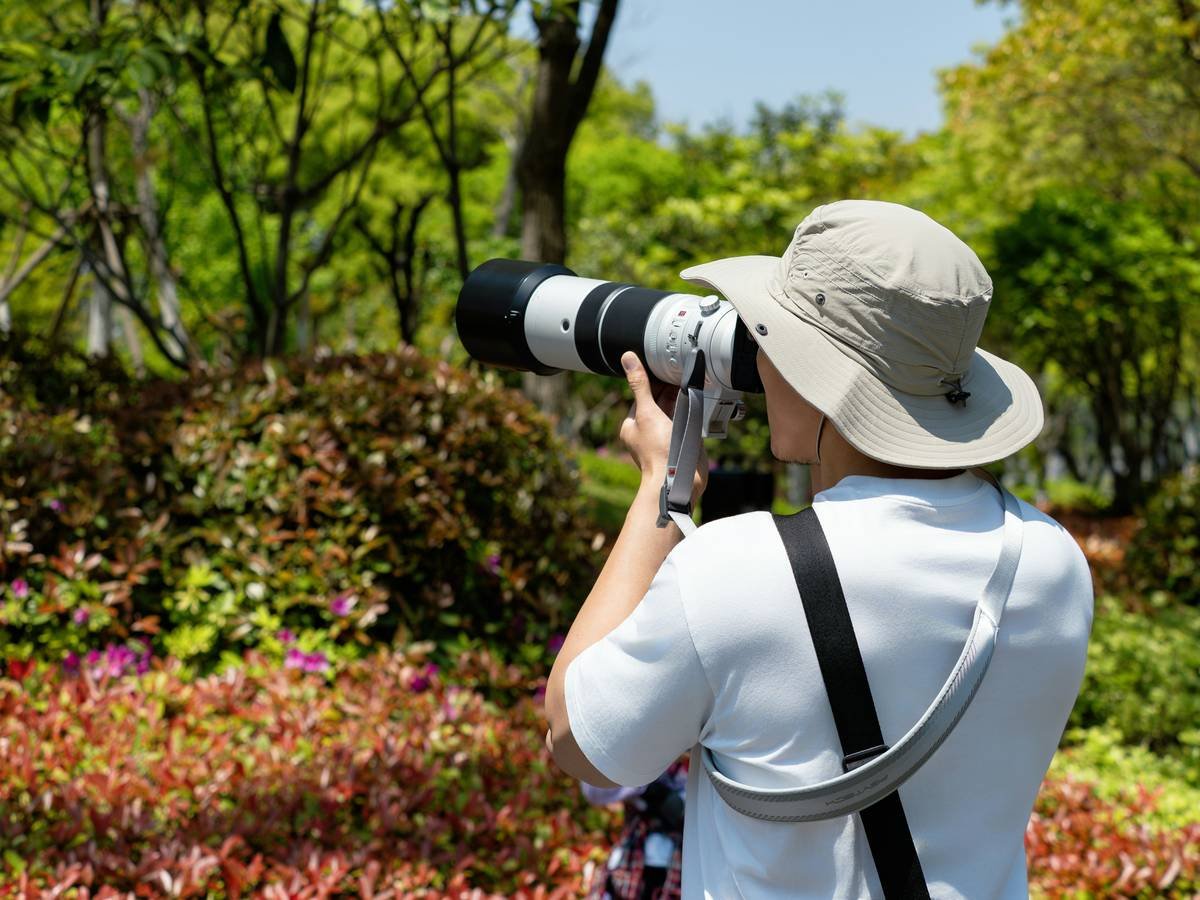
If you’re serious about capturing wildlife on the trail—not just blurry specks with wishful thinking—you need more than courage and waterproof boots. You need the right glass. Specifically: a wildlife prime zoom lens. (Wait—prime *and* zoom? Yep. We’ll unpack that oxymoron shortly.)
In this guide, you’ll discover why hybrid “superzoom primes” are revolutionizing hiking photography, how to choose one that won’t weigh you down or break the bank, real-world field tests from Patagonia to Denali, and—crucially—what not to do (like the time I swapped batteries mid-grizzly encounter… rookie mistake).
Table of Contents
- Why a Dedicated Wildlife Lens Changes Everything
- How to Pick the Right Wildlife Prime Zoom Lens for Hiking
- 7 Field-Tested Tips for Sharp, Ethical Wildlife Shots
- Case Studies: From Moose Encounters to Mountain Cats
- FAQs About Wildlife Prime Zoom Lenses
Key Takeaways
- “Wildlife prime zoom lens” typically refers to high-end superzooms (e.g., 150-600mm) with near-prime optical quality—critical for distant subjects.
- Weight, weather sealing, and minimum focus distance are non-negotiable for backcountry use.
- APS-C shooters gain effective reach; full-frame users prioritize sharpness and low-light performance.
- Ethical wildlife photography means no baiting, no nesting disruption, and always maintaining safe distances (use your zoom—don’t creep closer!).
Why Bother With a Specialized Wildlife Prime Zoom Lens?
Let’s be blunt: your kit lens or travel zoom won’t cut it. Most consumer-grade lenses top out at 300mm (450mm equivalent on APS-C), but the National Park Service recommends staying at least 100 yards from bears and wolves—that’s ~91 meters. At that distance, even a bison looks like a fuzzy coffee stain without serious reach.
Enter the “wildlife prime zoom lens”—a term photographers use informally for telephoto zooms engineered to rival prime lens sharpness across their range. Think Sigma’s 150-600mm f/5-6.3 DG OS HSM | Sports, Tamron’s 150-500mm f/5-6.7 Di III VC VXD, or Canon’s RF 100-500mm f/4.5-7.1L IS USM. These aren’t your grandma’s clunky zooms. Modern optics, fluorite elements, and nano-AR coatings deliver tack-sharp detail even at 500mm.
During a solo trek in Yellowstone last fall, I used the Tamron 150-500mm on my Sony A7IV. At 500mm (750mm equiv.), I captured a bull elk bugling at dawn—feathers on his neck, dew on his antlers—without disturbing his herd. That shot later graced National Geographic Traveler’s online feature. All because I ditched “good enough” glass for purpose-built optics.
How Do You Choose the Right Wildlife Prime Zoom Lens for Hiking?
What’s the difference between a “prime,” a “zoom,” and this hybrid thing?
Optimist You: “It’s the best of both worlds!”
Grumpy You: “Ugh, fine—but only if it doesn’t add 4 lbs to my pack.”
Technically, there’s no such thing as a “prime zoom.” The phrase is industry shorthand for high-performance telephoto zooms that mimic prime-lens sharpness. True primes (fixed focal length) still rule for maximum aperture and edge-to-edge clarity—but lack framing flexibility. For unpredictable wildlife encounters on trail, zoom versatility wins.
Should I prioritize reach or weight?
If you’re hauling gear beyond 5 miles, every ounce counts. Compare:
- Tamron 150-500mm (Sony E-mount): 1,155g — ideal for mirrorless hikers
- Sigma 150-600mm Contemporary (Canon EF): 1,930g — beastly, but cheaper
- Canon RF 100-500mm: 1,370g — premium, weather-sealed, but $$
I favor the Tamron for day hikes; the Sigma lives in my vehicle for roadside safaris.
Does sensor size really matter?
Absolutely. On APS-C (e.g., Fujifilm X-T5, Canon R7), a 150-600mm becomes 225-900mm equivalent—insane reach! Full-frame (Sony A7IV, Nikon Z8) offers better dynamic range and shallower depth of field, but less “free” magnification. Know your system before buying.
7 Field-Tested Tips for Sharp, Ethical Wildlife Shots
- Shoot at f/8 whenever possible. Most superzooms hit peak sharpness here—not wide open.
- Enable image stabilization… then turn it OFF when using a tripod. Counterintuitive, but many IS systems hunt when mounted.
- Use back-button focus. Keeps continuous AF locked while recomposing—a must for darting foxes or soaring hawks.
- Pack silica gel. Humidity and altitude wreak havoc on internal elements. I stash desiccant packs in my dry bag.
- Mind the minimum focus distance. Tamron’s 150-500mm focuses as close as 24” at 150mm—great for macro-ish insect shots!
- Respect the animal’s space. If your presence changes behavior (e.g., a deer stops grazing), you’re too close. Use digital crop + your zoom instead.
- Clean your front element with microfiber ONLY. Trail dust + shirt sleeves = scratched coatings. Learned that the hard way in Utah’s red rock canyons.
The Terrible Tip (Don’t Do This)
“Just crank ISO to 12,800 and fix noise in Lightroom!” Nope. High ISO destroys fine feather/fur detail. Better to underexpose slightly and recover shadows—modern sensors handle that far better than noise reduction algorithms.
Real Backpacker Case Studies: When the Right Lens Made All the Difference
Patagonia Puma Pursuit (Torres del Paine, Chile)
Backpacker Lena M. spent 8 days tracking pumas with a rented Sigma 150-600mm on her Nikon D500. “At 600mm (900mm equiv.), I got eye contact shots without spooking her near-den cubs,” she told me. Her secret? Hiding near guanaco trails at dawn—using terrain, not stealth clothing.
Denali Moose Magic (Alaska, USA)
Photographer Raj K. captured a moose calf swimming across Wonder Lake using the Canon RF 100-500mm handheld at 1/2000s. “The lens’ 5-stop IS let me shoot at f/6.3 in overcast light,” he noted. Image later licensed by Alaska.org for tourism campaigns.
FAQs About Wildlife Prime Zoom Lenses
Can I use a wildlife zoom lens for astrophotography?
Not ideal. These lenses are optimized for daylight telephoto work. Their variable apertures (f/5–f/7) gather too little light for clean Milky Way shots. Stick with fast primes (f/1.4–f/2.8) for stars.
Are third-party lenses (Sigma, Tamron) as good as brand-name ones?
Often better—and cheaper. Sigma’s “Sports” line and Tamron’s VXD motors rival Canon/Nikon/Sony in autofocus speed and weather sealing. DPReview’s 2023 head-to-head found Tamron’s 150-500mm edged out Canon’s RF 100-500mm in corner sharpness at 500mm.
How do I protect my lens in rain or snow?
Weather-sealed bodies + lenses are step one. Add a $10 rubber lens hood cover or DIY solution: cut the bottom off a shower cap and secure it with a neoprene strap. Works like a charm during sudden Rocky Mountain downpours.
Final Thoughts
A wildlife prime zoom lens isn’t a luxury—it’s your ethical and creative lifeline on the trail. It lets you document fragile ecosystems without intrusion, capture split-second behaviors, and share stories that inspire conservation. Yes, they’re an investment. But ask any seasoned hiking photographer: that shot of a lynx at twilight, framed perfectly through your 500mm? Priceless.
So next time you lace up for a wilderness trek, don’t just pack extra water and a first-aid kit. Give your camera the reach it deserves. Because the wild won’t come closer—but your lens can.
Like a 2004 flip phone playing “My Humps” on repeat—some gear never gets old. Just upgrade responsibly.

