Ever set out on a hike, only to return home with nothing but blurry phone pics and shaky footage of squirrels? Yeah, us too. But what if you could come back with crystal-clear shots of wildlife, jaw-dropping landscapes, *and* memories that don’t require an editing degree?
In this blog post, we’ll dive into everything about choosing the best trail camera, from understanding its features to setting it up in the wild. You’ll learn how to avoid common mistakes, pick a model tailored to your needs, and capture moments like a pro. Let’s get started!
Table of Contents
- Why Every Hiker Needs a Trail Camera (And Why You’ll Thank Us)
- How to Choose Your Best Trail Camera: Step-by-Step Guide
- The Dos and Don’ts of Using Your Trail Camera (Even Grumpy Me Approves)
- Top Picks for Best Trail Cameras: Expert Recommendations
- FAQs About Trail Cameras for Hikers
Key Takeaways
- A trail camera is essential for capturing unmissable outdoor moments without lifting a finger.
- Look for key features like motion sensors, night vision, battery life, and weather resistance when picking the best trail camera.
- Placement matters more than gear—position your camera strategically.
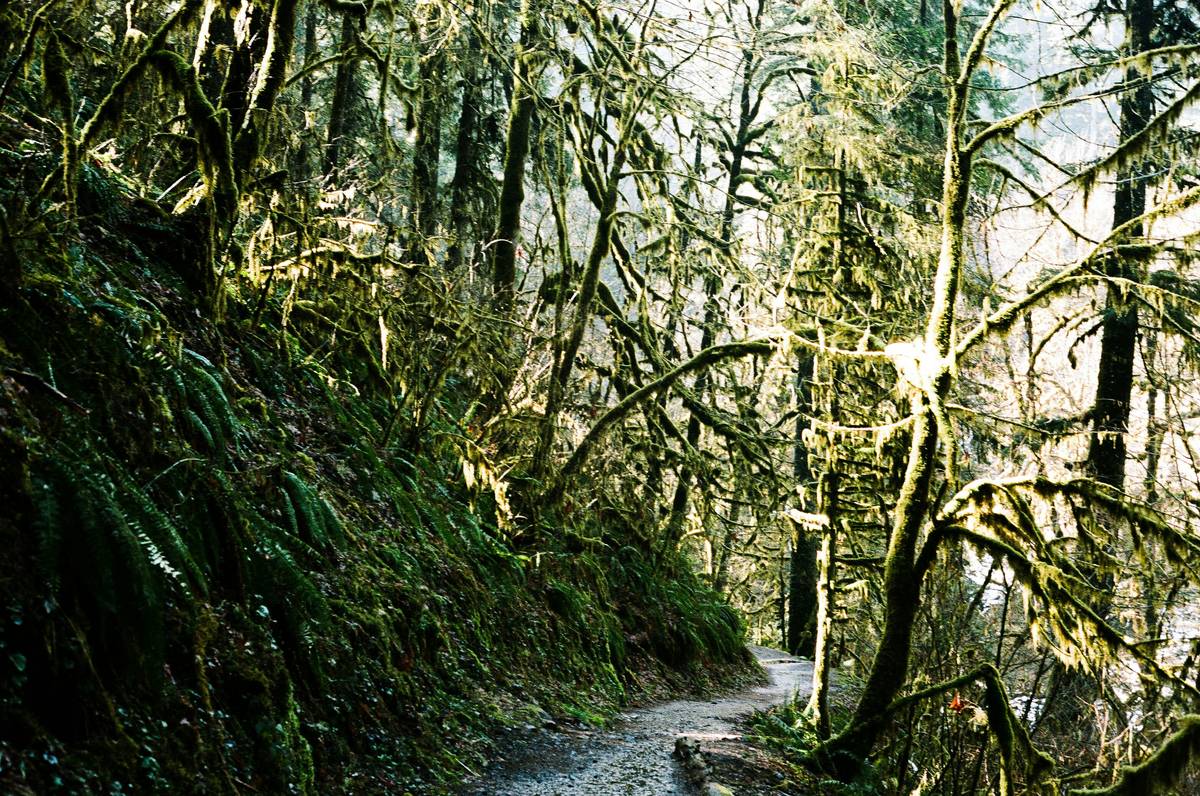
Why Every Hiker Needs a Trail Camera (And Why You’ll Thank Us)
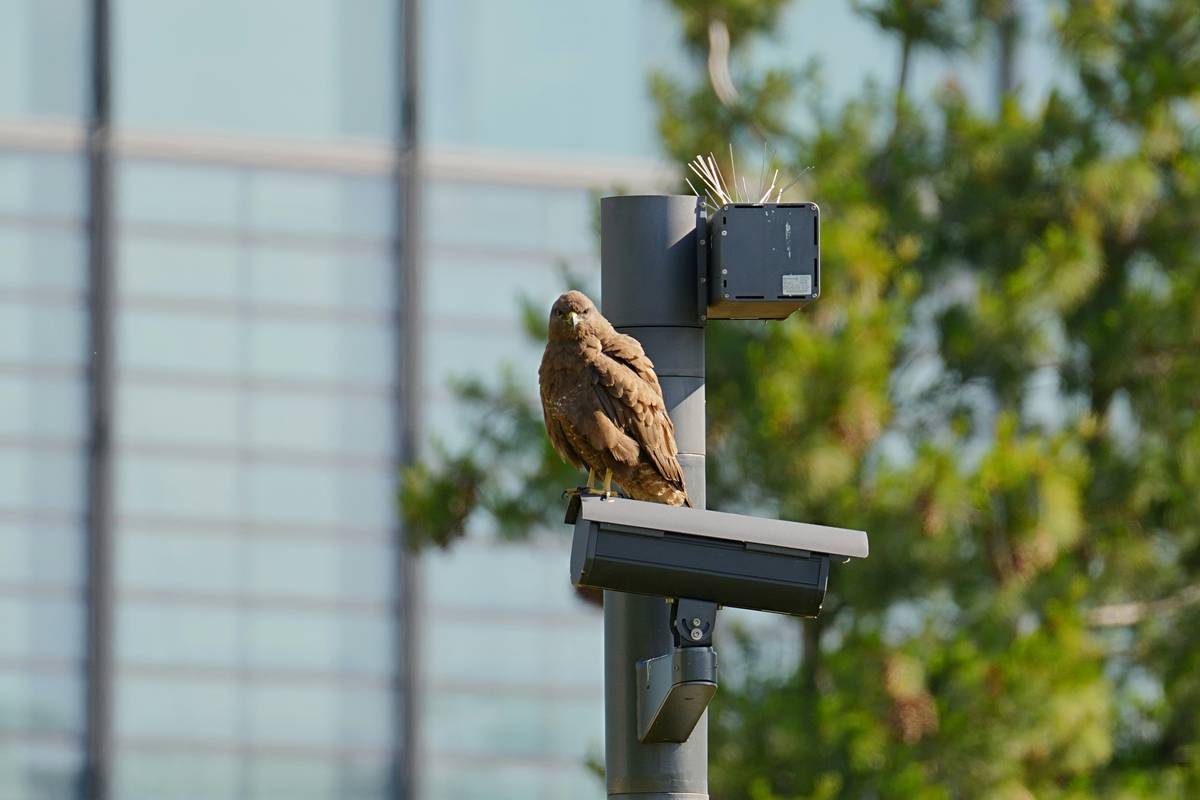
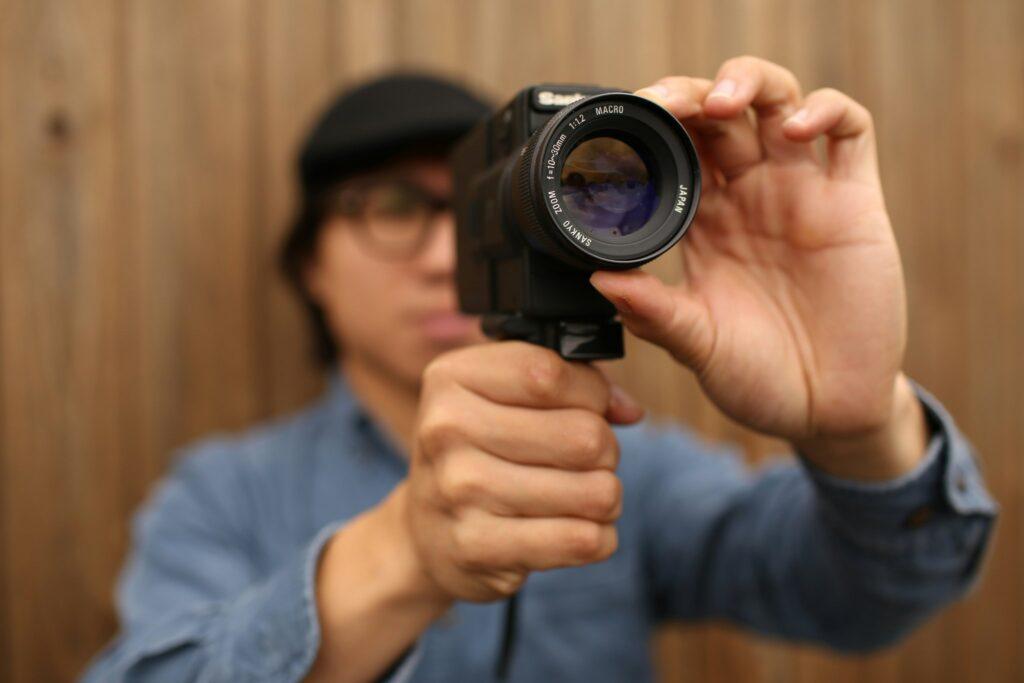
Image: A trail camera setup in action.
Picture this: Last summer, I spent hours scouring my favorite hiking trail near Aspen trying to spot wildlife. Zero luck—except one blurry pic of what might’ve been a deer or just a shadow. Frustrating? Absolutely. That’s when I discovered the power of trail cameras. These compact devices sit silently where you place them, snapping photos or recording videos whenever movement happens.
Whether you’re chasing coyotes at dusk or documenting elusive birds, the right trail camera feels like having a secret agent hiding in plain sight. It’s chef’s kiss perfection for nature lovers who hate missing magical moments.
But here’s the kicker—it’s not just about animals. Trails tell stories. With the best trail camera, you can relive those quiet mornings, foggy vistas, and mysterious rustling sounds long after they’re gone.
How to Choose Your Best Trail Camera: Step-by-Step Guide
Optimist You: “This sounds easy enough! Just pick a top-rated camera online!”
Grumpy You: “Ugh, fine—but if there isn’t decent battery life involved, count me out.”
Step 1: Assess Your Needs
Not all hikers are created equal. Ask yourself:
– Are you looking for close-ups of critters or panoramic views?
– Will the camera live through rain, snow, heat, or humidity?
– Do you need video capabilities or just still images?
Step 2: Check Motion Sensor Quality
No one likes cameras triggering every time a leaf falls. Look for advanced PIR (Passive Infrared) technology that detects actual body heat instead of wind gusts.
Step 3: Night Vision Matters
Because nocturnal animals aren’t exactly Instagram-friendly during daylight hours. The best trail camera has infrared LED lights that won’t spook shy foxes.
Step 4: Battery Life = Lifeline
Imagine trekking four miles uphill only to find your camera dead. Oof. Go for models with solar panels or extended battery packs.
The Dos and Don’ts of Using Your Trail Camera (Even Grumpy Me Approves)
DO:
- Place the camera perpendicular to trails—not directly facing them—to maximize coverage.
- Test angles and distances beforehand. Pro tip: Pretend to be Bigfoot walking past.
- Secure the camera tightly—straps should whisper “escape-proof.”
DON’T:
- Install it too low; squirrels WILL knock it over. Trust me—I know.
- Point toward sunlight unless you want silhouettes sharper than existential dread.
- Forget to clean lenses regularly. Dust ruins everything.
Rant Section: Gear Snobs Are the Worst
Listen up. I once got mansplained by someone whose $800 trail camera failed him because he ignored basic instructions. Spending big doesn’t guarantee brilliance—it’s about using what works smartly. This strategy is chef’s kiss for drowning pointless debates.
Top Picks for Best Trail Cameras: Expert Recommendations
| Model | Best Feature | Price Range |
|---|---|---|
| Reconyx UltraFire | Lightning-fast trigger speed | $500-$600 |
| Bushnell Trophy Cam HD Aggressor | Long battery life | $150-$250 |
| Moultrie Mobile M-880i | Cellular connectivity | $200-$300 |
Comparison Table: Top Three Trail Cameras for Hiking Adventures
FAQs About Trail Cameras for Hikers
Q: Can I use a regular DSLR as a trail cam?
Absolutely terrible idea. Regular DSLRs aren’t designed to survive outdoors 24/7. Stick to ruggedized trail-specific models.
Q: How do I retrieve footage remotely?
Some modern cameras offer cellular connectivity so you can access files via apps. Others store data locally on SD cards—you’ll need to check periodically.
Conclusion
Finding the best trail camera transforms your hikes from fleeting adventures into timeless tales worth sharing. Whether you aim to immortalize wildlife encounters or simply document serene sunrises, these handy gadgets make sure no moment slips away unnoticed.
So pack your snacks, lace up those boots, and slap on the perfect trail cam. Adventure awaits—and now, so does proof.
Like a Tamagotchi, your SEO needs daily care.
Keep roaming. Keep exploring. And keep clicking.