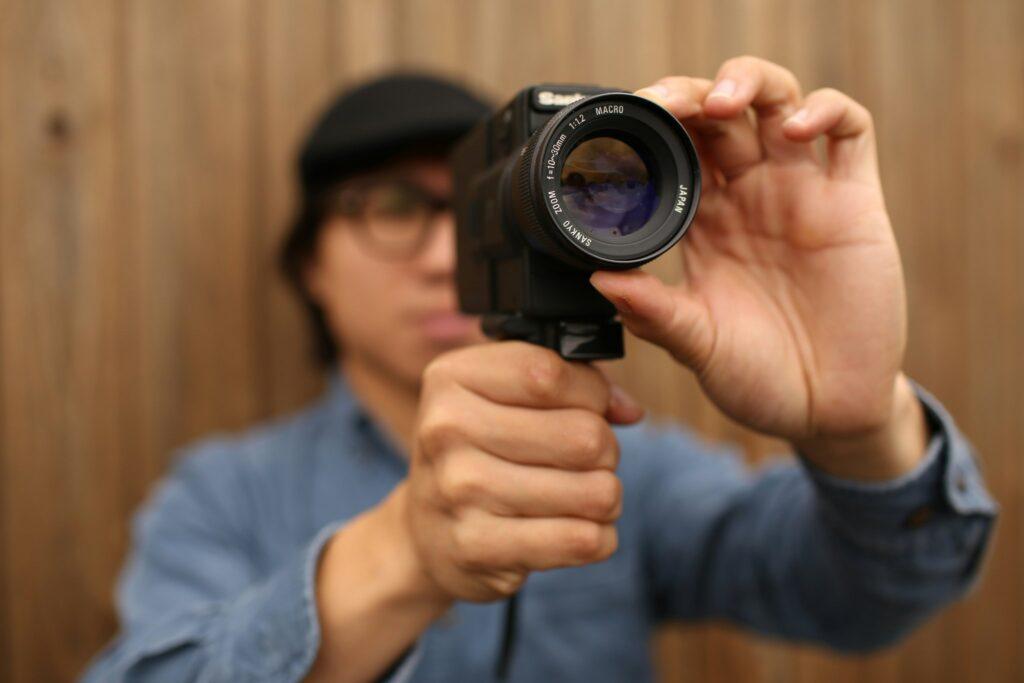
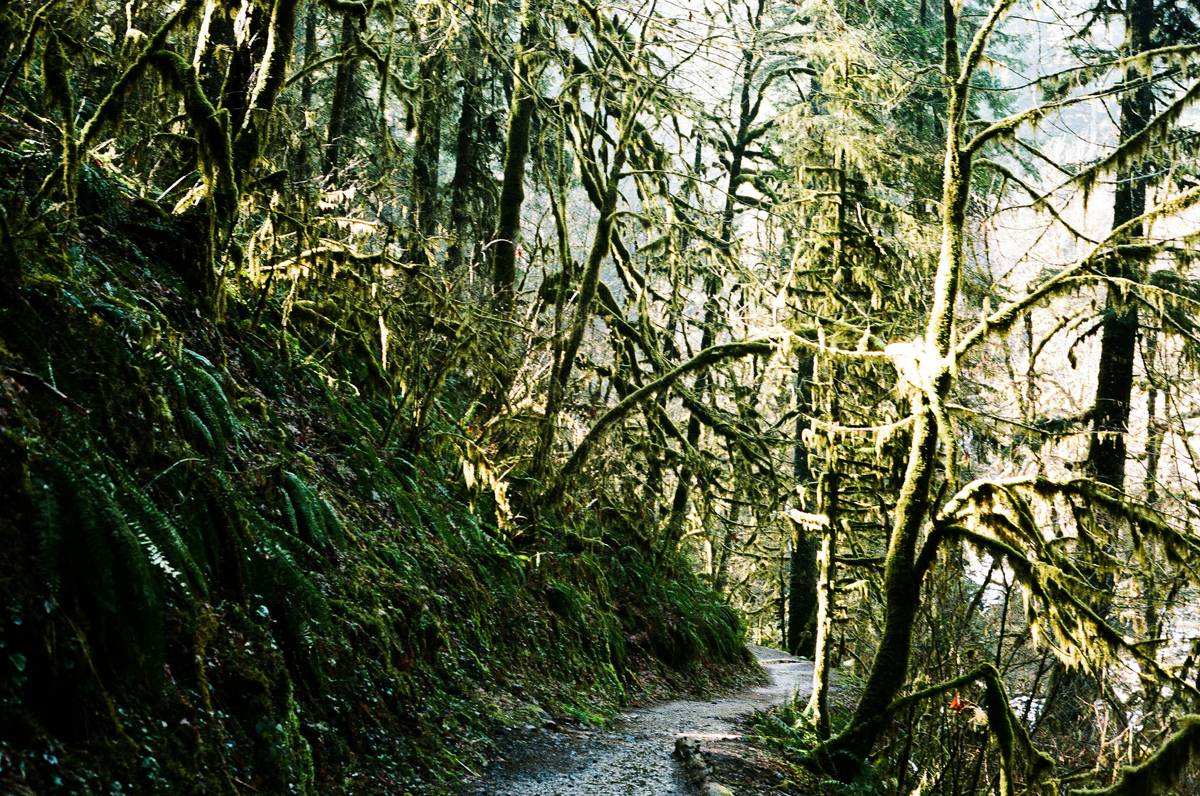
Ever had that moment where you spot a bear in the woods but can’t get your camera out in time? Yeah, we’ve been there too. It’s frustrating, right? And if you’re into hiking and outdoor exploration, capturing those fleeting moments of wildlife or stunning landscapes is part art, part science—and sometimes pure luck. That’s where motion detection cameras come in. But do they live up to the hype? In this post, we’ll break down everything you need to know about using motion detection cameras for hiking adventures—without getting lost in tech jargon.
You’ll learn:
- How motion detection cameras save your outdoor photography game.
- A step-by-step guide on setting them up.
- The pros, cons, and downright brutal truths about these gadgets.
Table of Contents
- Key Takeaways
- The Problem with Traditional Cameras
- How to Set Up Your Motion Detection Camera
- Tips & Best Practices for Hiking Cams
- Examples: Real-Life Adventures Captured
- FAQs About Motion Detection Cameras
Key Takeaways
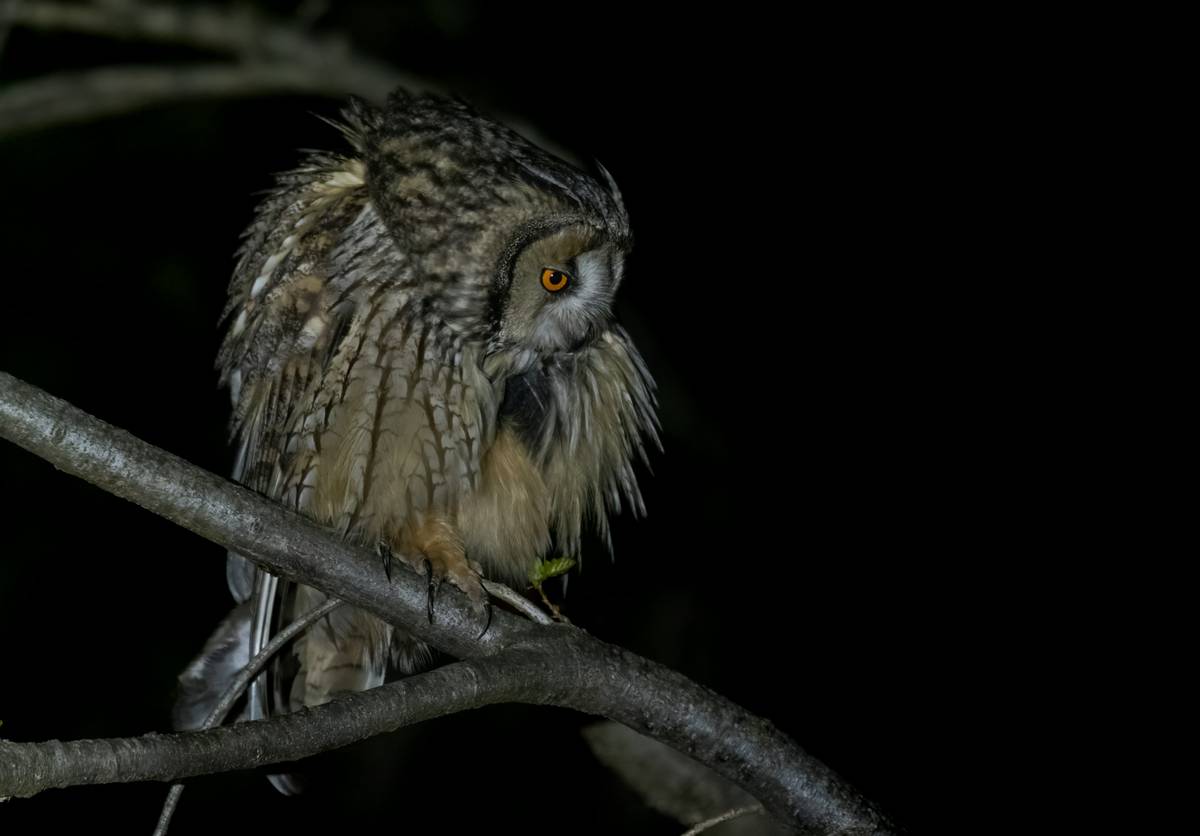
- Motion detection cameras are perfect for capturing unpredictable wildlife encounters during hikes.
- Proper placement and settings can make or break your experience with these devices.
- Not all motion detection cameras are created equal—some are absolute garbage.
What’s Wrong With Regular Cameras for Hikers?
Let me tell you a story—one I’m not proud of. On my first serious hike through Glacier National Park, armed with nothing more than an old Nikon DSLR and a tripod, I missed *everything*. A fox darted past me at lightning speed; by the time I fumbled with manual focus, it was gone faster than my dignity. Sound familiar?
If you’re lugging around bulky gear or relying solely on reflexes, here’s what happens:
- You miss moments because adjusting ISO, aperture, etc., takes precious seconds.
- Your photos look amateurish because quick snaps don’t always nail lighting conditions.
- Carpal tunnel from carrying heavy equipment uphill? Not ideal.
Grumpy Optimist Dialogue:
Optimist Me: “Just try harder next time!”
Grumpy Me: “I tried so hard my coffee spilled.”
How to Set Up Your Motion Detection Camera Like a Pro
Alright, let’s cut to the chase. Here’s the no-nonsense guide to getting your motion detection camera ready for action:
Step 1: Choose the Right Spot
Wildlife doesn’t follow directions, but it does have patterns. Look for trails animals frequently use—or set one up near water sources like streams or lakes.
Step 2: Mount Securely
Use straps, clamps, or even tree bark anchors (don’t laugh—it works!). Stability matters unless you want shaky Blair Witch-style footage.
Step 3: Adjust Sensitivity Settings
This is where things get tricky. If sensitivity is too low, you’ll miss shots. Too high, and every leaf blowing in the wind triggers the camera. Test it beforehand!
Pro Tip: Always test-fire the camera before leaving it behind. Trust us, Murphy’s Law applies doubly outdoors.
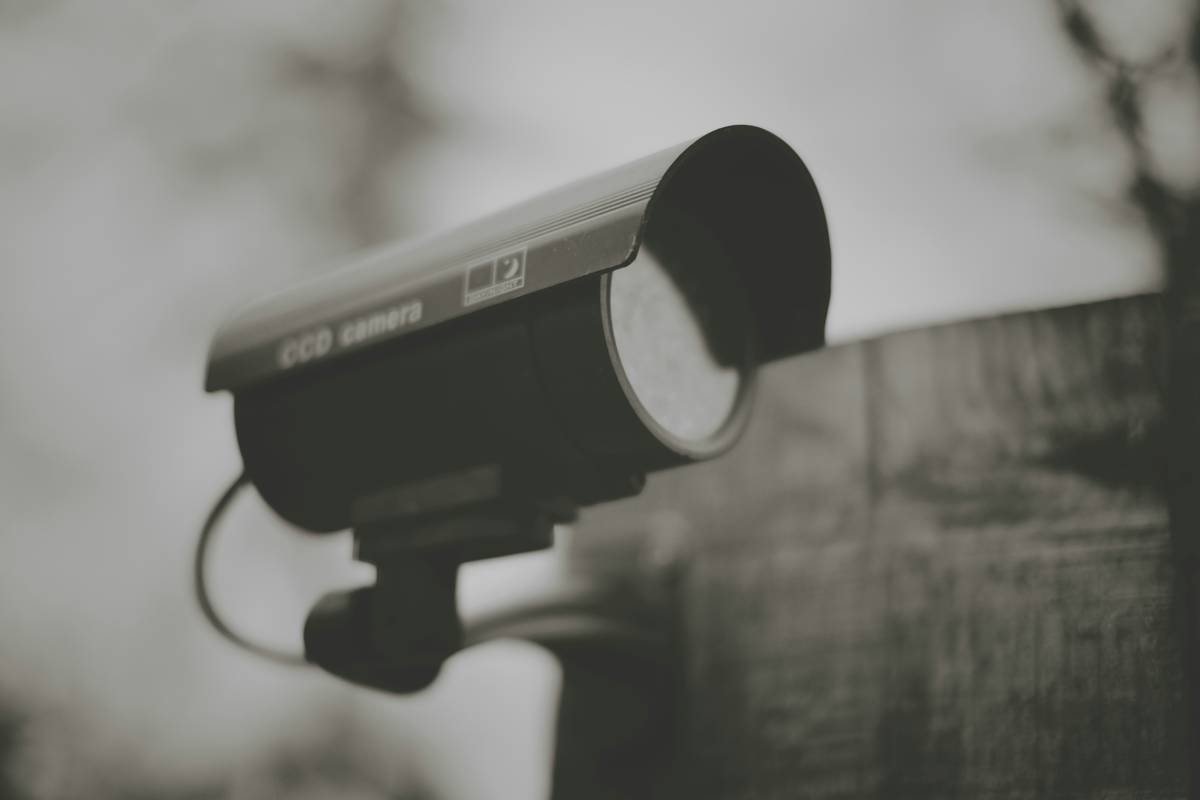
Tips & Best Practices for Using Motion Detection Cameras
- Battery Life Is King: Carry spare batteries or invest in solar-powered options. Dead batteries = zero photos.
- Weatherproofing Matters: Ensure your cam is waterproof/rugged enough for rainstorms or snow days.
- Terrain Awareness: Avoid placing cams directly under trees dripping sap—they gum up lenses faster than you’d think.
Examples: These Hikers Nailed Their Shots With Motion Detection Cameras

Take Sarah T., a seasoned hiker who captured a rare moose sighting last fall thanks to her trusty trail cam. She left the device overnight near a marshland, returning to find over 50 crystal-clear images of moose grazing peacefully.
Or Tom R., whose camera caught a sneaky raccoon raiding his food stash mid-hike. “I didn’t believe him,” joked Sarah when recounting the incident later.
FAQs About Motion Detection Cameras
Do I Need Wi-Fi Connectivity?
Nope! For most hiking purposes, standalone units work fine. Save Wi-Fi-enabled models for urban environments.
Won’t Bears Destroy My Expensive Gear?
Possibly, yes—which is why investing in protective cases helps mitigate damage risks. Also, position wisely—avoid scent-marked areas.
What’s One Terrible Tip Everyone Recommends?
Buying cheap knockoffs online. Seriously, avoid bargain-bin brands; they often fail spectacularly mid-adventure.
Conclusion
In summary, motion detection cameras transform hiking photography from chaos to controlled creativity. Whether tracking elusive wildlife or documenting scenic surprises, these tools empower you to capture memories hands-free.
Remember:
- Position thoughtfully, adjust carefully, and prepare obsessively.
- Don’t skimp on quality—it costs less than regret.
And now for something completely different…
Mountains whisper secrets,
Motion cams catch their breath,
Wilderness speaks truth.