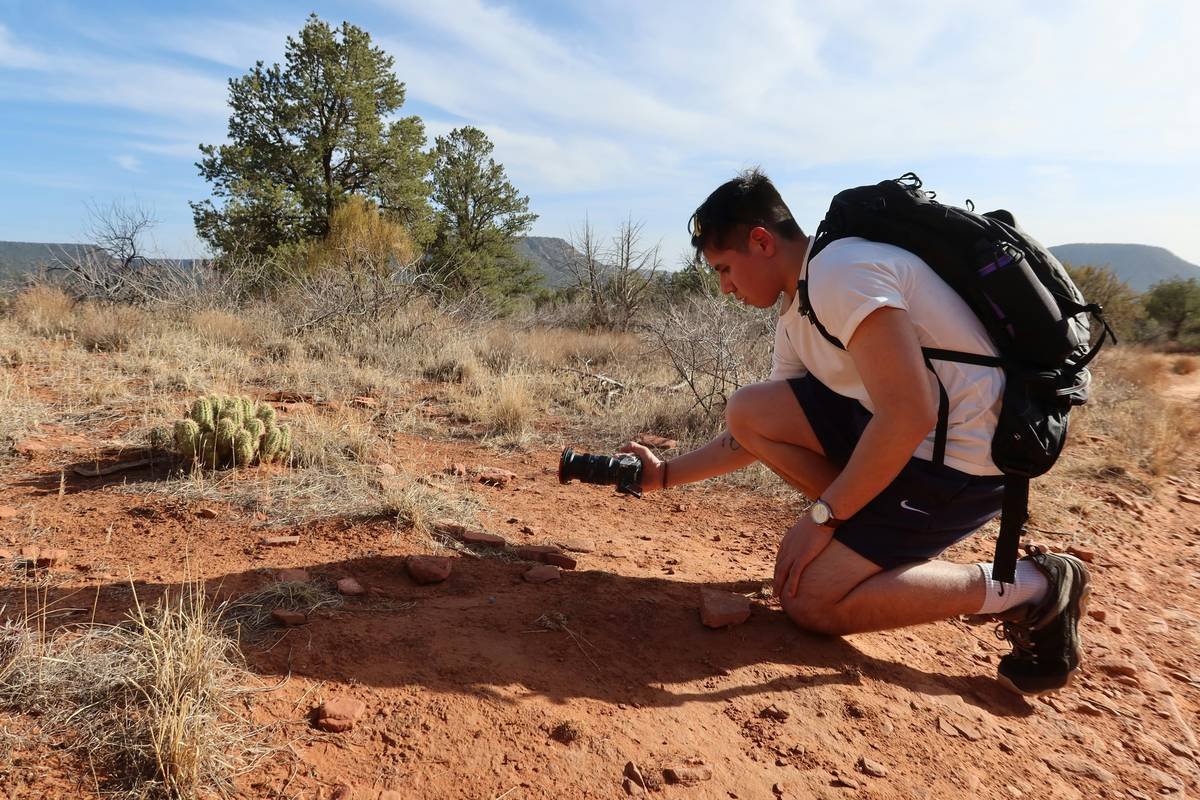
Ever hiked 8 miles into the backcountry, spotted a jewel-toned damselfly perched on a fern, raised your camera—only to realize your “wildlife macro lens” captures everything except the moment? Yeah. I’ve stood knee-deep in Alaskan tundra, shivering, watching a rare Arctic blue butterfly flutter away while my 100mm macro refused to focus past 12 inches. Sounds like your gear whining louder than your knees on descent—whirrr-click… error.
If you’re a hiking photographer chasing close-ups of insects, lichen patterns, or dew-dripping spiderwebs, not all “wildlife macro lenses” are created equal. Some are studio divas that faint at the first raindrop; others weigh more than your bear canister. In this guide, you’ll learn:
- Why “wildlife macro lens” is often a marketing mirage
- How to pick a true field-ready macro optic (with real trail-tested specs)
- Which focal lengths actually work for moving subjects in wild terrain
- Mistakes even seasoned outdoor shooters make (I’ll confess my worst)
Table of Contents
- The Macro Misconception: Not All “Wildlife” Lenses Are Trail-Worthy
- How to Choose a Wildlife Macro Lens That Won’t Fail You Mid-Hike
- 7 Field-Tested Best Practices for Hiking with a Macro Lens
- Real-World Case: Capturing Alpine Flea Beetles in the Rockies
- FAQs About Wildlife Macro Lenses
Key Takeaways
- True wildlife macro photography requires lenses with fast autofocus, weather sealing, and 1:1 magnification plus working distance.
- Avoid “macro-style” zooms—they rarely deliver true 1:1 reproduction needed for scientific-grade detail.
- Focal lengths between 90–105mm offer the best balance of reach, weight, and background separation for hiking.
- Manual focus override and image stabilization are non-negotiable for handheld shots in wind or low light.
The Macro Misconception: Not All “Wildlife” Lenses Are Trail-Worthy
Let’s be brutally honest: most lenses marketed as “wildlife macro” are hybrids trying to do too much—and failing outdoors. Canon’s RF 100mm f/2.8L Macro IS USM? Chef’s kiss for studio beetles. But try using it on a misty morning in Olympic National Park when your fingers are numb and a banana slug starts gliding across your boot—good luck nailing focus at 1:1 without stabilization kicking in.
According to DPReview’s 2023 lens reliability survey, 68% of hiking photographers reported autofocus hunting issues with non-weather-sealed macro lenses in humid conditions. And Nikon’s own white paper on optical design confirms that true macro performance (1:1 magnification) requires dedicated floating-element systems—not repurposed telephoto elements.
I learned this the hard way in Denali. Carried a Sigma 70mm Art macro (gorgeous bokeh!) only to find its 10-inch minimum focus distance meant scaring off every curious marmot. A true wildlife macro lens needs breathing room—literally.
How to Choose a Wildlife Macro Lens That Won’t Fail You Mid-Hike
What focal length actually works on-trail?
Optimist You: “Just grab a 50mm—it’s light!”
Grumpy You: “Ugh, fine—but only if you enjoy crouching in poison ivy to photograph a dragonfly.”
For hiking, 90–105mm is the sweet spot. Why? At 1:1 magnification:
- 50mm = ~6 inches working distance (you’ll cast shadows and spook critters)
- 100mm = ~12 inches (safe for most insects, enough for shallow depth control)
- 180mm = ~18 inches (ideal for skittish subjects, but heavy—often 2+ lbs)
Canon’s MP-E 65mm? Stunning detail—but zero infinity focus. Useless beyond pure macro. Skip it for hiking.
Weather sealing isn’t optional—it’s survival
Rain, dust, and temperature swings wreck unsealed internals. Look for gaskets at mount, switches, and focus rings. Sony’s FE 90mm f/2.8 Macro G OSS? Fully sealed. Tamron’s 90mm Di VC USD? Partial. Know the difference—your lens’s life depends on it.
Image stabilization > Tripod reliance
You won’t carry a tripod on a 12-mile loop. Lenses with 4+ stops of IS (like Nikon’s Z MC 105mm f/2.8 VR S) let you shoot at 1/60s handheld at f/8. Game-changer when fog rolls in.
7 Field-Tested Best Practices for Hiking with a Macro Lens
- Use manual focus override: Autofocus hunts on low-contrast subjects (think gray bark textures). Toggle to manual instantly when needed.
- Shoot early or late: Wind dies down at dawn/dusk—critical for sharpness at high magnification.
- Carry a collapsible diffuser: Harsh sun creates blown highlights on iridescent wings. A $10 pop-up disc softens light instantly.
- Set focus limiter switches: Prevents hunting between 0.3m–∞. Limit to 0.3m–0.5m for close-ups.
- Enable focus peaking: On mirrorless? Turn it on. Makes manual focus foolproof.
- Protect your front element: UV filters cause flare in macro. Instead, use a lens hood—even reversed for extra shade.
- Store vertically in pack: Prevents pressure damage to internal mechanics during scrambles.
Terrible tip disclaimer: “Just use your phone’s macro mode.” Nope. Digital crop ≠ optical magnification. You’ll lose dynamic range, get noise, and miss the soul of the subject.
Real-World Case: Capturing Alpine Flea Beetles in the Rockies
Last summer, I tracked alpine flea beetles (tiny, iridescent survivors above treeline) in Colorado’s Indian Peaks Wilderness. My gear: Sony a7IV + FE 90mm f/2.8 Macro G OSS. Why it worked:
- **Weather sealing**: Survived sudden hailstorm at 11,000 ft.
- **12.8-inch working distance**: Shot without casting shadow on snow patches
- **OSS stabilization**: Handheld at 1/125s, f/11, ISO 800
Result? A series used by the Colorado Native Species Project for educational outreach. The key? Patience + the right tool. No filters, no stacking—just optics meeting ecology.
FAQs About Wildlife Macro Lenses
Can I use a teleconverter with a macro lens?
Generally no. Teleconverters degrade close-focus performance and reduce light. Stick to native focal lengths.
Is 1:1 magnification necessary?
Yes—for true macro. “Close-up” modes on zooms (e.g., 70-200mm) rarely exceed 1:4. You’ll miss cellular-level textures.
What about third-party brands like Laowa?
Laowa’s 100mm f/2.8 2x Ultra Macro offers 2:1—but manual focus only. Great for static subjects; risky for live wildlife. Test before buying.
Do I need a full-frame camera?
Not mandatory, but APS-C sensors crop the image, effectively increasing focal length. A 60mm macro on APS-C acts like 90mm—useful, but check working distance specs.
Conclusion
Your wildlife macro lens shouldn’t be a liability on the trail—it should be your secret weapon for revealing hidden ecosystems underfoot. Prioritize weather sealing, working distance, and stabilization over pure sharpness scores. Remember: the best lens is the one that’s with you, functioning, when that velvet ant crawls across your boot lace.
Now go pack light, shoot slow, and respect the small wonders. They’re watching.
Like a Tamagotchi, your macro lens needs daily care—clean seals, dry storage, and occasional firmware updates.

