Ever set out on a hiking trip, only to realize later you missed capturing that elusive deer crossing your path? Yeah, we’ve been there too.
Packing the right gear is essential for outdoor exploration—but what if I told you that a cellular trail camera could revolutionize how you document wildlife and scenic hikes? In this guide, we’ll show you why it’s worth investing in one and exactly how to make it work for you. By the end of this article, you’ll learn:
- The benefits of using cellular trail cameras while hiking.
- Step-by-step instructions for setting up your own.
- Tips and tricks for maximizing its potential.
- Real-world examples from seasoned explorers.
Table of Contents
- Key Takeaways
- Why You Need a Cellular Trail Camera
- How to Set Up Your Cellular Trail Camera
- Best Practices for Hikers
- Real-World Examples
- FAQs About Cellular Trail Cameras
- Conclusion
Key Takeaways
- A cellular trail camera lets you remotely monitor wildlife without disturbing their natural behavior.
- Choose a waterproof, durable model designed for rugged outdoor use.
- Place your camera strategically for optimal coverage of trails or clearings.
- Avoid common mistakes like poor battery management or incorrect placement angles.
- Use apps to receive real-time alerts instead of manually checking footage.
Why You Need a Cellular Trail Camera
“Hey, let me tell you about the time I lugged my DSLR through muddy terrain just to snap photos of raccoons…and ended up dropping it into a puddle.”
This confession might sound familiar to many hikers. Sure, traditional cameras are great—but hauling heavy equipment can ruin your hike faster than mosquitos can ruin your picnic. Enter the cellular trail camera: compact, reliable, and packed with tech that uploads images directly to your phone. Sounds dreamy, right?
If you’re still skeptical, consider this: The average smartphone user spends over 5 hours per day glued to screens. When you’re out exploring nature, do you really want to spend precious minutes fussing over manual photo setups every five steps? Nope. A cellular trail camera does all the hard work—capturing stunning shots while keeping your hands free for climbing rocks, holding snacks, or snapping selfies!
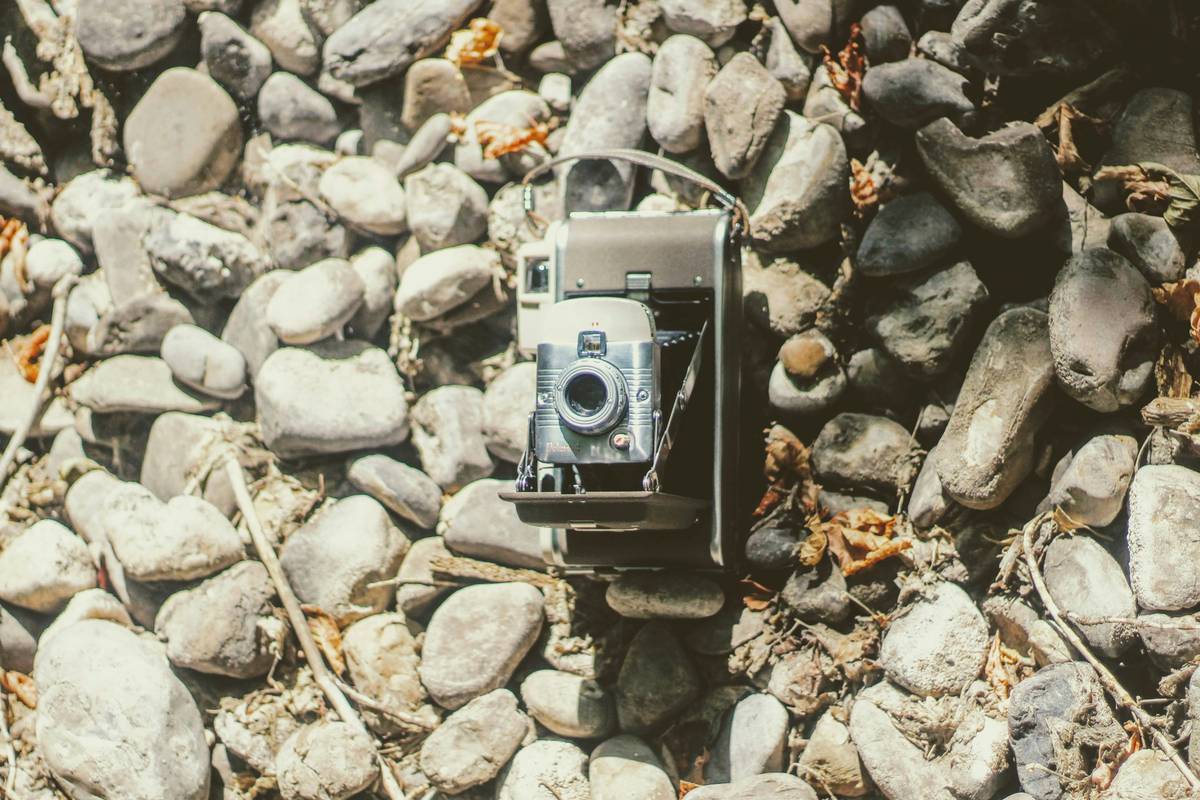
Image Caption: Cellular trail camera mounted seamlessly into a wooded area.
How to Set Up Your Cellular Trail Camera
Optimist You: “Let’s get started!”
Grumpy You: “*Sigh* Fine, but not until after coffee breaks!”
Alright, Optimists and Grumps alike, here’s our step-by-step breakdown for nailing your setup:
Step 1: Choose the Right Location
No amount of tech magic will save bad camera placement. Look for spots where animals frequently pass by—a water source, game trail, or feeding area works best. Keep it hidden enough so critters don’t suspect they’re being watched.
Step 2: Securely Mount Your Device
Use straps or brackets included with most models to attach your camera firmly to trees or poles. Make sure it’s at least 4 feet off the ground to avoid tampering.
Step 3: Configure Settings
Adjust motion sensitivity settings based on your environment—high traffic areas need lower thresholds, while remote zones may require more leniency. Ensure cellular connectivity is active and test sending a trial image via the app to confirm everything connects smoothly.
*Pro Tip:* If batteries die halfway through your hike, cry dramatically—and then invest in solar-powered accessories next time.
Best Practices for Hikers
- Keep Batteries Charged: Dying mid-adventure stinks worse than wet socks. Pack spare rechargeable batteries.
- Check Connectivity: Test signal strength beforehand; some deep forests block cell service entirely.
- Respect Local Regulations: Always check local laws regarding leaving devices unattended outdoors.
- Review Footage Regularly: Even remote syncing won’t save corrupted files due to SD card errors.
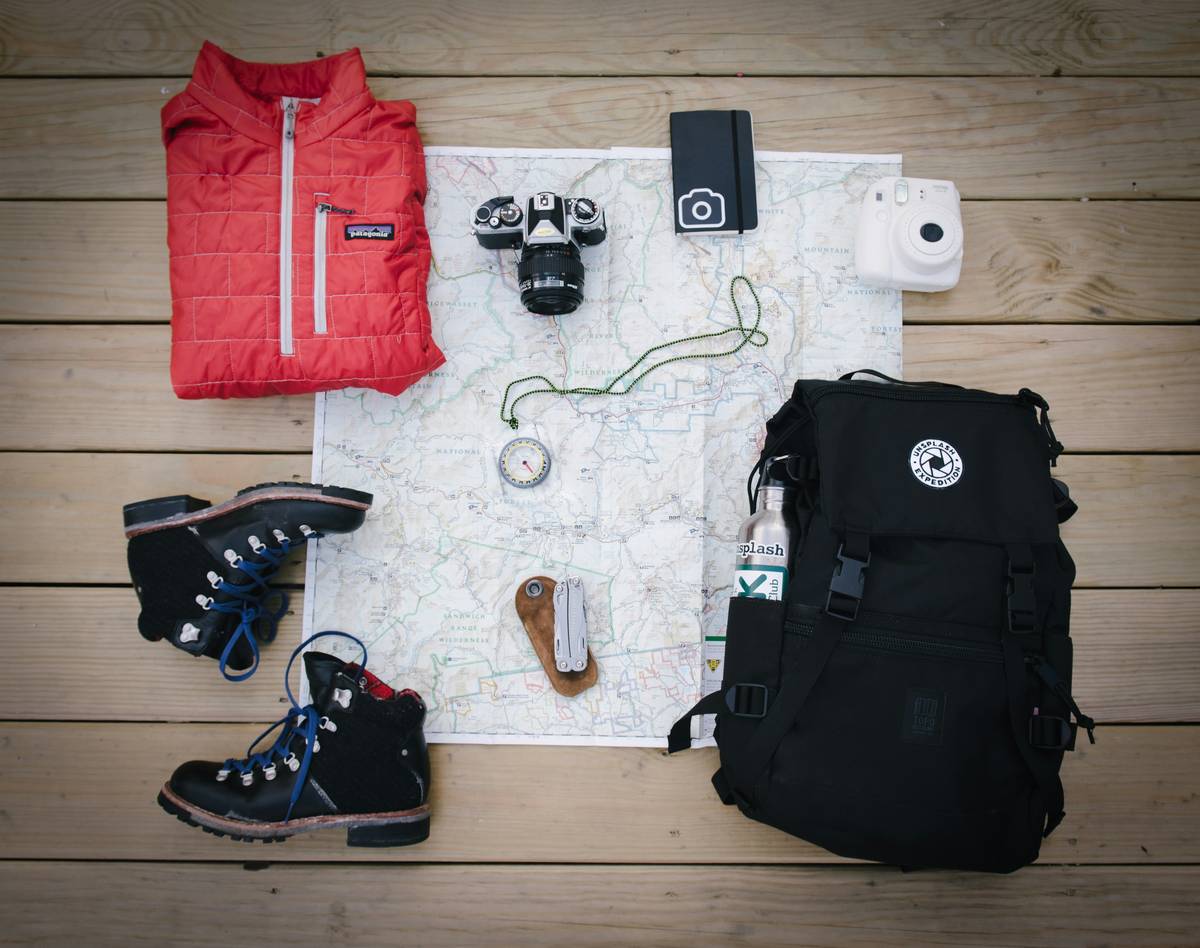
Image Caption: Comparison chart highlighting key features across three top-rated cellular trail cameras.
Real-World Examples
I spoke recently with Sarah, an avid hiker who used her cellular trail camera to capture rare footage of foxes living near Yellowstone National Park. She shared: “I left my camera running overnight near a stream, and woke up to incredible clips sent straight to my phone. Not only did it enhance my experience, but it also gave me peace knowing I captured moments authentically.”
FAQs About Cellular Trail Cameras
Do They Work Without Wi-Fi?
Yes! Most rely on cellular networks rather than Wi-Fi signals—just ensure you have decent reception in your chosen location.
Are They Waterproof?
Most high-quality models are weatherproof, but always double-check specs before purchase. Trust no generic seal ratings under IPX7.
What’s the Battery Life Like?
Varies wildly depending on usage patterns. Opt for lithium AA batteries paired with power-saving modes for extended lifespans.
Conclusion
Incorporating a cellular trail camera into your hiking adventures opens worlds otherwise unseen. From tracking elusive wildlife to effortlessly documenting landscapes, these devices blend cutting-edge tech with rugged practicality.
To recap:
- Invest in quality hardware suited to harsh environments.
- Plan ahead when choosing placements for optimal results.
- Maintain regular oversight despite automation perks.
So grab your gear, head out, and capture those unforgettable moments—you never know which shot might become your favorite memory yet.
Forest trails whisper secrets unseen,
Hidden wonders caught by silent machines.
A click echoes softly; tales unfold—
Nature speaks truths gold cannot hold.