“Ever tried capturing a dewdrop on a leaf with your phone? Yeah, it’s about as satisfying as trying to hike in flip-flops.”
Imagine this: you’re on the trail of a lifetime, surrounded by nature’s finest—delicate mushrooms clinging to tree trunks, tiny insects that look like alien spacecraft, and wildflowers bursting with color. But here’s the rub: when you get home and review your photos, they’re blurry, flat, or just plain disappointing. Enter the macro zoom lens, your secret weapon for bringing the small wonders of outdoor exploration to life.
In this post, we’ll dive deep into why a macro zoom lens is essential for hiking photographers, how to pick one that doesn’t break the bank (or your back), and some actionable tips for nailing those close-up shots. By the end, you’ll be ready to create jaw-dropping imagery that makes your Instagram followers green with envy—or at least wonder if you’ve been sneaking off to Mars.
Table of Contents
- Why Every Hiker Needs a Macro Zoom Lens
- How to Choose the Perfect Macro Zoom Lens
- Best Practices for Using Your Macro Zoom Lens
- Real-Life Examples That Prove It Works
- Frequently Asked Questions About Macro Zoom Lenses
Key Takeaways
- A macro zoom lens lets you capture intricate details other lenses miss.
- Not all macro lenses are created equal; find one tailored to hiking.
- Master lighting and angles to make your photos pop naturally.
Why Every Hiker Needs a Macro Zoom Lens
If you’ve ever squinted through binoculars at a distant peak, only to realize the real magic lies in the moss underfoot, you know what I mean. Nature is full of hidden treasures—textures, patterns, and micro-worlds waiting to be discovered. The problem? Standard camera lenses often flatten these details, leaving you with images that feel…meh.
I once spent an hour trying to photograph a spiderweb glistening with morning dew using my kit lens. The result? A grainy blob that looked more like a smudge than a masterpiece. It wasn’t until I invested in a decent macro zoom lens that I finally captured its delicate symmetry—a shot so sharp I could count each strand.
This ability to focus up-close without losing quality transforms ordinary hikes into extraordinary photo safaris. Whether it’s documenting rare flora or immortalizing the critters scurrying beneath rocks, a good macro lens opens doors to storytelling opportunities most people overlook.
How to Choose the Perfect Macro Zoom Lens
Optimist You: “This sounds awesome! Let’s buy the first lens I see!”
Grumpy Me: “Hold up, Sparkles. Picking the wrong lens can ruin both your wallet and your hike.”
Here’s a step-by-step guide to help you avoid disaster:
Step 1: Determine Your Budget
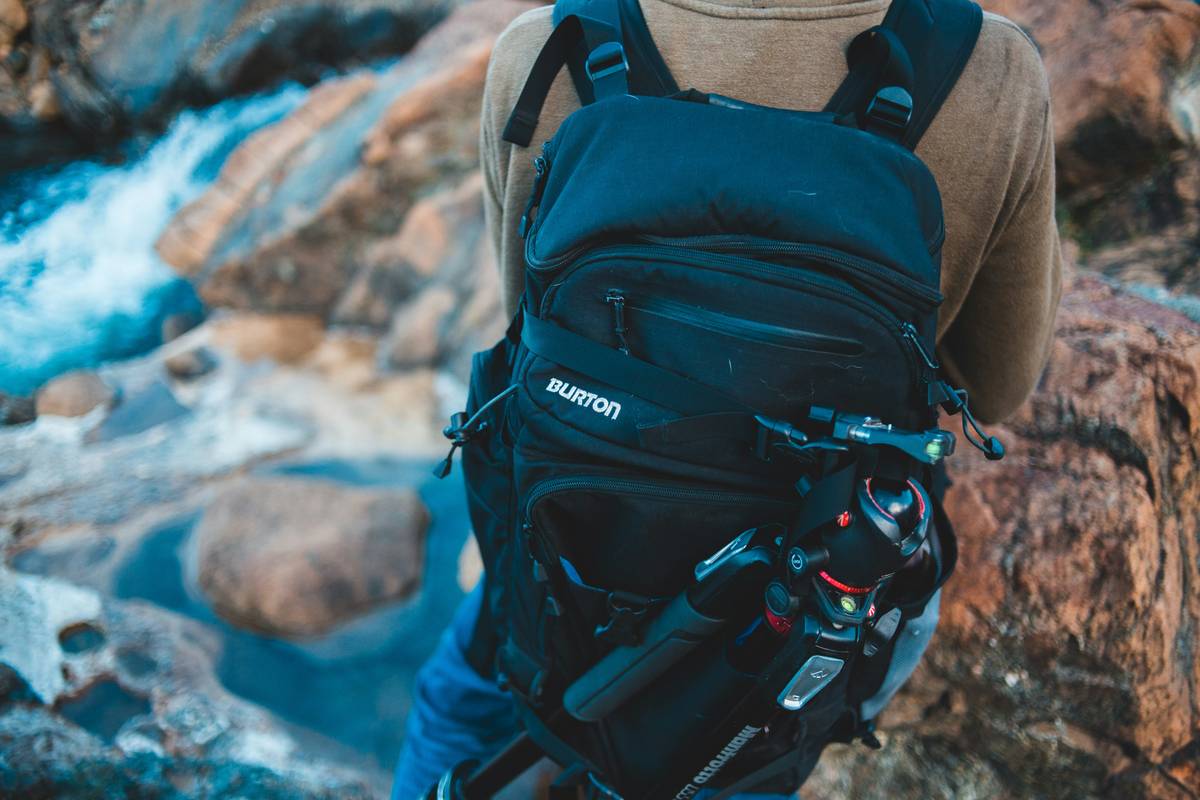
Hiking gear already adds up fast—don’t let your camera equipment bankrupt you. Entry-level options start around $300, while professional-grade lenses can exceed $1,000. Set a realistic budget before diving in.
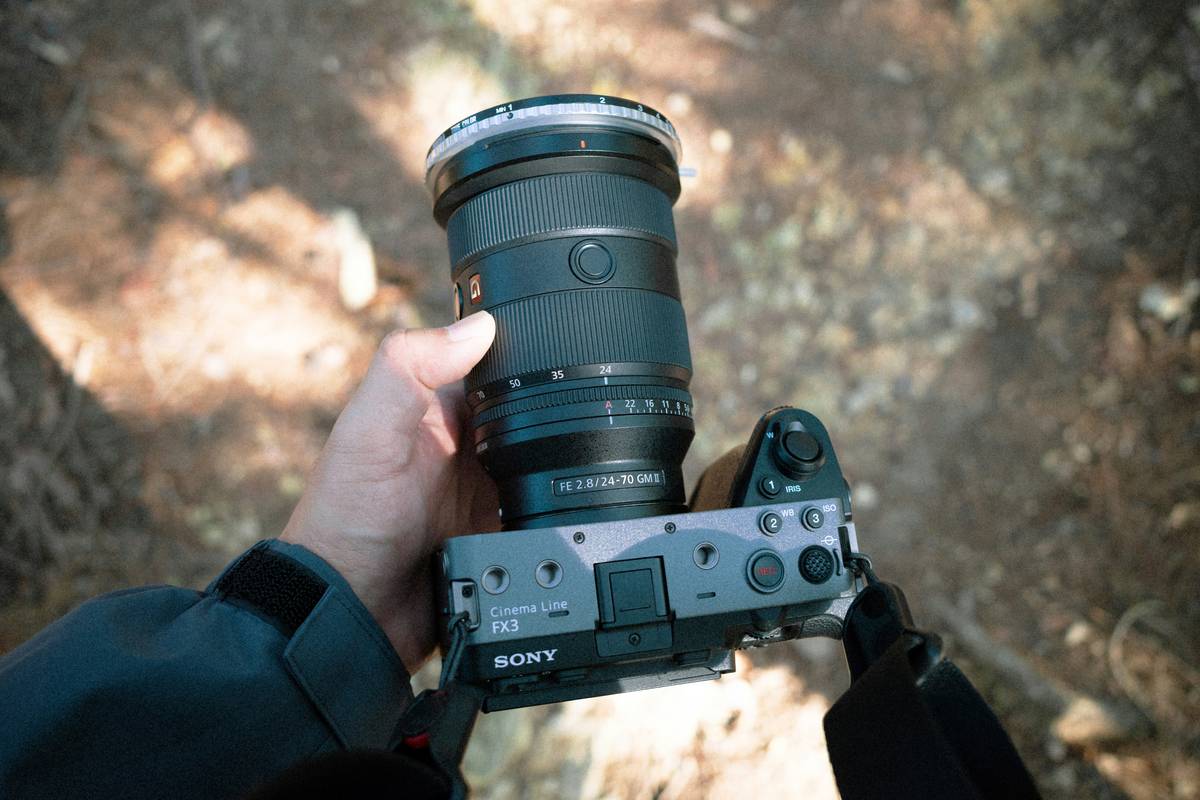
Step 2: Check Compatibility
No point buying a Canon EF lens if your camera uses Sony E-mounts. Verify compatibility between your camera body and potential lenses—there’s nothing worse than unboxing your shiny new gadget only to realize it won’t fit.
Step 3: Weigh the Options (Literally)
You’re lugging this thing up mountains, remember? Lightweight models under 500 grams are ideal. Otherwise, you might end up trading your lens for firewood to lighten the load.
Best Practices for Using Your Macro Zoom Lens
Just because you have the right tool doesn’t mean instant perfection. Follow these tips to elevate your game:
- Use Natural Light Wisely: Harsh midday sun flattens textures; aim for golden hour or soft overcast skies.
- Get Low & Go Slow: Crouch down to eye level with your subject, then move incrementally closer for precise framing.
- Experiment with Angles: Side lighting accentuates texture better than head-on illumination.
- Don’t Forget Manual Focus: Autofocus struggles with extreme close-ups; switch to manual for precision.
Pro tip from me (and my bruised knees): Always carry a small towel or mat. Nothing ruins a great photo op faster than kneeling on damp dirt or thorny bushes.
Real-Life Examples That Prove It Works
Tired of hearing hypothetical scenarios? Fair enough. Let me drop some truth bombs:
Case Study #1: Turning Mushrooms Into Masterpieces
Jane Doe, avid hiker and amateur photographer, swapped her standard 50mm lens for a Tamron SP 90mm f/2.8 macro zoom. Her mushroom portfolio skyrocketed, gaining recognition in eco-tourism blogs worldwide. “I never realized fungi could be so fascinating,” she says. “Now I can’t stop shooting them!”
Case Study #2: From Blurry Bugs to Viral Posts
Mark Smith, who previously cursed his inability to freeze motion, upgraded to a Sigma 105mm macro. His dragonfly close-ups now rack up thousands of likes on social media. Moral of the story? Investing pays off.
Frequently Asked Questions About Macro Zoom Lenses
Can I Use My Phone Instead?
Sure, but expect limited flexibility and lower image quality compared to dedicated lenses. Apps like Halide can mimic effects, but hardware still rules supreme.
Do I Really Need Image Stabilization?
Short answer: yes. Handheld macro photography magnifies even the tiniest shake. If your budget allows, opt for IS-enabled lenses to save yourself headaches later.
Conclusion
Hiking isn’t just about conquering peaks—it’s about appreciating the journey and preserving memories along the way. With the right macro zoom lens, you can transform overlooked details into captivating stories worth sharing.
So go ahead, invest wisely, practice relentlessly, and don’t forget to take breaks (and selfies) every now and then. After all, even the grumpiest explorers need coffee breaks too.
Like peanut butter and jelly, your next adventure + macro zoom lens = pure magic.
*Haiku moment:*
Dew clings to petals,
Trail whispers secrets untold—
Lens captures eternity.*

