“Ever snapped a blurry photo of an epic mountain vista with your smartphone, only to curse yourself later? Yeah, me too.”
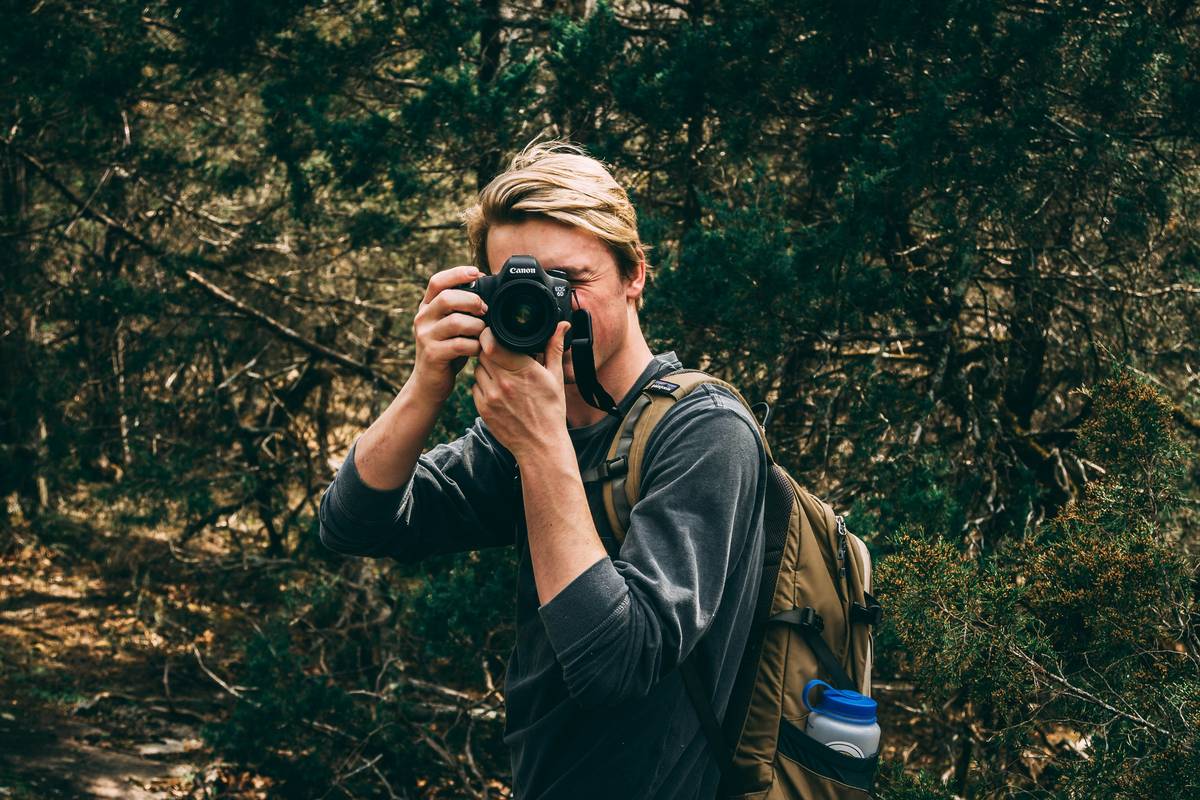
Hiking and outdoor exploration are exhilarating. But capturing those jaw-dropping moments is just as important—especially if you’re hoping to inspire others or relive that magic over coffee years later. Enter the portable adventure camera. Compact, rugged, and built for adventurers like you, these little gadgets can make all the difference in preserving memories without weighing down your pack.
In this guide, I’ll walk you through everything you need to know about portable adventure cameras: from their importance on the trail to actionable steps for choosing one. Plus, I’ll share tips, examples, FAQs, and even throw in a terrible tip for good measure (because honesty is golden).
By the end of this post, you’ll be equipped with:
- A clear understanding of what makes a camera “adventure-ready”
- Actionable advice on picking the perfect model
- Tips for maximizing its potential on hikes
- Real-world success stories from avid hikers
Table of Contents
- Why Portable Adventure Cameras Matter
- Choosing Your Camera: Step-by-Step Guide
- Best Practices for Using Your Camera on the Trail
- Real Hikers, Real Experiences: Case Studies
- FAQs About Portable Adventure Cameras
Why Portable Adventure Cameras Matter
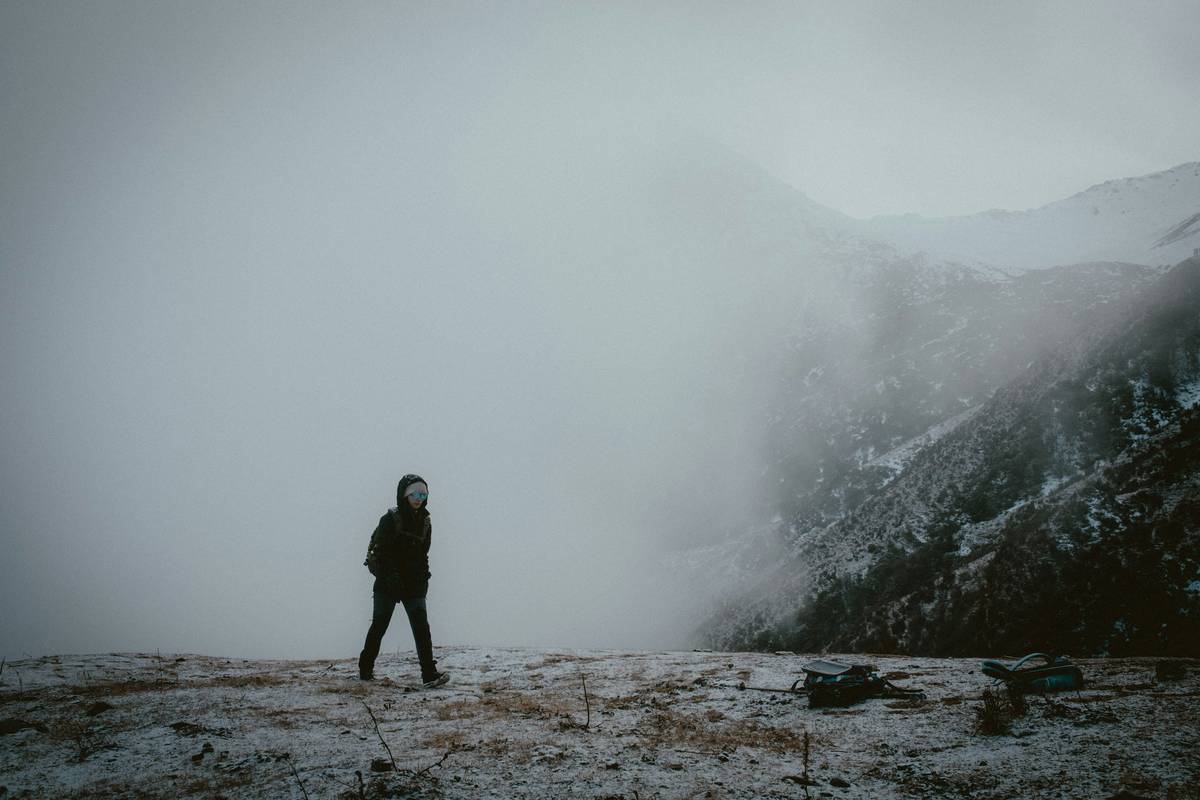
Imagine slogging uphill for hours, lungs burning, legs screaming—but then finally reaching the summit. The view takes your breath away—a panorama of misty peaks and sprawling valleys beneath a sky so vivid it looks painted by hand. You fumble for your phone… snap a pic… only to discover it came out grainy, poorly framed, and barely worth sharing.
Painful, right?
Here’s where a dedicated portable adventure camera shines. Unlike smartphones, these devices are specifically designed for rough conditions:
- Weatherproofing: Rain, snow, dust? No problem.
- Durability: Built to survive drops and bumps on rocky terrain.
- Battery Life: Long-lasting power ensures you don’t miss a shot.
- Action-Oriented Features: Think waterproof housings, wide-angle lenses, and stabilization for shaky hands.
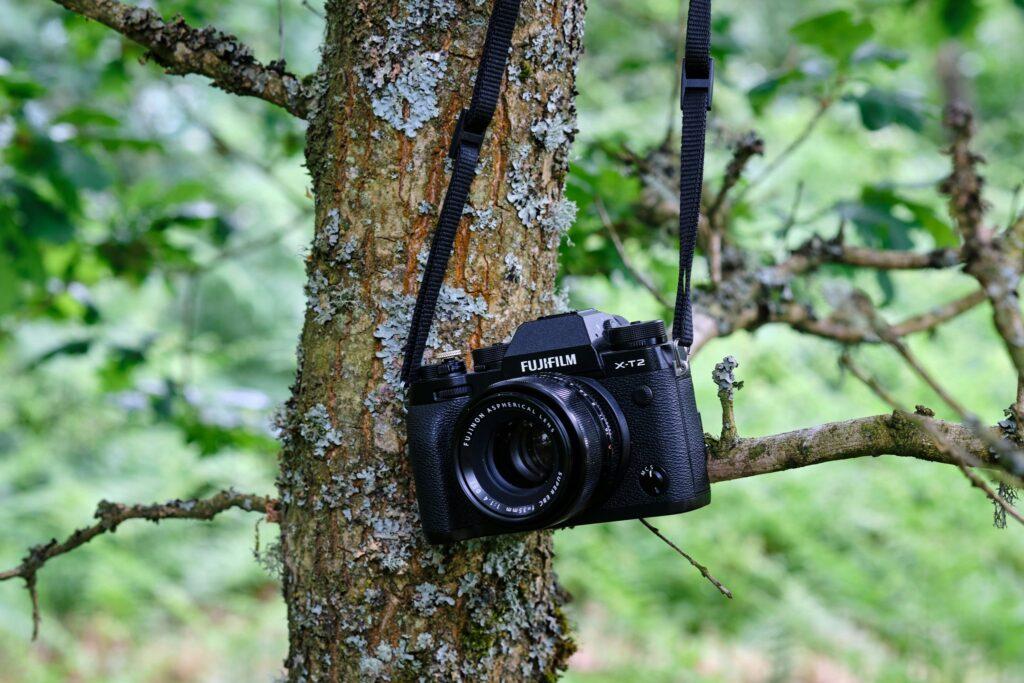
But here’s my confession: I once lugged around a bulky DSLR thinking it’d give me pro-level shots. Spoiler alert—it didn’t. Instead, it slowed me down and left me frustrated. That experience taught me that simplicity and portability win in hiking photography.
Optimist You: “Sounds amazing!”
Grumpy You: “Ugh, fine—but only if it fits under $300.”
Choosing Your Camera: Step-by-Step Guide
Finding the best portable adventure camera doesn’t have to feel overwhelming. Follow these steps:
Step 1: Define Your Needs
Ask yourself:
- What kind of hikes do you go on regularly? Wet climates? Desert heat?
- Do you want videos, stills, or both?
- Are extras like GPS tagging or live streaming important?
Step 2: Prioritize Durability
Look for features like shockproof ratings, waterproof seals, and freeze resistance. Popular brands include GoPro, DJI Osmo Action, and Insta360 X3.
Step 3: Test Battery Life
Check reviews to ensure the battery lasts at least 2–3 hours when recording continuously. Pro tip: Always carry spare batteries!
Step 4: Compare Lens Quality
Wide angles capture more of the landscape, while optical zoom helps nail distant details. Balance resolution with usability; 12MP+ should suffice.
Best Practices for Using Your Camera on the Trail
- Mount It: Use chest straps or helmet mounts for stable video footage while trekking.
- Clean It Often: Dust and dirt can ruin your lens mid-hike.
- Pre-Set Settings: Adjust exposure, ISO, etc., before heading out so you’re not scrambling during golden hour.
- Sync Up: Connect apps like Quik (GoPro) or DJI Mimo to edit easily on the fly.
Warning: Here’s a terrible tip—never store your camera loose in your backpack alongside snacks. Yes, someone did this and ruined theirs with peanut butter goo. Don’t be that person.
Now let’s talk rants. Why oh why do some people insist on using generic hashtags like #HikingLife instead of niche ones like #TrailRunningSelfies?! Algorithms are watching—and they’re judging harshly.
Real Hikers, Real Experiences: Case Studies
Case Study 1: Emily’s Alpine Adventures
Emily swapped her iPhone for a GoPro HERO11 last summer. She says, “I’ve never captured clearer footage on steep ascents. And bonus—it survived multiple tumbles into icy streams!”
Case Study 2: Jake’s Desert Chronicles
Jake opted for an Insta360 X3 due to its dual-lens setup. His favorite feature? Shooting 360-degree panoramas without needing a tripod.
FAQs About Portable Adventure Cameras
Q: Are these cameras better than smartphones?
Yes—for durability and specialized features. However, phones are great for convenience and editing flexibility.
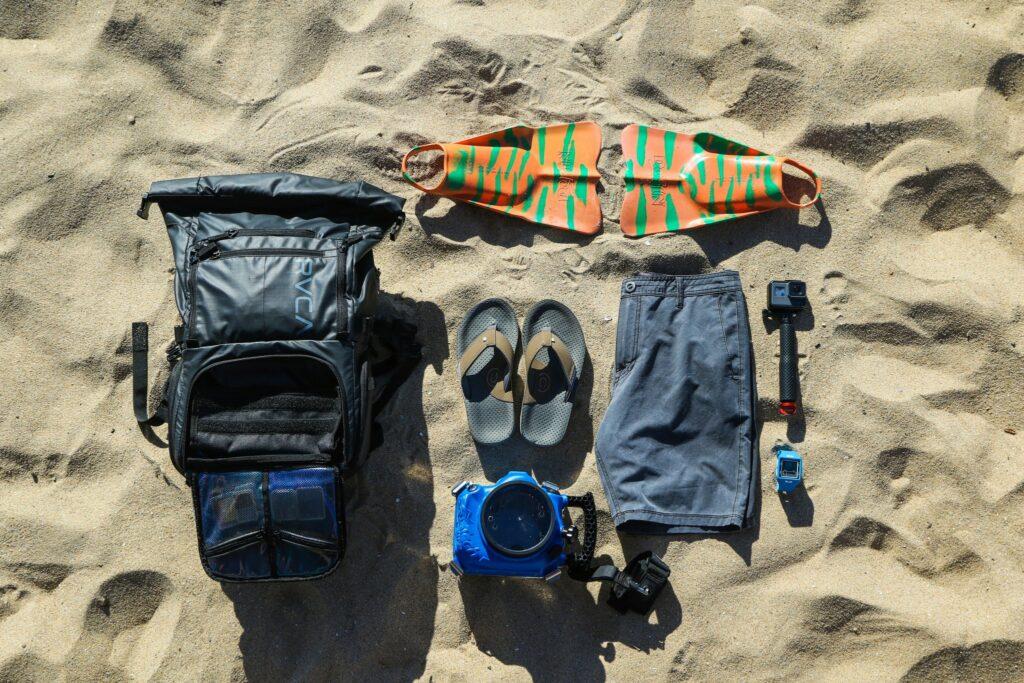
Q: Do I need accessories?
Not always, but mounts, grips, and extra batteries elevate your experience significantly.
Q: What’s the lifespan of a portable adventure camera?
With proper care, expect 3–5 years before needing an upgrade.
Conclusion
Investing in a portable adventure camera means investing in unforgettable memories. Whether you’re chasing sunrises atop peaks or documenting your first multi-day trek, having the right tool matters.
In summary:
- Portable adventure cameras excel in tough environments.
- Choose wisely based on need, budget, and durability.
- Follow best practices to maximize results.
- Learn from real-world examples to fuel inspiration.
Like Rocky said after climbing those museum stairs, “It ain’t how hard you hit—it’s how hard you can get hit and keep moving.” Keep exploring, keep shooting, and remember:
Mountains whisper secrets,
Frames catch fleeting light,
Adventure calls—you answer.