“Ever lost your grip on a camera mid-hike and watched it tumble down a rocky trail? Yeah, been there. Here’s how to avoid that—and why vibration-proof tech is changing the game.”
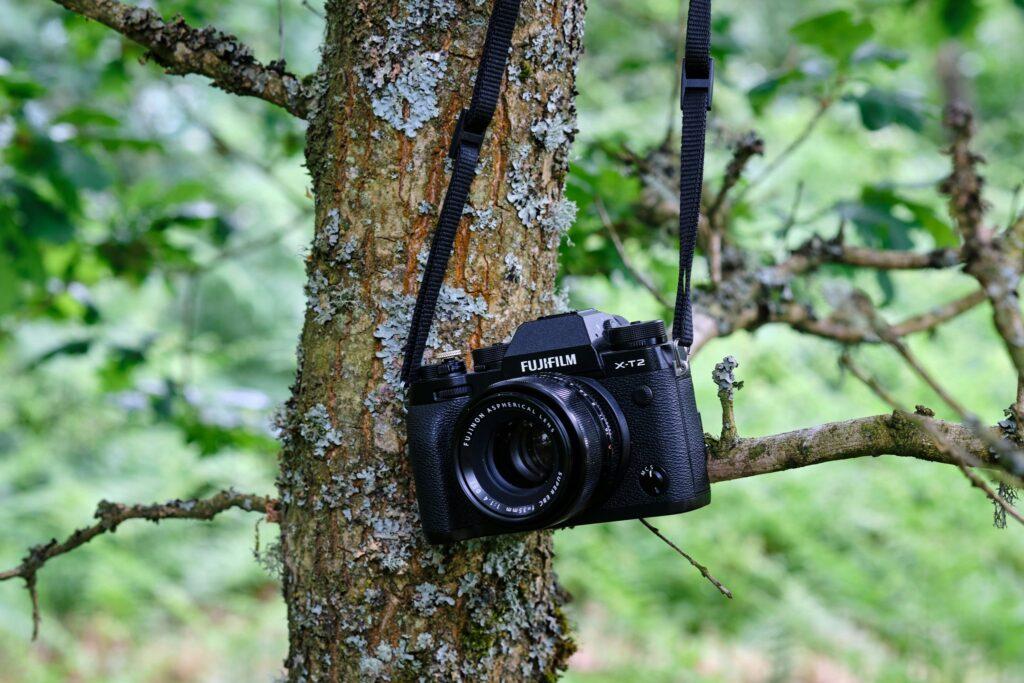
Hiking isn’t just about conquering trails; it’s about capturing every moment along the way. But when you’re slogging through rugged terrain with shaky hands or uneven footing, regular cameras don’t cut it. Enter the vibration proof adventure camera, your ultimate tool for flawless outdoor memories.
In this post, we’ll dive deep into everything you need to know about choosing, using, and mastering the perfect vibration proof adventure camera. From must-know beginner tips to advanced tricks only pros use, you’ll leave ready to document your next hike like a pro.
Table of Contents
- Why You Need a Vibration Proof Camera for Hiking
- How to Choose the Right Vibration Proof Adventure Camera
- Top Tips for Using Your Vibration Proof Adventure Camera
- Case Studies: Real Adventures Captured
- FAQ: Your Questions Answered
Key Takeaways
- A vibration proof adventure camera stabilizes shots even on rough terrains.
- Look for durability, battery life, and image quality when selecting one.
- Use features like burst mode and slow-motion capture to enhance storytelling.
- Real-world examples show how these cameras elevate hiking content.
Why You Need a Vibration Proof Camera for Hiking
Picture this: You’re scaling a mountain path, feet slipping slightly due to loose gravel, trying desperately to snap a quick shot of an eagle soaring overhead—but all you get is a blurry mess. Or worse, the camera flies out of your sweaty palms because you couldn’t hold it steadily enough.
Been there, done that! And let me tell you—it sucks harder than chewing on dried trail mix gone stale.
The solution? A solid vibration proof adventure camera. These bad boys come packed with stabilization tech designed specifically for people who move (and shake). Whether you’re running downhill, scrambling over boulders, or navigating narrow ledges, they keep your footage smooth as butter.
Grumpy Optimist Dialogue:
Optimist You: “Just buy one already—you won’t regret it!”
Grumpy You: “Ugh, fine—but can I at least drink my coffee first?”
How to Choose the Right Vibration Proof Adventure Camera
Choosing a vibration proof adventure camera feels overwhelming if you’re new to the scene. Let me break it down for you step by step:
Step 1: Prioritize Stabilization Tech
Look for models boasting optical stabilization or gyroscopic sensors. Trust me—you want something built for jitters.
Step 2: Check Durability Ratings
No sense buying fancy gear that craps out after one rainstorm. Prioritize waterproofing, shock resistance, and dustproof designs.
Step 3: Consider Battery Life
Nobody likes stopping mid-hike to charge their gear. Aim for cameras offering at least 8 hours of continuous recording.
Rant Corner:
Let me just vent here for a second—WHY do some companies market flimsy “adventure-proof” cameras?! Last year, I bought what looked like the perfect model… until it died during a light drizzle. Lesson learned: always read reviews carefully before splurging!
Top Tips for Using Your Vibration Proof Adventure Camera
Cool—so you’ve got your shiny new camera. Now what? Here are five hacks to level up your usage:
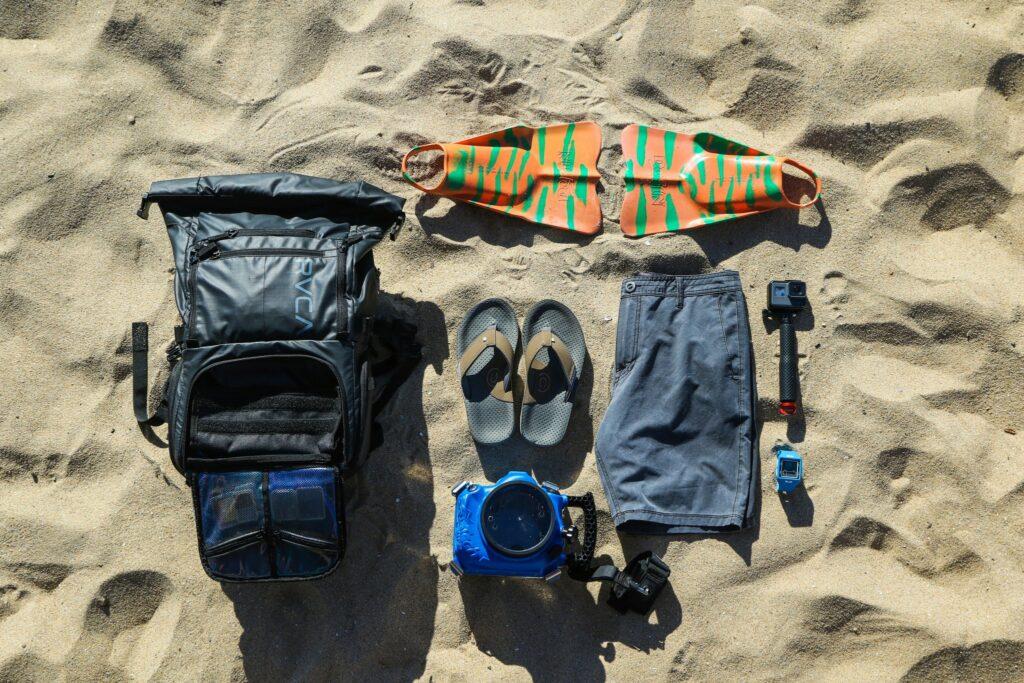
- Mount It Strategically: Attach to helmets, chest straps, or walking poles for steady, immersive footage.
- Experiment with Modes: Play around with time-lapse, night vision, and HDR settings—they’re lifesavers in tricky lighting.
- Pack Extra Memory Cards: Trust me on this one; running out of storage halfway through an epic trek = not fun.
- Practice Makes Perfect: Don’t wait till day-of to figure out your camera’s quirks. Test it beforehand.
- Backup Immediately: After each session, transfer files to cloud storage or external drives. Lost footage is soul-crushing.
Brutal Honesty Alert:
I once skipped backing up photos from a multi-day hike thinking, “What could go wrong?” Spoiler alert: EVERYTHING went wrong, and goodbye memories forever. Don’t be that person.
Case Studies: Real Adventures Captured
Stories sell better than stats. Check out how other adventurers have used their vibration proof adventure cameras:
Case Study #1: The Appalachian Trail Journey
Jessica M. trekked the entire AT last summer armed with her trusty waterproof camcorder. Her timelapse videos showcasing sunrises earned thousands of views online—and inspired countless followers to start exploring themselves.
Case Study #2: White Water Rafting Adventure
Tony K.’s GoPro-style action camera saved the day during rapid rapids crossings. Despite multiple tumbles, his device stayed intact and delivered crystal-clear results.
FAQ: Your Questions Answered
Q: Are vibration proof adventure cameras worth the price?
Absolutely! Think of them as investments—not expenses. Reliable gear pays off in peace of mind and unforgettable memories.
Q: Can smartphones replace specialized outdoor cams?
Nope. While phones take decent pictures, they lack key functionalities like long battery life and ruggedness.
Q: What’s the biggest mistake newbies make?
Forgetting extra batteries/memory cards—or assuming cheaper alternatives will perform equally well. Always prioritize quality!
Conclusion
Gone are the days of shaky selfies ruining your adventure reels. With a top-notch vibration proof adventure camera, you can transform your hiking experiences into shareable masterpieces.
Remember our checklist: focus on stabilization tech, prioritize durability, and never skimp on accessories. Oh, and back up often unless you enjoy heartbreak-level drama.
So gear up, hit those trails, and create magic!
“Like finding a hidden waterfall, discovering the perfect camera setup makes life richer.”
HAIKU TIME:
Footsteps echo loud,
Camera clicks steady still—
Moments live forever.