“Ever tried capturing a dewdrop on a leaf at sunrise, only to end up with a blurry mess? Yeah, we’ve all been there.”
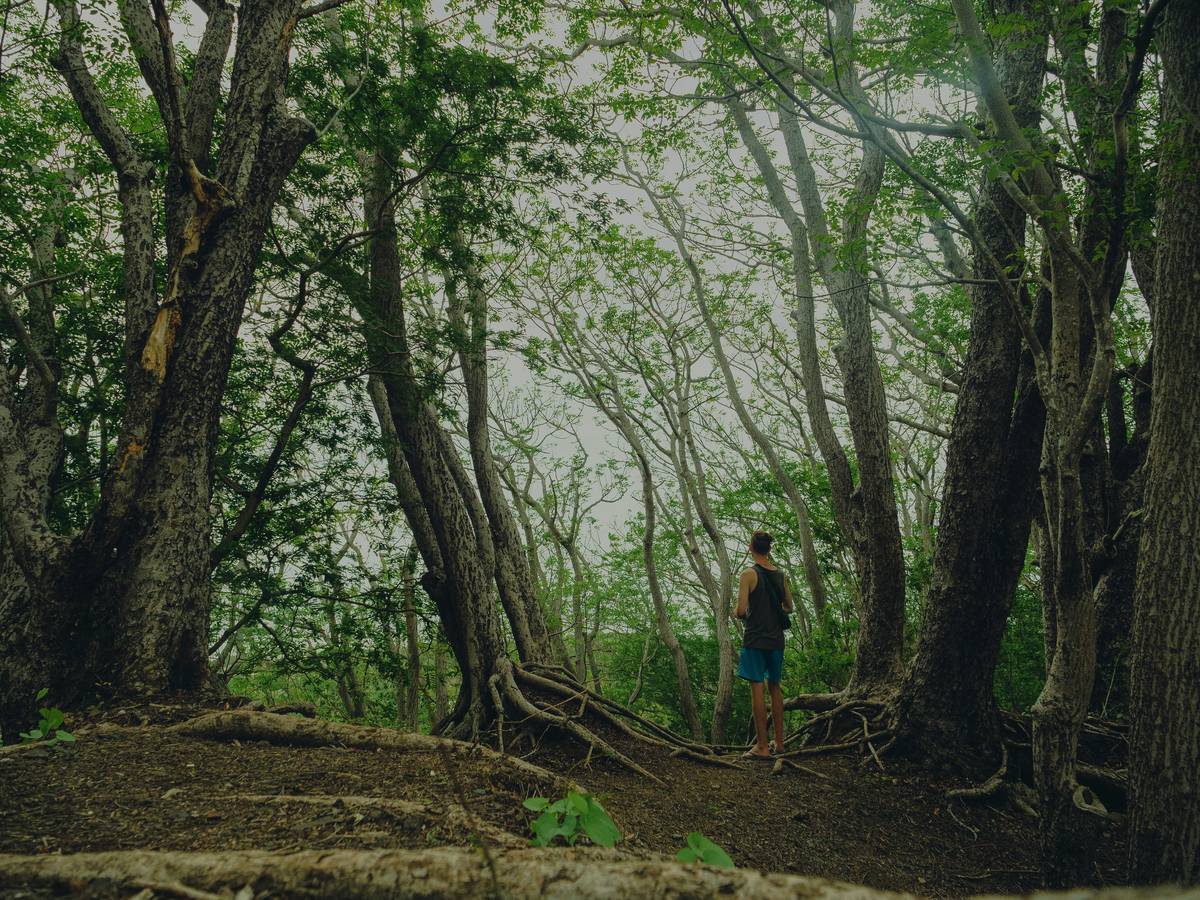
If you’re an avid hiker who loves documenting every moss-covered rock and spiderweb glistening in the morning light, this blog post is for YOU. We’ll dive deep into how choosing the right nature lens for macro can elevate your hiking photography game—without breaking the bank or requiring a PhD in optics.
In this guide, we’ll tackle:
- Why most hikers are using the WRONG gear
- A step-by-step process to find your perfect lens
- Tips to master macro shots while exploring trails
Table of Contents
- Key Takeaways
- The Problem with Wrong Gear
- Choosing Your Perfect Macro Lens
- Tips for Hiking Photographers
- Examples from the Trail
- FAQs About Nature Lenses
Key Takeaways
- Your choice of lens directly impacts sharpness and detail when shooting macro subjects like insects or flowers.
- Don’t fall for marketing gimmicks—focus on specs like magnification ratio and minimum focusing distance.
- Packing smart (and lightweight) camera gear makes all the difference during long hikes.
- Practice stabilizing techniques to avoid shaky hands ruining that perfect shot.
The Problem with Wrong Gear
I once brought my bulky DSLR kit lens on a 10-mile hike. Big mistake. By mile six, my shoulders felt like they’d scream louder than my toddler after a nap strike. Not only was it heavy, but the lens also produced mediocre results when I tried zooming in on tiny wildflowers.
Here’s the brutal truth: Most beginners think any old zoom lens will work for close-up nature photography. But those “all-purpose” lenses? They’re basically coffee without caffeine—just plain disappointing.
Optimist You:* “Well, what SHOULD I use?”
Grumpy You: “Ugh, fine—but only if coffee’s involved.”
Choosing Your Perfect Macro Lens
Step 1: Understand Magnification Ratios
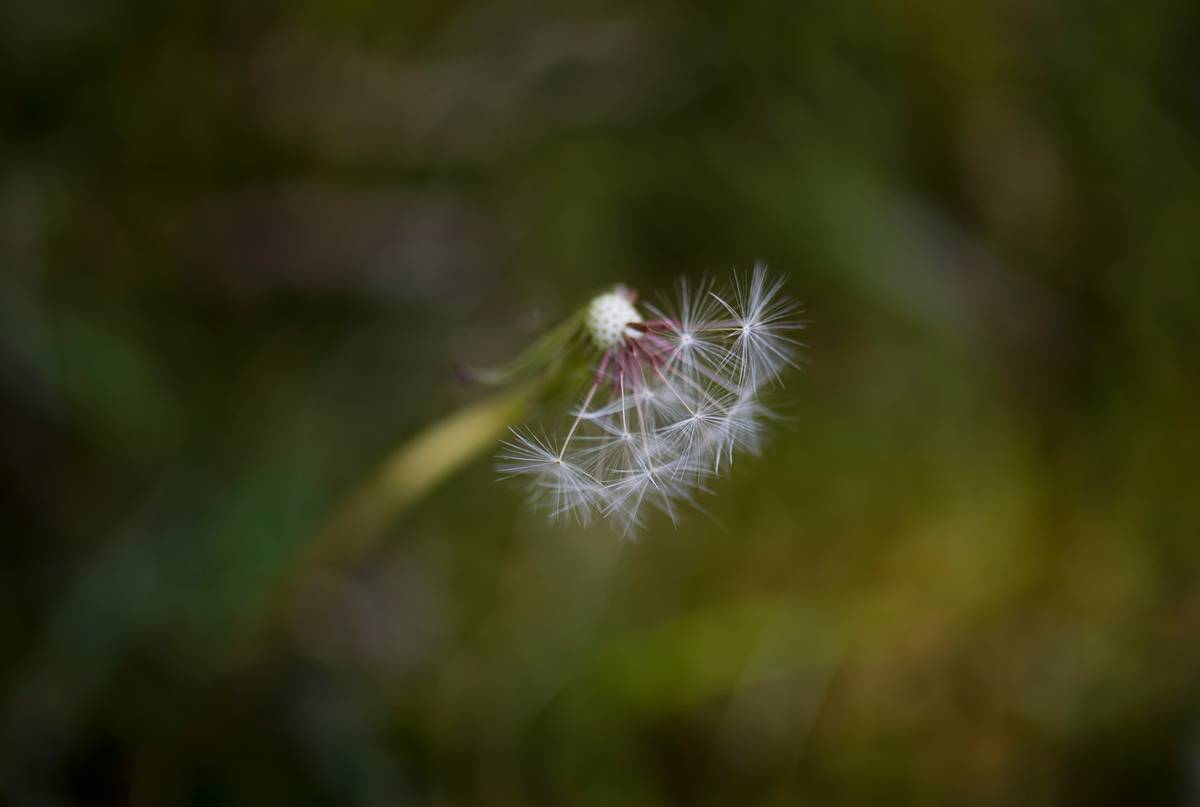
A true macro lens delivers 1:1 magnification. Translation? Whatever you’re snapping fills the sensor as big as life. Look for lenses labeled “macro” and check their magnification ratio in product descriptions.
Step 2: Prioritize Minimum Focusing Distance
The closer you can get to your subject, the better. Some lenses let you focus within inches, which is clutch for capturing critters or plants without disturbing them.
Step 3: Balance Weight and Durability
Hiking isn’t just about standing still; you need something durable yet portable. Consider mirrorless options paired with compact prime lenses, like a 60mm or 100mm macro.
Tips for Hiking Photographers
- Use Natural Light: Harsh midday sun flattens details. Aim for early mornings or golden hour.
- Pack Smart: Invest in a padded camera backpack designed for outdoor adventures.
- Stabilize Shots: Bring a mini tripod or bean bag to rest your camera on uneven terrain.
Pro Tip: Keep lens caps handy. Dusty trails = dirty glass = ruined photos.
One Terrible Tip That’s Actually Genius
“Ignore weather conditions.” Sounds ridiculous, right? WRONG. Overcast skies diffuse light beautifully, making colors pop. Just don’t forget waterproof covers!
Examples from the Trail
Let me tell you about Sarah, an amateur photographer who upgraded to a Canon EF 100mm f/2.8L Macro IS USM lens last summer. Her Instagram blew up overnight thanks to crisp close-ups of beetles and delicate fern fronds she found along Appalachian trails.
Sounds too good to be true? Nope. It’s chef’s kiss for drowning algorithms.
FAQs About Nature Lenses
What’s So Special About a Nature Lens for Macro?
Unlike regular lenses, these specialize in capturing extreme detail at super-close ranges. Think of it as Sherlock Holmes-level vision for your camera.
Can I Use My Smartphone Instead?
You could… but even top-tier phones struggle with depth-of-field issues in macro shots. A dedicated lens simply outperforms.
How Much Should I Spend?
Entry-level models start around $400-$600. If budget is tight, consider renting before buying.
Conclusion
Finding the best nature lens for macro transforms your hiking experience into a treasure hunt for hidden wonders. From understanding ratios to embracing cloudy days, equip yourself with knowledge—and the right tools—to bring home stunning memories.
Rant aside, here’s one final note: Always pack extra batteries. Because nothing kills creativity faster than a dead camera halfway through your hike.
Haiku Breakdown:
Lens meets sunlight bright,
Dewdrops sparkle, stories bloom.
Nature speaks. Click.

