Ever placed a trail camera only to find weeks later it captured nothing but a blur of leaves and shadows? Yeah, we’ve all been there. Whether you’re documenting wildlife or enhancing your hiking YouTube channel, getting the right footage starts with one simple yet overlooked step—trail camera placement.
In this post, we’ll dive into everything from avoiding rookie mistakes (like pointing your camera into direct sunlight) to pro-level tactics that’ll make your footage shine. By the end, you’ll have actionable tips and a clear understanding of how to position your gear like an expert.
Here’s the roadmap:
- The science behind choosing the perfect spot
- A foolproof guide to mounting your camera securely
- Real-world examples of successes—and fails—you can learn from
<
Table of Contents
- Key Takeaways
- Why Proper Trail Camera Placement Matters
- Step-by-Step Guide to Perfect Trail Camera Placement
- Pro Tips for Better Trail Camera Footage
- Success Stories (and One Big Fail)
- Frequently Asked Questions About Trail Cameras
Key Takeaways
- Positioning trail cameras at eye level increases wildlife capture chances.
- Avoid setting up in direct sunlight or overly exposed areas.
- Use natural funnels like trails or water sources for optimal shots.
- Securely mount your camera to prevent theft and improve stability.
- Test settings before leaving your camera unattended.
Why Proper Trail Camera Placement Matters
If you’re serious about capturing jaw-dropping outdoor moments, skipping on proper trail camera placement is like trying to build a fire without kindling—it won’t work. Here’s why:
“The difference between average and incredible footage often boils down to where you place your camera.”
Imagine spending weeks hiking deep into remote wilderness, lugging heavy equipment, just to come back with grainy photos of tree bark—or worse, no images at all. That’s exactly what happened to me once when I thought I was being clever by hiding my camera high in a tree branch. Spoiler alert: It caught zero wildlife because animals rarely hang out looking directly upward.
To avoid these missteps, let’s break down the importance of strategic placement:
- Wildlife patterns matter. Animals follow specific paths; placing your camera off-route guarantees missed opportunities.
- Your camera needs protection—not just from thieves but also from harsh weather conditions.
- Sloppy setups waste time and resources. Optimizing your location ensures every battery charge counts.
Step-by-Step Guide to Perfect Trail Camera Placement
Step 1: Scout Locations Like a Pro
Start by asking yourself: What am I hunting (or filming)? Different species thrive in different environments. For instance:
- Deer: Look for game trails near food sources or bedding areas.
- Birds: Set up around feeding stations or roosting spots.
Use Google Maps Satellite view as a cheat sheet. Zoom in on potential hotspots and check topography features like ridgelines or valleys.
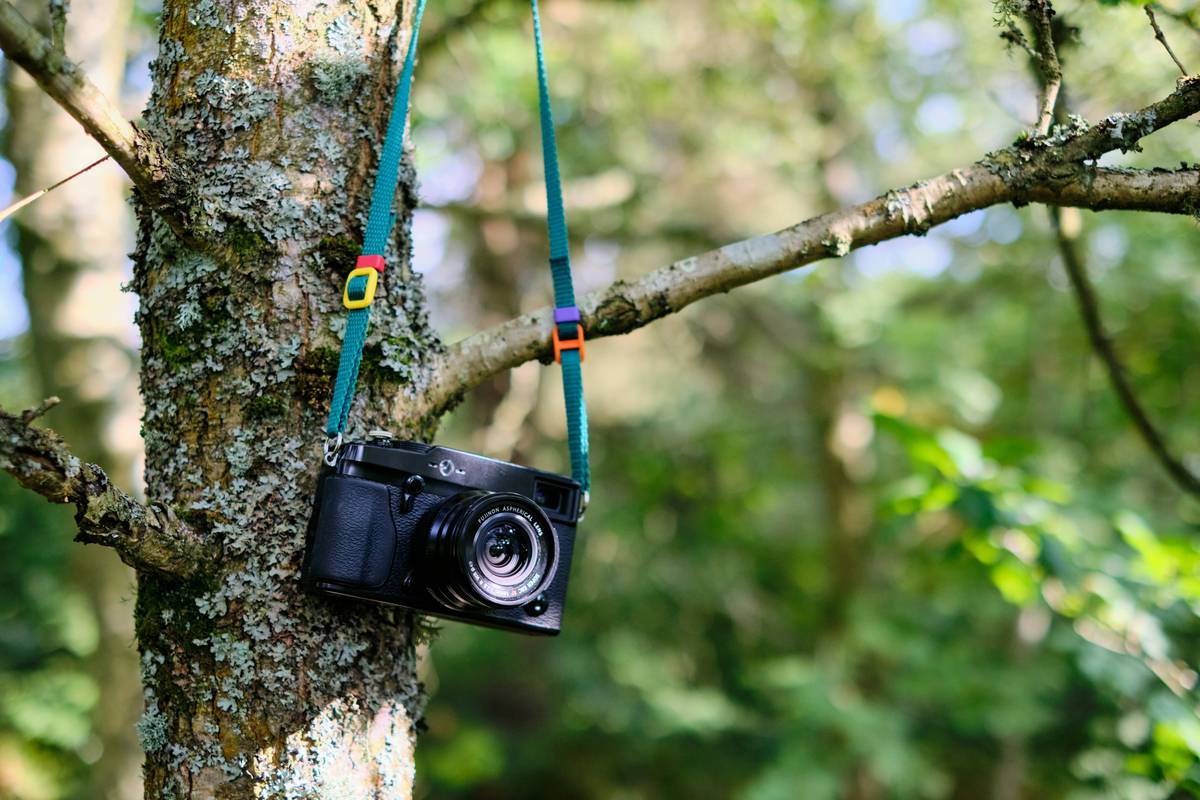
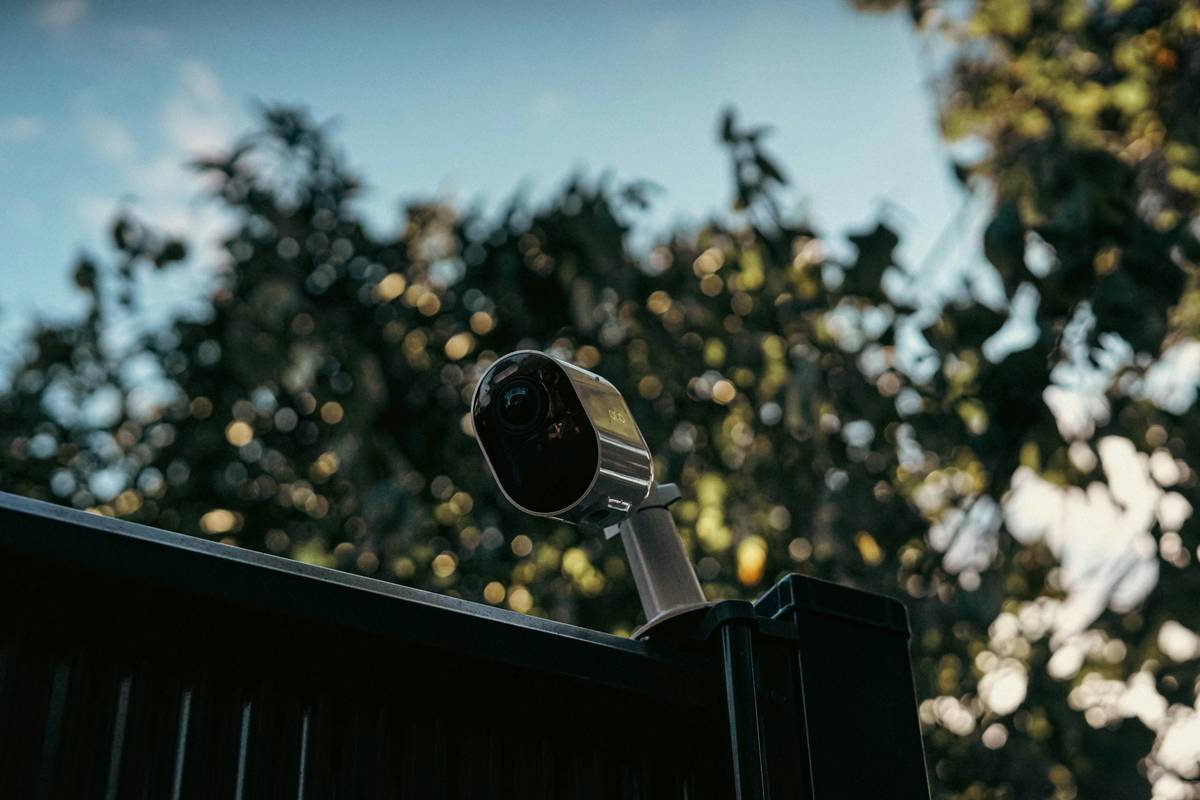
Step 2: Choose Your Mount Wisely
Never underestimate the power of secure mounting. You don’t want your $500 rig ending up as someone’s new coffee table centerpiece. Options include:
- Strap mounts: Ideal for quick installations but may loosen over time.
- Cable locks: Best if theft risks are high.
Step 3: Angle and Height Are Key
Aim for waist-to-eye height for most wildlife. Point downward slightly so motion sensors pick up movement effectively.
“Optimist You:” ‘Level looks good!’
Grumpy You: ‘Ugh, fine—but only if it actually works.'”
Step 4: Test Before You Trust
Set up during daylight first. Check angles, adjust sensitivity settings, and take a few test shots. This saves hours of frustration later.
Pro Tips for Better Trail Camera Footage
Now that you know the basics, here are some golden nuggets:
- No sun glare: Face north to minimize blinding light.
- Distance matters: Keep the camera within 10 feet of likely pathways.
- Blend in: Cover your gear with moss or leaves to reduce visibility.
Success Stories (and One Big Fail)
Success Story: John D., a seasoned hiker, followed our tips while exploring Colorado’s backcountry. His smart placement netted him stunning footage of black bears playing near a stream.
Epic Fail: On the flip side, Sarah T. learned the hard way after setting her camera too low—it ended up waist-deep in mud after a rainstorm. Lesson learned: Elevate those babies!
Frequently Asked Questions About Trail Cameras
Q: How do I protect my trail camera from extreme weather?
A: Use waterproof casings and desiccant packs inside the housing to absorb moisture.
Q: Can I use my phone app to monitor live feeds?
A: Yes, many modern trail cams now offer Wi-Fi connectivity for real-time updates.
Q: Is it legal to set up trail cameras anywhere?
A: Regulations vary. Always check local laws regarding public vs. private land usage.
Conclusion
Trail camera placement doesn’t need to feel like solving advanced calculus. With the right strategies—like scouting carefully, angling correctly, and blending in—your adventures will yield priceless memories worth every ounce of effort. So go ahead, put these Trail Camera Placement Tips into practice, and prepare to be amazed by what nature shares with you.
Now go forth and explore—but remember, keep that coffee handy!
Oh, and since we started with wisdom, here’s a parting haiku:
Shadows dance under trees,
Cameras click unseen.
Nature whispers secrets.