Ever spent hours setting up a trail camera only to come back to blurry footage or no footage at all? Yeah, it’s the worst feeling—especially when you’re hiking miles into the wilderness hoping to capture that perfect wildlife shot. But what if there was a way to get it right every single time?
In this post, we’ll dive deep into Trail Camera Installation Guides, covering everything from choosing your gear to mastering placement strategies. By the end of this guide, you’ll know exactly how to set up a trail camera like a pro (even if coffee isn’t involved). Ready? Let’s do this.
Table of Contents
- Key Takeaways
- Why Your Trail Camera Setup Matters
- Step-by-Step Installation Guide
- Pro Tips for Successful Captures
- Real-World Examples and Case Studies
- FAQs About Trail Cameras
- Conclusion
Key Takeaways
- A poorly placed trail camera can ruin an entire outdoor exploration trip. Placement is king.
- Follow our step-by-step process to ensure sharp images and videos without endless trial and error.
- Avoid common mistakes like placing cameras too high or aiming them directly at sunlight.
- Learn best practices for securing your equipment against theft and harsh weather conditions.
Why Your Trail Camera Setup Matters
Optimist You: “I’m sure my trail camera will just work if I slap it on a tree.”
Grumpy You: “Oh, sweet summer child—nothing in life is ever that easy.”
Here’s the cold truth: most trail cameras fail because people think slapping one on any random tree trunk guarantees results. Spoiler alert—it doesn’t. The wrong setup leads to:
- Nocturnal nightmares: Blurry night shots due to improper IR settings.
- Battery burnout: Wasting money on frequent battery replacements.
- Misplaced evidence: Empty SD cards where majestic elk should be grazing.
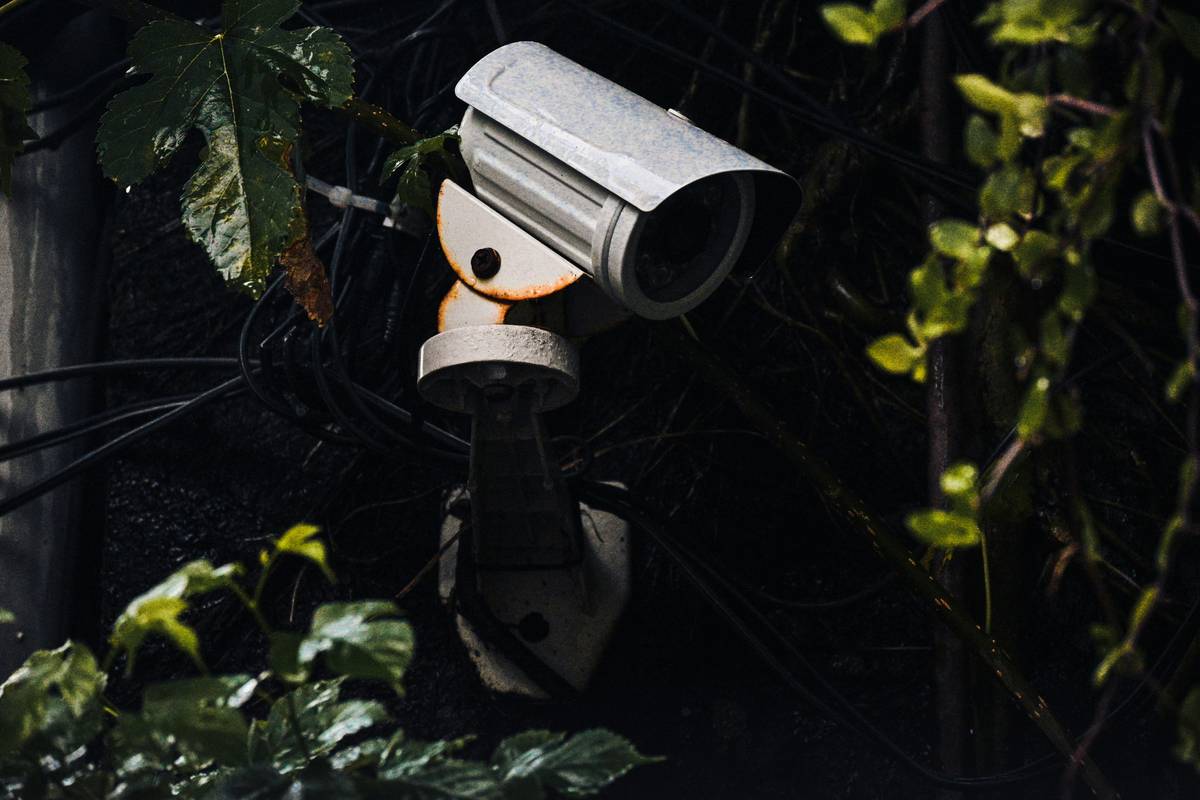
Blurred photo caused by incorrect placement.
But here’s some good news: once you master the basics of trail camera installation, you’ll never have to worry about these issues again. And guess what—we’re giving you those basics today!
Step-by-Step Installation Guide
Step 1: Choose the Right Location
(“Where the Magic Happens”)
Think about animal behavior before deciding where to install your camera. Do animals frequently visit watering holes nearby? Are there clear paths leading through dense foliage? Place your camera along natural corridors.
Step 2: Mount It Securely
(“Don’t Be That Person Who Loses Their Gear”)
Use sturdy straps or brackets designed specifically for trail cameras. Ensure they’re tight enough not to budge but loose enough not to damage the tree.
Step 3: Adjust Settings Based on Conditions
If you’re navigating low-light environments, tweak motion sensitivity and infrared flash modes accordingly. Don’t forget to double-check battery levels before leaving!
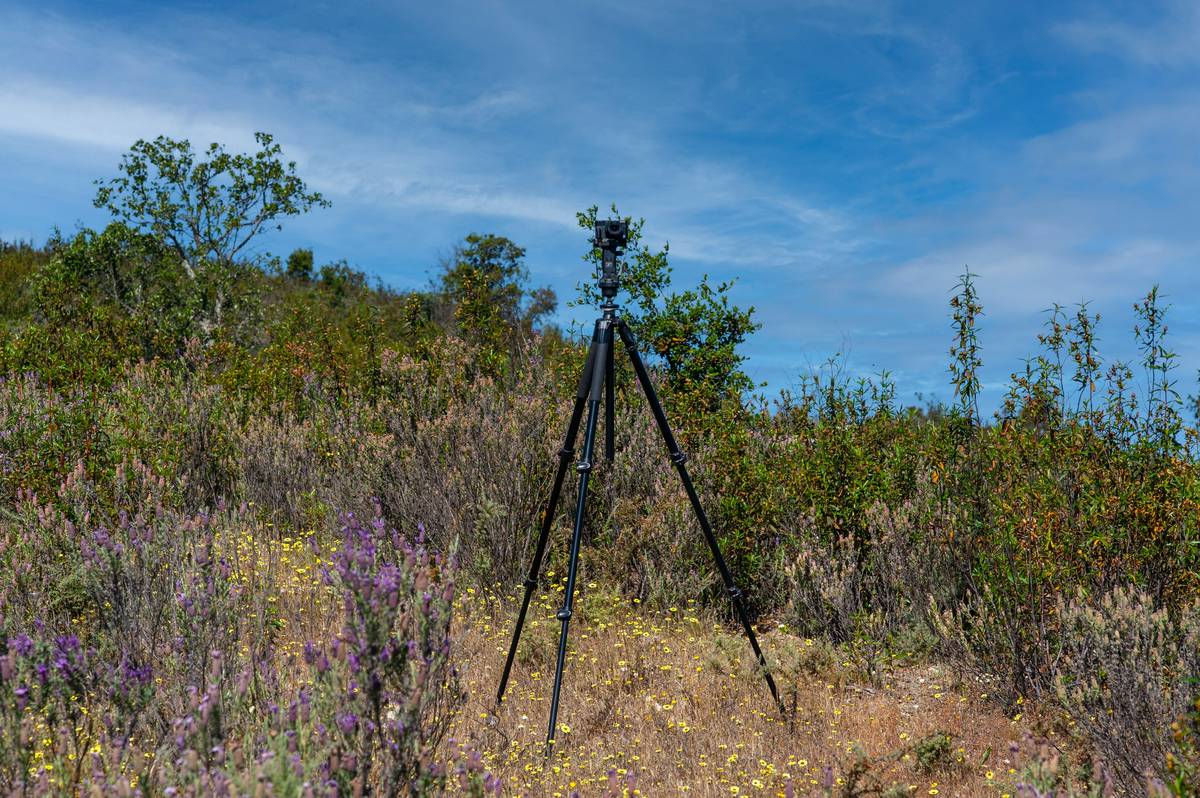
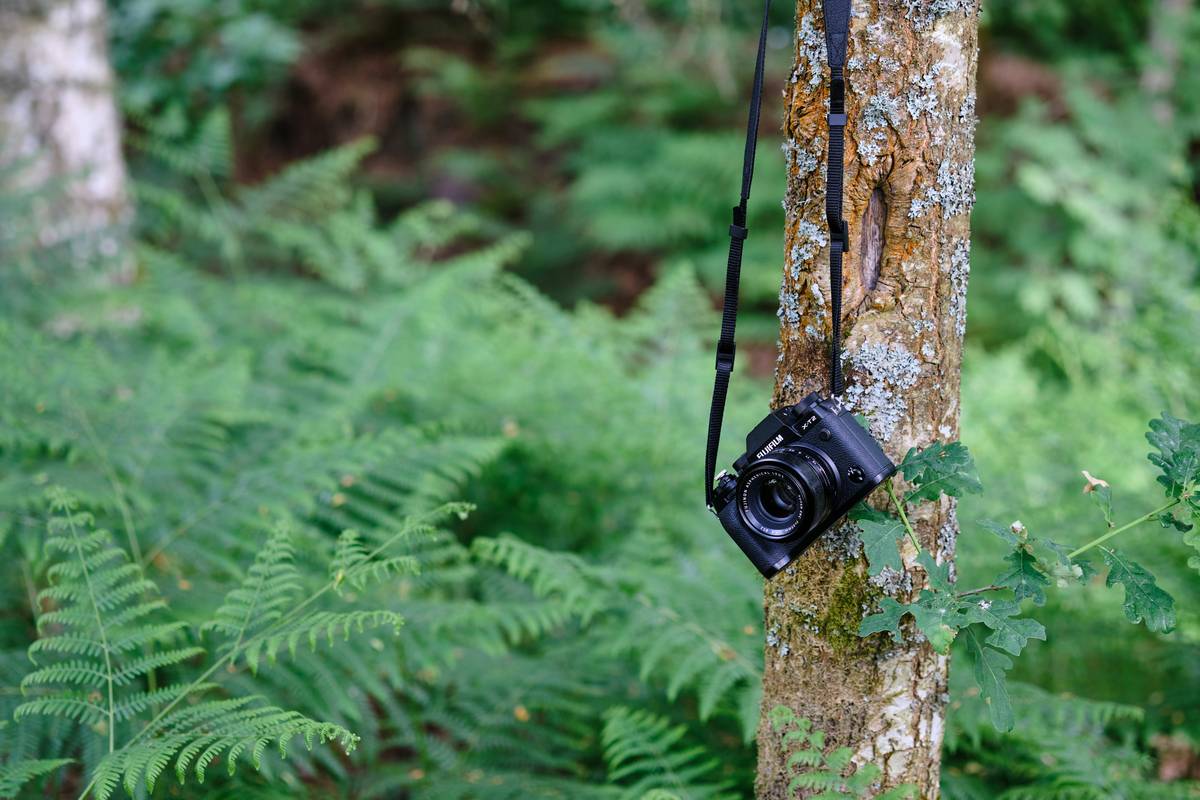
Properly secured trail camera with anti-theft straps.
Step 4: Avoid Terrible Angles and Sunlight Glare
*True Story Alert*: Once, I aimed my camera directly towards sunrise thinking, “Golden hour vibes.” Result? Burnt-out pixels everywhere. Save yourself the headache and aim away from direct sunlight.
Pro Tips for Successful Captures
- Pick Wisely: Not all trees are created equal. Look for mature trunks offering solid support.
- Cover Up: Use camo tape or covers to blend your device into its surroundings.
- Double Check: Always review initial test photos to confirm alignment and focus.
- Note the Weather: If rain is forecasted, tilt your camera slightly downward to avoid water spots.
And while we’re venting… who decided that tiny instruction manuals were acceptable?! Half the battle feels like deciphering hieroglyphics written in Comic Sans.
Real-World Examples and Case Studies
Let’s talk about Alex, an avid hiker and wildlife photographer who struggled with poor-quality captures. After following these exact steps:
- Chose optimal locations near active trails,
- Focused on secure mounting techniques,
- Adjusted settings for nighttime use…
Alex returned home with stunning images of deer families crossing streams under moonlight—a far cry from his previous grainy blackouts. Same camera, drastically better outcomes.
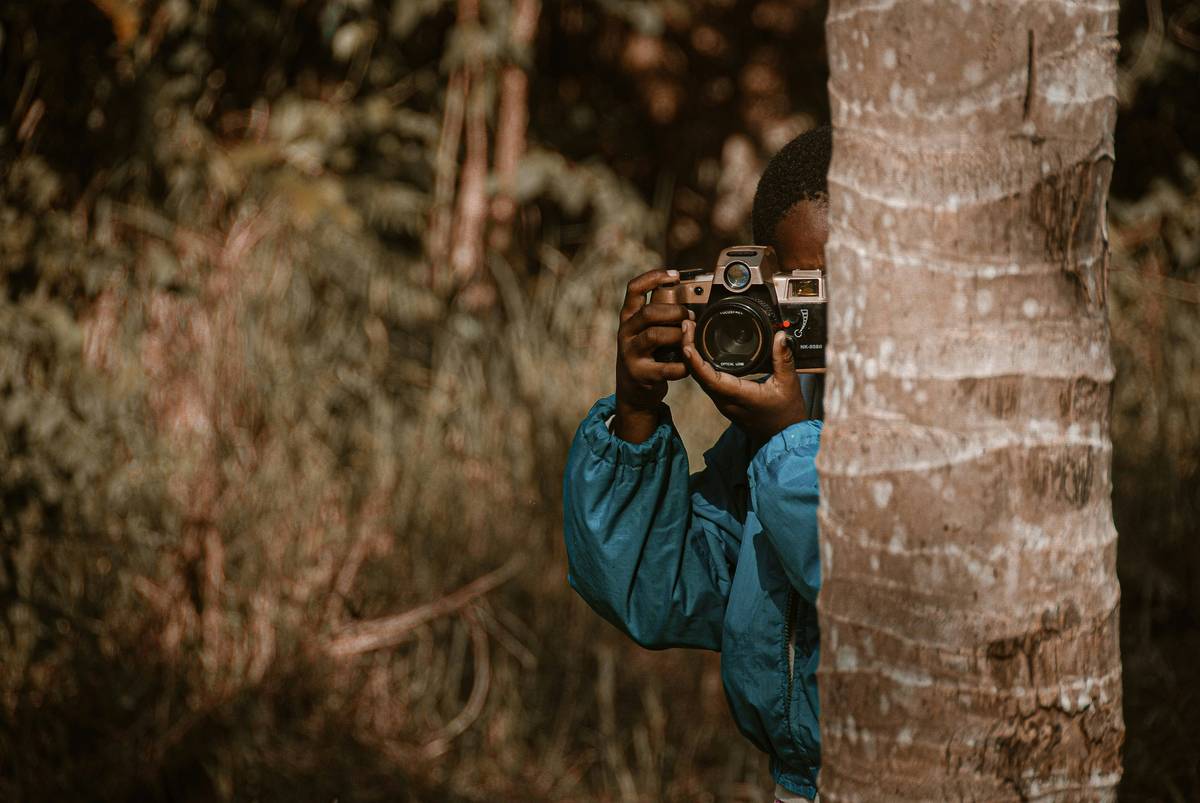
Success story result after proper installation.
FAQs About Trail Cameras
Q: How often should I check my trail camera?
A: Ideally, once per week during peak seasons to manage storage space and replace batteries as needed.
Q: Can animals trigger false alarms?
A: Yes! Squirrels have been known culprits; reduce false triggers by fine-tuning detection zones.
Q: What’s the worst tip anyone could give me?
Some folks recommend installing cameras super high up for “better angles,” which usually causes overexposed skies—and zero usable footage. Totally avoid this bad advice!
Conclusion
You now hold the ultimate cheat sheet for mastering Trail Camera Installation Guides. From understanding site selection to avoiding rookie errors, every piece of advice shared aims to elevate your outdoor photography game. So next time you venture out, make sure your trusty trail buddy is ready to deliver jaw-dropping visuals.
Remember, like Tamagotchi pets from yesteryears, trail cameras thrive on attention and care. Keep tweaking, testing, and learning—you’ve got this. 🎯
As promised, here’s your haiku:
Trees whisper secrets,
Wildlife passes unseen.
Your camera sees all.