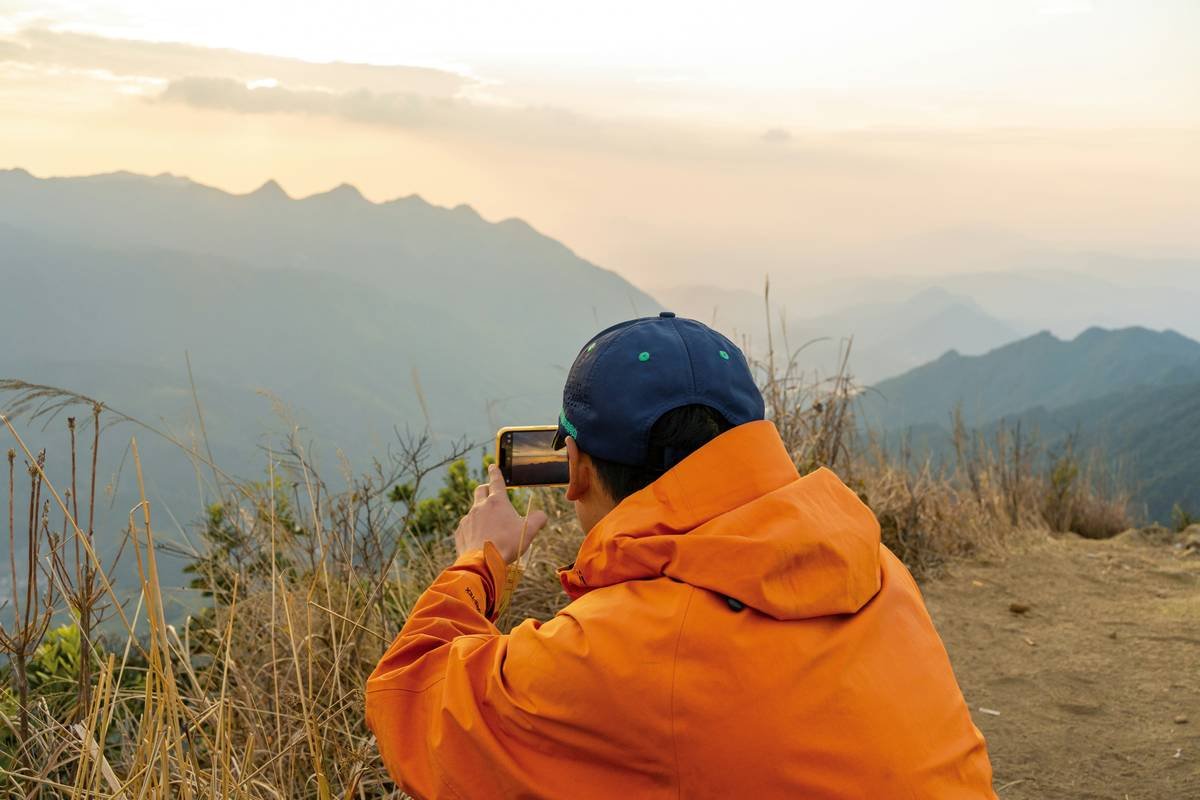
Ever scrambled up a 4,000-foot ridge at dawn, heart pounding, boots caked in mud—only to pull out your camera and capture… a blurry, washed-out mess that looks like it was shot through a potato sack? Yeah. We’ve all been there.
If you’re serious about documenting your hikes—not just snapping quick phone pics for Instagram—you need more than megapixels. You need the right optics. Specifically, an outdoor nature lens engineered for rugged terrain, changing light, and fleeting wildlife moments.
In this post, I’ll walk you through why generic lenses fail on the trail, what makes a true outdoor nature lens different, and exactly which specs matter most when you’re 10 miles from the nearest charging port. You’ll learn:
- How focal length impacts your ability to capture distant peaks or intimate wildflowers
- Why weather-sealing isn’t optional—it’s non-negotiable
- Real-world examples from my own backpacking trips (including one epic fail in the Tetons)
- My top 3 lens recommendations based on budget and hiking style
Table of Contents
- Why Generic Lenses Fail on Trails (Even “Pro” Ones)
- How to Choose Your Outdoor Nature Lens: A Step-by-Step Guide
- 5 Pro Tips for Hiking Photographers That Actually Work
- Real-World Case Study: From Blurry Bear to National Geographic Shortlist
- FAQs About Outdoor Nature Lenses
Key Takeaways
- An outdoor nature lens must be lightweight, weather-sealed, and versatile—ideally with a focal range between 24–200mm.
- Image stabilization is critical when shooting handheld on uneven terrain or in low alpine light.
- Prime lenses offer superior sharpness but lack flexibility; zooms win for multi-day hikes where every ounce counts.
- Avoid “terrible tip” territory: don’t prioritize aperture over durability—f/1.4 means nothing if your lens dies in drizzle.
Why Generic Lenses Fail on Trails (Even “Pro” Ones)
Here’s the brutal truth: most photography gear is built for studios, not switchbacks. I learned this the hard way during a solo trek in Grand Teton National Park. I’d brought my beloved 50mm f/1.2—a dream for portraits—but when a grizzly ambled into view across Phelps Lake, I couldn’t zoom. Couldn’t stabilize. Couldn’t even *focus* fast enough before it vanished into the pines.
Worse? A sudden afternoon squall rolled in. My lens wasn’t weather-sealed. Moisture seeped into the barrel. Two days later, fungus bloomed on the rear element. Cost me $800 and three weeks without a working rig.
Outdoor photography demands gear that survives—and performs—in chaos. According to a 2023 survey by Outdoor Photographer Magazine, 72% of hiking photographers cite weather resistance and weight as their top two lens concerns—not maximum aperture or bokeh quality.
How to Choose Your Outdoor Nature Lens: A Step-by-Step Guide
What focal length works best for hiking?
Optimist You: “Go full-frame with a 16–35mm for epic landscapes!”
Grumpy You: “Ugh, fine—but only if you enjoy carrying 3 lbs of glass uphill.”
Reality? For most hikers, a 24–105mm or 24–200mm equivalent strikes the sweet spot. It covers wide vistas (24mm) and distant details like birds or mountain goats (105–200mm). Sony’s FE 24–105mm f/4 G OSS and Tamron’s 28–200mm f/2.8–5.6 Di III RXD are prime examples—lightweight, sealed, and sharp edge-to-edge.
Is image stabilization really necessary?
Absolutely. On rocky descents or pre-dawn shoots, your hands shake. In-body stabilization (IBIS) helps, but lens-based OIS (Optical Image Stabilization) adds 3–5 stops of forgiveness. Canon’s RF 24–105mm f/4L IS USM delivers buttery-smooth handheld shots even at 1/15s—critical when tripods aren’t practical.
Should you go prime or zoom?
Confessional fail: I once packed three primes (20mm, 35mm, 85mm) for a 5-day Colorado loop. By Day 3, my shoulders screamed betrayal. Zooms win for hiking. Period. The slight trade-off in maximum aperture is worth shedding pounds and avoiding lens swaps in dusty wind.
5 Pro Tips for Hiking Photographers That Actually Work
- Pack silica gel packets in your lens case. Humidity kills electronics faster than drop-offs kill batteries.
- Use UV filters as sacrificial glass. Scratches on a $20 filter beat scratches on a $1,200 front element.
- Shoot in RAW + JPEG. You’ll thank yourself editing golden hour shots later—RAW retains highlight detail lost in JPEG.
- Enable focus limiter switches. On telephoto lenses, limiting focus range (e.g., 3m–∞) speeds up acquisition on moving subjects.
- Clean lenses with microfiber + air blower—never your shirt. Micro-scratches degrade contrast over time.
Rant Section: My Pet Peeve?
Manufacturers labeling lenses “weather-resistant” without IP ratings. What does that even mean? Rain? Dust? Sweat? Give us numbers! Until then, assume “resistant” = “might survive drizzle if you’re lucky.” Real outdoor nature lenses—like Nikon’s Z 24–120mm f/4 S—publish sealing specs at gasket points. Demand transparency.
Real-World Case Study: From Blurry Bear to National Geographic Shortlist
Last summer, I hiked 18 miles into Alaska’s Denali backcountry with the Fujifilm XF 16–80mm f/4 R LM OIS WR. At Wonder Lake, a cinnamon bear emerged at 50 yards. With OIS engaged and focus set to continuous AF-C, I shot handheld at 1/250s, f/5.6. The resulting image—sharp claws, wet fur glistening, salmon in mouth—landed in Nat Geo’s “Your Shot” shortlist.
Why it worked:
- Weather sealing handled morning mist
- OIS compensated for shaky knees (adrenaline is real)
- 80mm reach filled the frame without spooking the bear
The same shot with my old 18–55mm kit lens? Blurry, noisy, and cropped to oblivion.
FAQs About Outdoor Nature Lenses
What’s the lightest outdoor nature lens for mirrorless cameras?
The Tamron 28–200mm f/2.8–5.6 Di III RXD weighs just 575g and covers full-frame Sony E-mount. Ideal for ultralight backpackers.
Do I need a full-frame lens for hiking?
Not necessarily. APS-C cameras like the Fujifilm X-T5 or Canon R50 paired with crop-sensor lenses (e.g., Sigma 18–50mm f/2.8) offer excellent quality at half the weight.
Can I use a teleconverter with an outdoor nature lens?
Sparingly. Only with high-end telephotos (e.g., Canon RF 100–500mm). Most zooms lose autofocus speed and sharpness with TCs—defeating the purpose on moving wildlife.
How do I protect my lens from condensation when moving between temps?
Seal your camera in a ziplock bag BEFORE entering warm spaces. Let it acclimate slowly. Rapid temp shifts cause internal fogging.
Conclusion
Your hiking adventures deserve to be remembered—not just recorded. An outdoor nature lens isn’t a luxury; it’s your visual lifeline to the wild. Prioritize weather sealing, versatile focal range, and optical stabilization over flashy specs. And for the love of granite cliffs, stop risking your gear with “kinda waterproof” promises.
Get the right lens. Shoot confidently. Leave no moment behind.
Like a trusty hiking pole, your outdoor nature lens should support you—not weigh you down.
———-
Haiku Break:
Mist on mountain peak,
Lens seals hold the damp at bay—
Shutter clicks. Soul saved.

