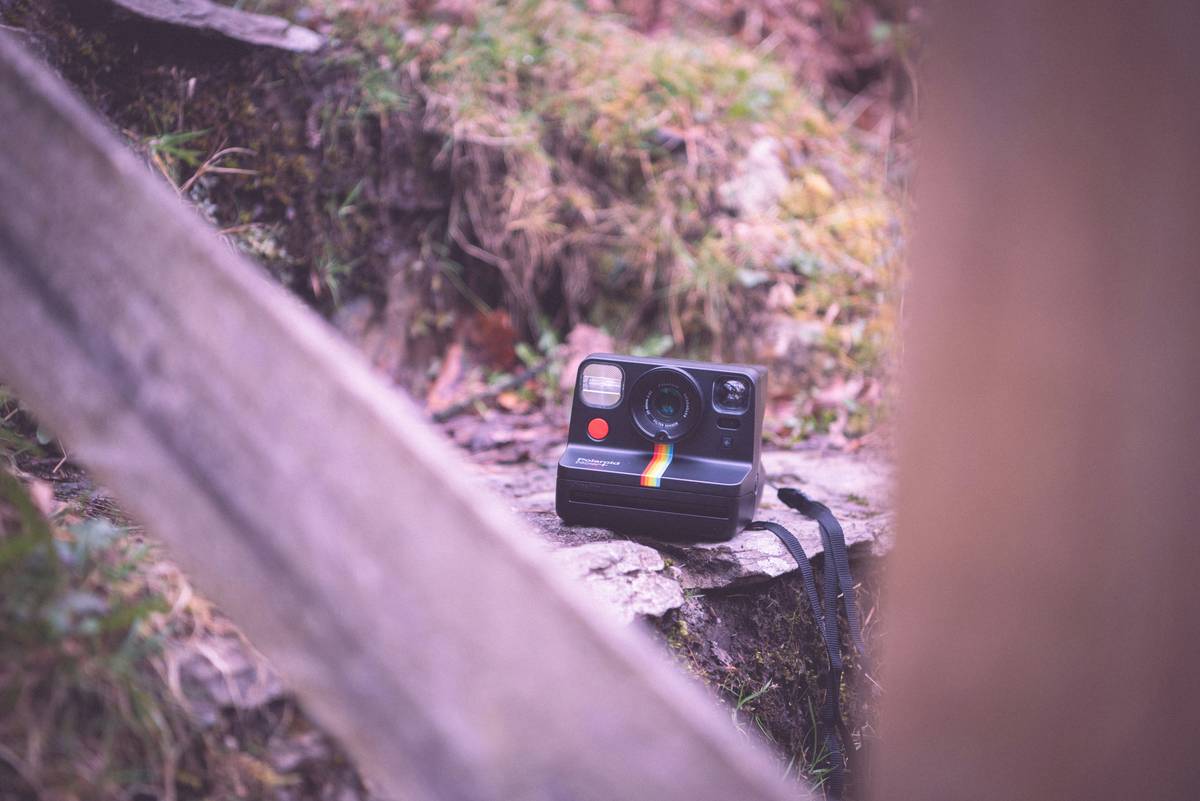
Ever tried snapping the perfect shot of a dew-covered leaf in the wild, only for it to look like an unremarkable green blob? Yeah, we’ve all been there.
Hiking and outdoor exploration are magical escapes from daily life—but capturing those tiny moments of nature’s beauty can feel impossible if you don’t have the right gear. Enter the macro photo lens: your secret weapon for immortalizing every delicate detail, from spiderwebs glistening after rain to the vibrant patterns of mushrooms hidden under tree roots. In this post, we’ll walk you through what makes macro lenses essential hiking companions, how to use them effectively, and tips (plus one hilariously terrible tip) for mastering macro photography in the great outdoors.
You’ll learn:
- Why a macro photo lens is a hiker’s best friend.
- A step-by-step guide to choosing and using your first macro lens.
- Tips to take jaw-dropping photos without losing your mind.
Table of Contents
- Why You Need a Macro Photo Lens for Hiking Adventures
- Step-by-Step Guide: Choosing and Using Your First Macro Lens
- Top Tips for Stunning Outdoor Macro Photography
- Real-Life Examples That’ll Inspire Your Next Hike
- FAQs About Macro Lenses and Hiking Cameras
Key Takeaways
- A macro photo lens lets you capture intricate details in nature that regular camera lenses miss.
- The best macro lenses balance portability, durability, and performance for rugged outdoor conditions.
- Lighting, focus stacking, and steady shooting are crucial for sharp images—don’t forget your tripod!
Why You Need a Macro Photo Lens for Hiking Adventures
Hear me out: Not every memorable moment on the trail involves sweeping mountain vistas or dramatic sunsets. Sometimes, the real magic lies in the little things—the stuff most people overlook. A macro photo lens lets you zoom into these micro-worlds, turning even the tiniest moss patch into a forest of wonder.
What Happened When I Left My Tripod at Home: On one of my early hikes armed with a shiny new macro lens, I got overly ambitious. Picture this—me leaning over precarious rocks trying to snap a close-up of a flower swaying in the wind. Did I mention my hands were shaking? The resulting image was blurrier than yesterday’s coffee slosh. Lesson learned: Stability matters just as much as gear quality.
If you’re serious about exploring the outdoors with a camera, you need tools designed specifically for close-range photography. Here’s why:
- Detail Matters: Macro lenses magnify small subjects up to 10 times their actual size, letting you reveal textures and colors invisible to the naked eye.
- Better Composition: With a macro lens, you can isolate specific elements in your frame, creating visually compelling shots.
- Multipurpose Magic: These lenses aren’t limited to bugs and plants. They’re also phenomenal for portraits, still life, and food photography during campfire meals.
Step-by-Step Guide: Choosing and Using Your First Macro Lens
Finding the right macro photo lens doesn’t have to be overwhelming—just follow these steps:
Step 1: Decide Between DSLR/Mirrorless Compatibility
Not all lenses play nice with every camera type. If you own a Canon EOS R, make sure the lens you choose works seamlessly with mirrorless systems. Always check compatibility before buying!
Step 2: Look for True Macro Capabilities
Some companies slap “macro” onto lenses that barely qualify. For true macro power, aim for a magnification ratio of 1:1 (meaning the subject appears life-size on the sensor).
Step 3: Prioritize Portability
Rugged trails demand lightweight gear. Opt for compact options like the Tokina FiRIN 100mm f/2.8 FE Macro or Sony SEL50M28.
“Optimist You:” ‘These specs sound fancy!’
Grumpy You: ‘Yeah, until you drop $1,000 on something you won’t lug uphill.’
Top Tips for Stunning Outdoor Macro Photography
Here’s where theory meets practice. To shoot like a pro, remember these golden rules:
- Use Natural Light Wisely: Early mornings and late afternoons offer soft, diffused light—perfect for avoiding harsh shadows.
- Master Depth of Field: Achieve crispness by focusing carefully; consider stacking multiple exposures for optimal clarity.
- Keep It Clean: Dust spots stick out like sore thumbs in macro work. Bring a blower brush to keep your lens pristine.
- Be Patient: Nature photography rewards those who wait quietly for critters to crawl into position or winds to die down.
(*Terrible Tip Alert:* Try sticking your lens directly into puddles for dramatic reflections… no, scratch that—it’s called water damage.)
Real-Life Examples That’ll Inspire Your Next Hike
Check out Sarah N., a self-taught macro enthusiast whose Instagram blew up thanks to her ethereal dragonfly shots taken along Colorado trails. Or Jason T., whose frog portraits went viral thanks to his meticulous attention to eye detail. Both started with entry-level equipment—and now inspire millions worldwide.
FAQs About Macro Lenses and Hiking Cameras
Q: Can I attach a macro lens to my smartphone?
A: Absolutely! Clip-on macro lenses exist but may not match the quality of dedicated models.
Q: Do I need image stabilization?
A: Highly recommended for handheld shots, especially when dealing with moving subjects like insects.
Q: Are expensive lenses worth it?
A: While pricier models deliver superior optics, start within your budget and upgrade later.
Conclusion
Armed with a solid understanding of macro photo lenses and equipped with actionable techniques, you’re ready to embark on countless adventures. Whether you’re chasing dewdrops or documenting butterfly wings, let your creativity roam free. Just don’t fall off any cliffs trying to get closer (yes, that happened once).
P.S. Like a Tamagotchi, your SEO needs daily care 😉.

