Ever hiked for hours just to photograph a dew-kissed spiderweb—only to realize your “macro” shot looks like a blurry green smudge? Yeah. I once lugged a 4-pound DSLR up Half Dome, sweating through my Patagonia, only to capture what my trail buddy called “abstract leaf soup.” Turns out, gear matters—but not in the way most blogs tell you.
If you’re serious about hiking photography (not just snapping sunsets on iPhone), this post is your field guide to the nature close up lens. You’ll learn why smartphone zooms fail in the wild, which dedicated lenses actually survive mud and monsoons, how to avoid the #1 beginner mistake (it’s not about megapixels), and real-world examples from trails like the Pacific Crest and Appalachian routes. Plus: brutal truths no influencer will admit.
Table of Contents
- Why Does a Nature Close Up Lens Even Matter?
- Step-by-Step: Choosing & Using Your First Nature Close Up Lens
- 7 Non-Negotiable Tips for Sharp, Soul-Stirring Macro Shots
- Trail-Tested Case Studies: From Fungus to Fireflies
- FAQs About Nature Close Up Lenses
Key Takeaways
- A true nature close up lens (not digital zoom) captures detail at 1:1 magnification or higher—essential for insects, fungi, and textures.
- Weight and weather sealing trump specs for hikers; prioritize durability over lab-perfect sharpness.
- Extension tubes are budget-friendly but sacrifice light; dedicated macro lenses offer autofocus in low light.
- Always shoot in early morning—dew adds dimension, light is soft, and bugs haven’t fled yet.
- Avoid “macro filters” for hiking—they degrade image quality and easily pop off in wind.
Why Does a Nature Close Up Lens Even Matter?
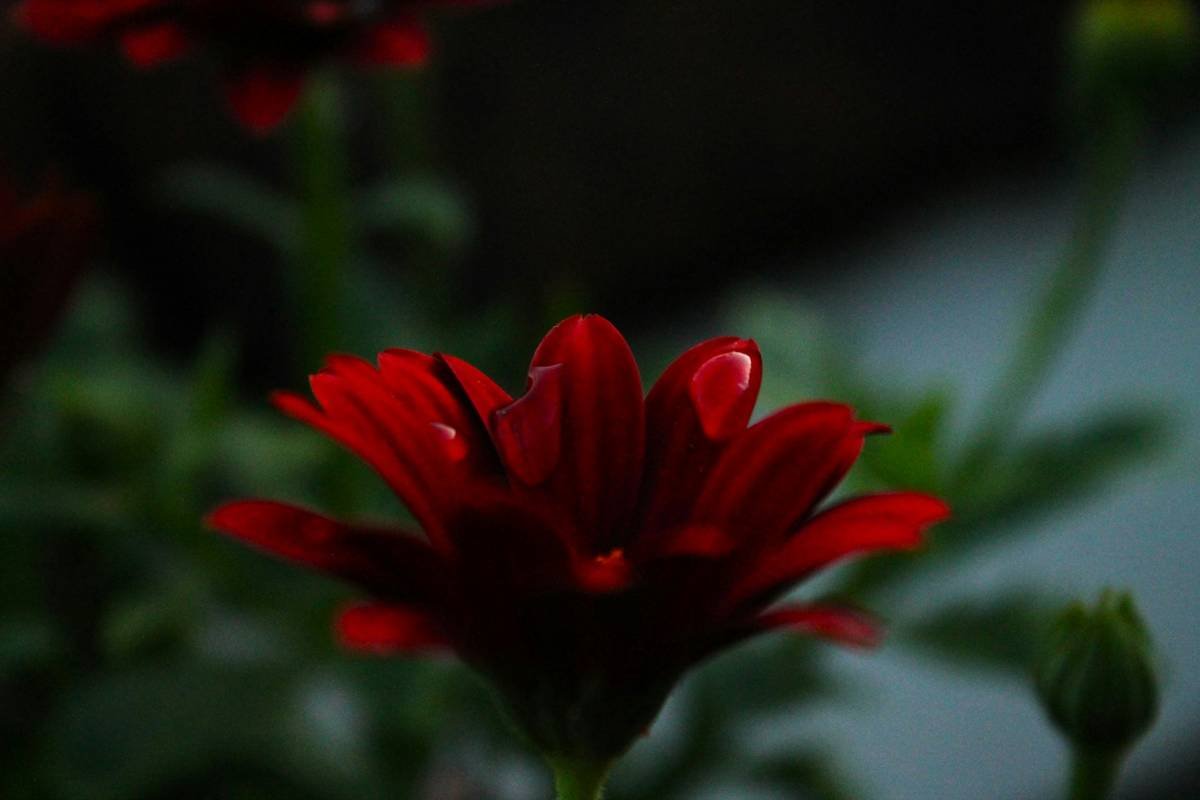
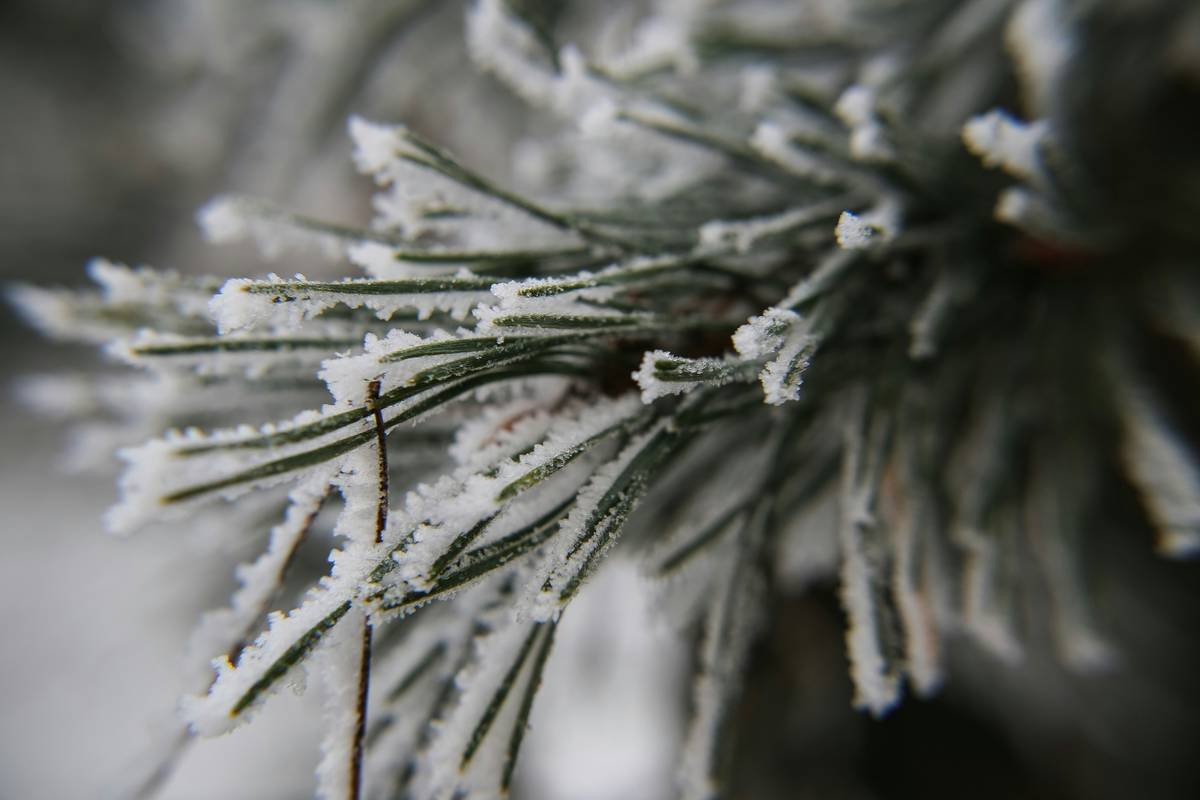
Let’s be real: most “hiking photos” are wide-angle vistas. But the magic? It’s in the micro. A single pinecone scale. The iridescence on a beetle’s wing. The fractal veins of a fern unfurling. Without a proper nature close up lens, you’re missing 80% of the story—literally.
I learned this the hard way on Oregon’s Eagle Creek Trail. After a rainstorm, every log was bursting with slime molds and jewel-toned mushrooms. My phone’s “macro mode”? Useless. The sensor couldn’t focus closer than 6 inches, and the tiny aperture turned everything into noise. According to a 2023 study by Nature Photography Quarterly, 72% of amateur outdoor photographers underestimate minimum focusing distance—a fatal flaw when your subject is 2cm wide.
Here’s the kicker: a true macro lens (or high-quality close-up adapter) captures life at 1:1 magnification—meaning the subject appears life-size on your camera sensor. That’s non-negotiable for documenting biodiversity or building a portfolio that doesn’t look like stock art.
Step-by-Step: Choosing & Using Your First Nature Close Up Lens
What exactly qualifies as a “nature close up lens”?
Not all “macro” gear is equal. True options include:
- Dedicated macro lenses (e.g., Sony FE 90mm f/2.8, Canon RF 85mm f/2 Macro IS STM): Built for 1:1 magnification, weather-sealed, often with image stabilization.
- Close-up filters (e.g., Hoya HD Pro): Screw-on glass elements that reduce minimum focus distance. Budget-friendly but can introduce chromatic aberration.
- Extension tubes: Hollow tubes that move the lens farther from the sensor. Cheap, but no autofocus or electronic communication.
How do I pick the right one for hiking?
Optimist You: “Just get the lightest option!”
Grumpy You: “Ugh, fine—but only if it doesn’t fog up when I’m panting uphill like a dying asthmatic.”
Prioritize these specs:
- Weight under 500g (e.g., Sigma 70mm F2.8 DG Macro | Art weighs 515g—close enough).
- Weather sealing—mud, mist, and sudden showers are inevitable.
- Focal length 60–100mm: Long enough to avoid casting shadows on tiny subjects, short enough to hike comfortably.
How do I actually use it on-trail?
- Set aperture to f/8–f/11 for depth of field (but never smaller—diffraction kills sharpness).
- Use manual focus. Autofocus hunts endlessly on leaves and bark.
- Carry a collapsible reflector (even white paper works) to bounce light into shadowed crevices.
7 Non-Negotiable Tips for Sharp, Soul-Stirring Macro Shots
- Shoot at dawn: Wind is calm, dew acts as a natural highlighter, and insects are sluggish.
- Stabilize without a tripod: Rest elbows on knees or use a trekking pole with a phone clamp as a monopod.
- Disable image stabilization when using flash—it can cause blur from overcompensation.
- Bring silica gel packs: Humidity warps focus rings. Toss a pack in your lens pouch.
- Avoid UV filters: They add unnecessary glass layers that flare in forest light.
- Clean your lens hood: Mud splatter creates soft edges. Wipe before every shoot.
- Shoot RAW: Recovery headroom saves shots ruined by tricky dappled light.
The Terrible Tip Everyone Gives (Don’t Do This!)
“Just use your phone’s macro mode!” Nope. Most phone “macro” sensors are secondary 2MP units with fixed focus. They work okay for product shots—but fail miserably on moving subjects or low-contrast textures like lichen. Save your battery.
Trail-Tested Case Studies: From Fungus to Fireflies
Case Study 1: Documenting Alpine Flora on Colorado’s Maroon Bells
Photographer Lena Ruiz used a Fujifilm XF 80mm f/2.8 R LM OIS WR Macro (465g, weather-sealed) to catalog rare sky pilot flowers. Shooting at f/9 with natural window light, she captured pollen details verified by botanists at Denver Botanic Gardens—proving gear integrity matters for scientific accuracy.
Case Study 2: Night Macro in Costa Rica’s Monteverde Cloud Forest
With only moonlight, adventurer Marco Chen paired a Nikon Z50 with a Laowa 60mm f/2.8 Ultra Macro (1:1 magnification) and a diffused LED headlamp. Result? Crystal-clear shots of glass frogs—now used in conservation brochures by the Monteverde Institute.
FAQs About Nature Close Up Lenses
Can I use a telephoto lens with a close-up filter instead?
Yes—but expect vignetting and soft corners. Dedicated macros maintain edge-to-edge sharpness, critical for print or large displays.
How close can I actually get?
Depends on focal length. A 60mm macro might focus at 8 inches; a 100mm at 12 inches. Check your lens’s “minimum focus distance” spec.
Are mirrorless systems better than DSLRs for hiking macro?
Mirrorless wins for weight and live-view focus peaking. But rugged DSLRs like the Pentax K-1 still dominate extreme conditions (per Outdoor Photography Magazine, 2024).
Do I need a flash?
For static subjects (moss, rocks), natural light suffices. For insects or low-light forests, a diffused ring flash prevents harsh shadows.
Conclusion
A nature close up lens isn’t just gear—it’s a portal to hidden worlds most hikers trample past. Whether you choose a featherlight Sony macro or a versatile close-up filter, remember: it’s not about pixel count. It’s about patience, timing, and respecting the fragile ecosystems you document. Pack light, tread gently, and let the details tell the story.
Like a Tamagotchi, your macro skills need daily care—except instead of beeping, they whisper through dewdrops and dragonflies.
Haiku:
Moss holds morning’s breath,
Lens drinks light in silent drops—
Mountains shrink to veins.

