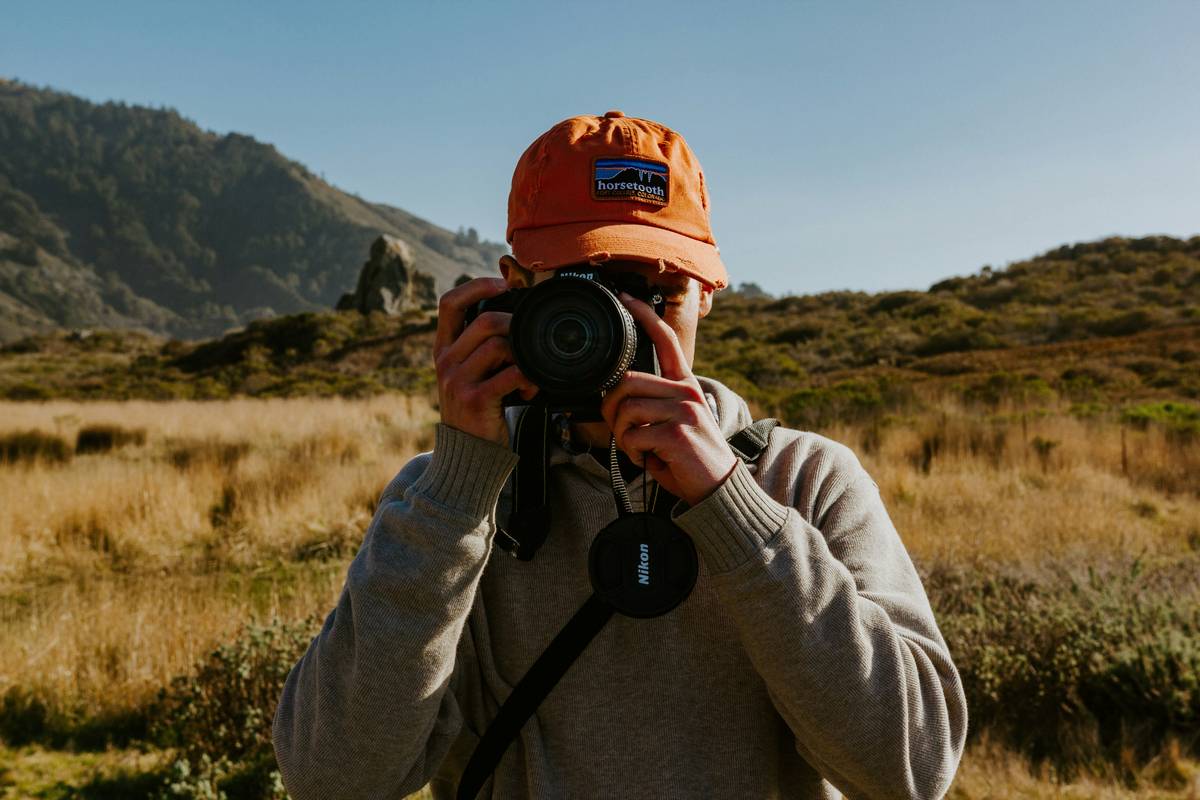
Ever missed capturing that perfect shot of a distant mountain lion because your camera lens wasn’t up to the task? Yeah, we’ve all been there. Whether you’re an avid hiker or just someone who loves exploring nature, having the right gear can make or break your outdoor photography experience. Today, we’ll dive into how a super telephoto lens wildlife enthusiasts swear by can transform the way you capture moments in the wild.
In this post, you’ll discover why a super telephoto lens is essential for wildlife hikes, learn step-by-step tips on using it effectively, and get actionable advice from real-world examples. Spoiler alert: You may want coffee nearby—this guide isn’t for the faint-hearted!
Table of Contents
- Why Every Hiker Needs a Super Telephoto Lens for Wildlife Photography
- Step-by-Step Guide to Mastering Your Super Telephoto Lens
- Pro Tips and Best Practices for Wildlife Shots
- Real-Life Success Stories: Wildlife Captured with Telephoto Lenses
- Frequently Asked Questions About Super Telephoto Lenses
Key Takeaways
- A super telephoto lens brings distant wildlife close without disturbing their natural habitat.
- Practice stability techniques like tripod use to avoid blurry long-distance shots.
- Investing in quality glass pays off; cheaper lenses often compromise image sharpness.
- Understand lighting conditions and animal behavior for better timing.
Why Every Hiker Needs a Super Telephoto Lens for Wildlife Photography
“Imagine trying to zoom in on a deer perched half a mile away with a smartphone. Sounds impossible, right? That’s where the magic of a super telephoto lens comes in.”

The truth is, hiking cameras aren’t one-size-fits-all. While most hikers opt for compact point-and-shoots, those serious about wildlife know that getting closer (without scaring animals) requires reaching out digitally. A super telephoto lens lets you do exactly that—from hundreds of feet away.
(Grumpy Optimist Dialogue)
Optimist You: “Think of the stunning photos!”
Grumpy You: “But carrying extra weight uphill? Ugh.”
Truth Bomb: Once you see a crystal-clear photo of an elusive fox at sunrise, you’ll forget the struggle.
I once tried sneaking up on a coyote with my phone’s digital zoom—not realizing I was basically screaming “Hey, here I am!” through its poor pixelated lens. Lesson learned: Let technology be your stealth ally.
Step-by-Step Guide to Mastering Your Super Telephoto Lens
Ready to elevate your game? Follow these steps:
Step 1: Choose the Right Lens for Your Camera Body
Not every super telephoto lens works seamlessly with every camera type. For instance, if you own a crop-sensor DSLR, pairing it with a 400mm lens gives you even more reach due to focal length multiplication. Research compatibility before buying.
Step 2: Invest in Stability Gear
Your hands might shake during excitement—or after hours of trekking. A sturdy monopod or gimbal stabilizer ensures sharper images. Pro tip: Practice balancing before heading into the field.
Step 3: Adjust Settings Based on Lighting Conditions
No two hikes are alike. In low-light forests, prioritize wider apertures (lower f-stop). During midday sun, crank up ISO sensitivity slightly to balance exposure without losing detail.
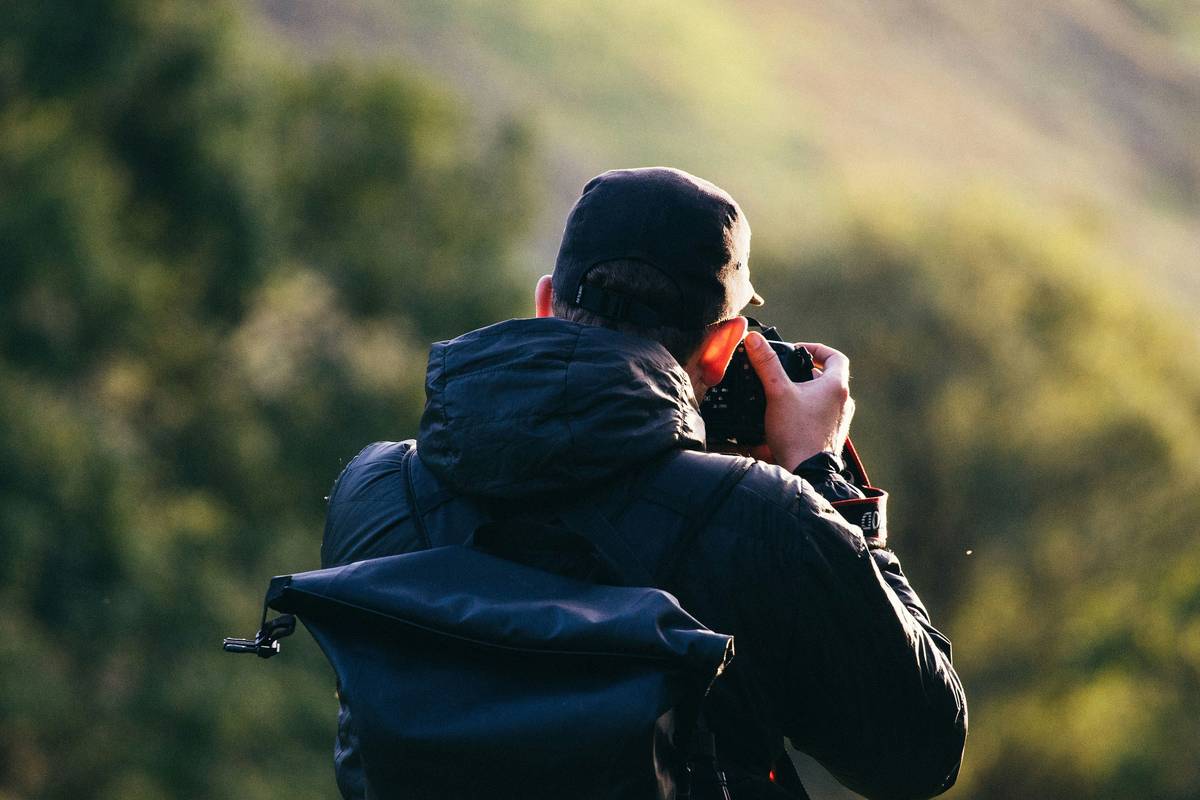
Pro Tips and Best Practices for Wildlife Shots
- Patience is Key: Animals won’t pose for you. Be ready to wait quietly.
- Clothing Camouflage: Match surroundings to blend in; bright colors scare critters.
- Golden Hour Magic: Shoot early morning or late afternoon when light is softer.
- Avoid Cheap Filters: They degrade image quality faster than you can say “blurry bird.” 🤬
Rant Alert: Nothing grinds gears faster than seeing people slap cheap UV filters onto $2,000 lenses. Stop wasting money on gimmicks! Instead, spend wisely on microfiber cloths to keep your optics pristine.
Real-Life Success Stories: Wildlife Captured with Telephoto Lenses
Teddy J., a seasoned hiker, shares his success: “I spotted an eagle nesting high atop a cliff last summer. My Canon EF 200-400mm lens let me frame the chick perfectly without spooking momma bird. It felt like winning photography Olympics!”
Stories like Teddy’s prove the power of preparation and premium gear. Want similar results? Don’t skimp on research—or snacks for the trail! (Trail mix fuels creativity, trust us.)
Frequently Asked Questions About Super Telephoto Lenses
Q1: Are Super Telephoto Lenses Worth the Weight?
Yes, but only if you’re committed to wildlife photography. Otherwise, stick to lighter options.
Q2: Can’t I Just Crop Later?
You *can*, but cropping reduces resolution. Capture as much detail as possible upfront—it saves editing headaches later.
Q3: What’s the Worst Tip for Beginners?
Buying an expensive super telephoto lens straight out of the gate. Start renting to test what suits your style first.
Conclusion
A super telephoto lens wildlife photographers adore is no longer optional—it’s necessary. From mastering settings to embracing patience, equipping yourself with knowledge empowers you to capture breathtaking scenes responsibly. So pack your gear, lace those boots, and prepare to witness wonders unfold.
Final thought: Like Pokémon cards in the ’90s, your memories need protection—and no tool shields them better than a reliable hiking camera setup.
And because nostalgia never hurts:
Whispering pines sway,
Eyes scan hillsides, heart beats fast.
Click! Nature stands still.

