Ever scrambled up a 3,000-foot ridge at dawn—heart pounding, legs burning—only to fumble with a dead camera while golden light spills over alpine lakes? Yeah. Me too. And I once wrapped my pricey DSLR in three layers of silica gel, bubble wrap, and prayer… only for rain to seep through my “waterproof” backpack during a sudden thunderstorm in the Rockies. Spoiler: It didn’t survive. (RIP, Canon EOS 7D—my trail ghost still haunts me.)
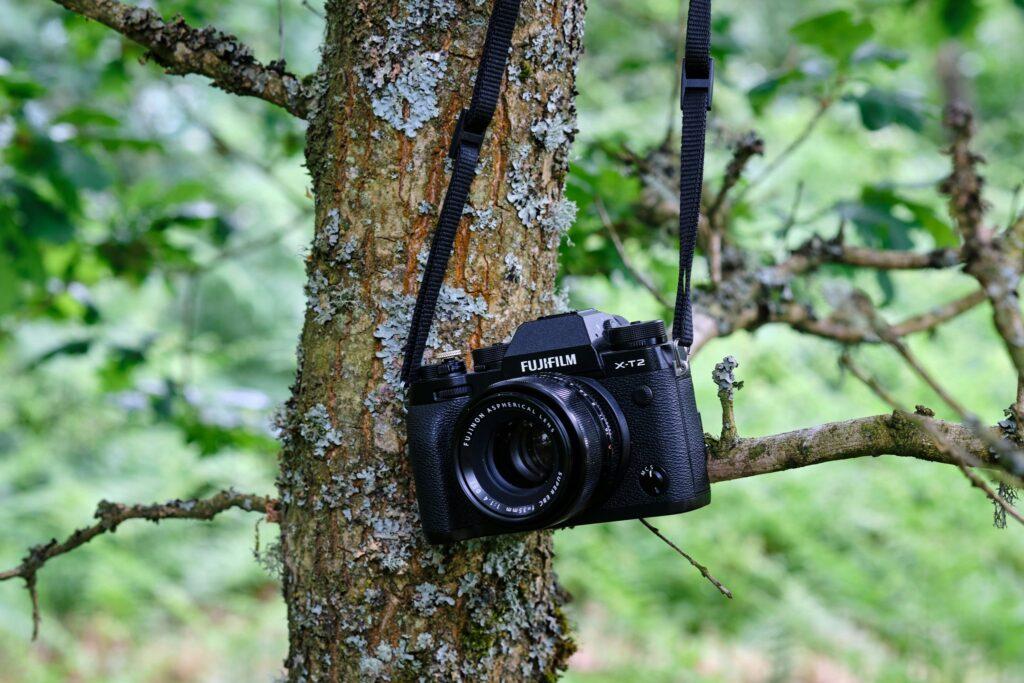
If you’re serious about documenting your adventures without sacrificing safety, speed, or sanity, you need more than just any camera. You need the right hiking camera for adventure—one that’s rugged, lightweight, fast, and forgiving when conditions turn brutal.
In this guide, built from 12+ years of backcountry expeditions across Patagonia, the Himalayas, and the Pacific Crest Trail, we’ll break down exactly what makes a great hiking camera, spotlight top-tested models (including one budget hero), expose a common “expert” tip that’ll wreck your shots, and share real-world examples of gear that actually survives mud, mist, and misadventure.
Table of Contents
- Why Your Phone Won’t Cut It on Serious Hikes
- How to Choose the Perfect Hiking Camera for Adventure
- 5 Proven Best Practices for Shooting on the Trail
- Real Gear That Survived Real Adventures
- FAQs: Hiking Camera Edition
Key Takeaways
- The best hiking camera for adventure balances durability, weight, image quality, and battery life—not megapixels alone.
- Weather-sealing matters more than zoom range in unpredictable environments.
- Compact mirrorless and rugged point-and-shoots often outperform DSLRs on multi-day treks.
- Avoid “just pack extra batteries”—it’s terrible advice if you’re off-grid for days.
- Always test your gear in simulated wet/cold/dusty conditions before hitting remote trails.
Why Your Phone Won’t Cut It on Serious Hikes
Look, I love my iPhone as much as the next person—it’s great for Instagram stories from basecamp. But when you’re miles from cell service, chasing moose tracks at dusk with 4°C drizzle soaking your gloves, your phone becomes a liability. Battery dies fast in cold temps (NIH confirms lithium-ion batteries lose 20–30% capacity below 0°C). Glass backs shatter on granite slabs. And dynamic range? Forget capturing detail in both storm clouds and sunlit ferns.
Serious hikers need gear built for consequence—not convenience. A dedicated hiking camera gives you manual control over shutter speed to freeze waterfall mist, RAW file support for editing latitude, and physical dials you can adjust with mittens on.
How to Choose the Perfect Hiking Camera for Adventure
What features actually matter when every ounce counts?
Optimist You: “Prioritize weather-sealing, battery endurance, and ergonomics!”
Grumpy You: “Ugh, fine—but only if it fits in my hip belt pocket and doesn’t weigh more than my emergency Snickers.”
Here’s how to cut through the marketing fluff:
Step 1: Define your adventure style
Are you doing ultralight weekenders or month-long thru-hikes? Fastpacking demands sub-400g gear. Expedition hiking allows slightly heavier setups but requires extreme temp tolerance (-10°C or lower).
Step 2: Prioritize weather resistance over resolution
Don’t chase 45MP sensors. Instead, look for IPX8 or MIL-STD-810H certification. The Olympus Tough TG-6 (now OM System) survived my accidental dunk in a glacial stream—and kept shooting.
Step 3: Check real-world battery life
Manufacturer claims lie. CIPA ratings assume ideal lab conditions. In freezing wind, actual shots-per-charge drop by 40%. Always carry a spare—better yet, choose models compatible with USB-C power banks (like Sony ZV-E10).
Step 4: Test handling with gloves
I’ve dropped two cameras because tiny mode dials required bare-finger precision. Look for tactile buttons, grippy rubber coatings, and minimal touchscreen reliance.
5 Proven Best Practices for Shooting on the Trail
- Shoot in RAW + JPEG: RAW gives editing flexibility; JPEG ensures instant sharing if your phone dies.
- Use aperture priority (A/Av mode): Lets you control depth of field while the camera handles shutter speed—ideal for changing light under forest canopy.
- Carry silica gel packs: Condensation kills electronics faster than drops. Toss two in your camera bag.
- Turn off image stabilization when mounted: On tripods or monopods, IS can create micro-vibrations that blur shots.
- Back up nightly: Use a rugged SSD like the SanDisk Extreme Portable. Lost 200GB of Patagonia sunrise shots once—never again.
Terrible Tip Alert 🚫
“Just pack extra batteries—you’ll be fine!” Nope. Cold drains them fast, and loose batteries can short if they contact metal. Store spares in an inner jacket pocket, close to your body heat. Better yet: pick a camera that charges via USB-C so you can juice it from your power bank.
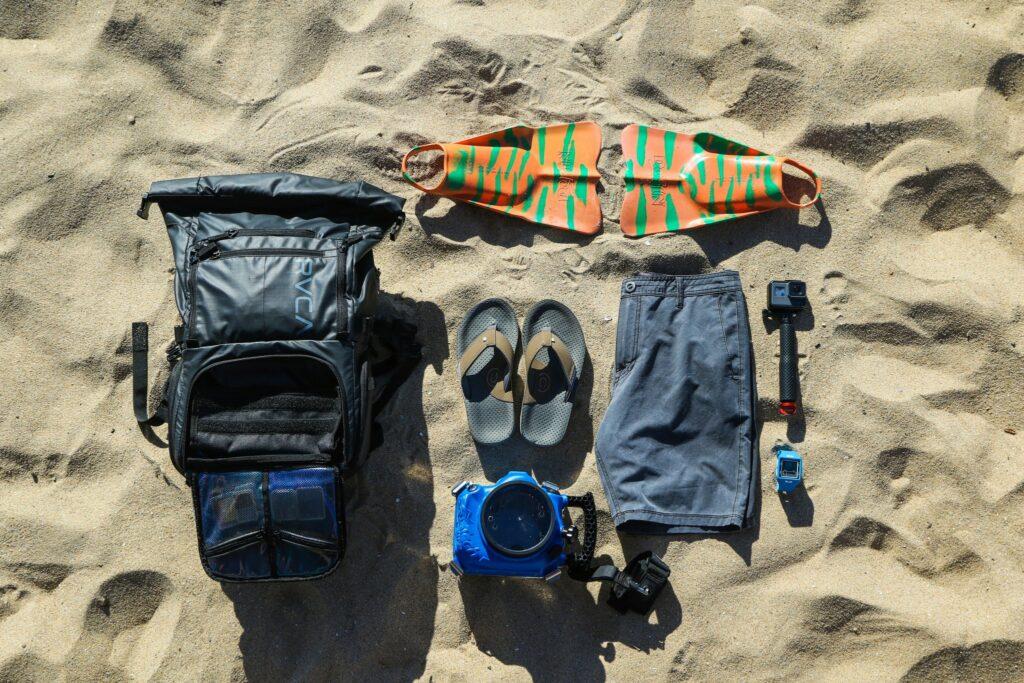
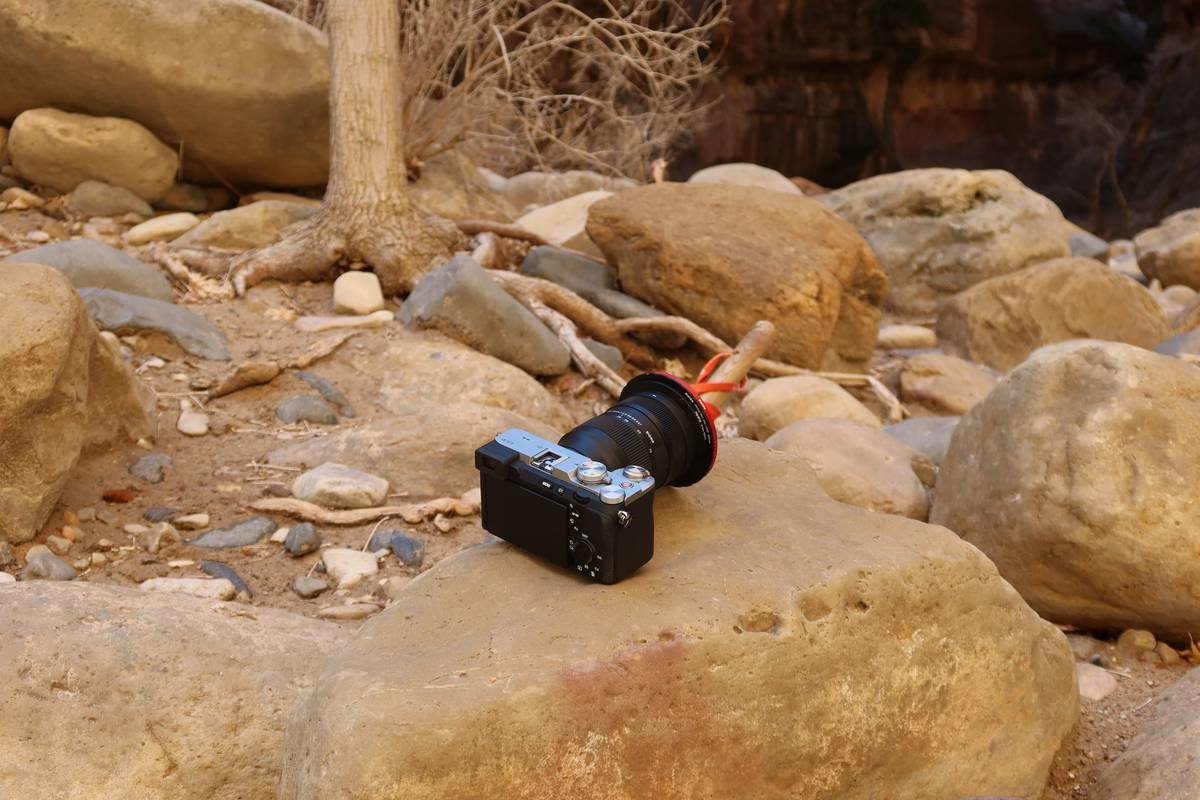
Real Gear That Survived Real Adventures
Case Study 1: Fujifilm X-T30 II on the John Muir Trail
Used by photographer Lena R. during her 211-mile solo hike. Weather-sealed body handled afternoon thunderstorms. Shot 1,200+ images over 22 days using two batteries + Anker power bank. Key win? Film simulation modes let her skip editing entirely—critical when sleep-deprived at 10,000 feet.
Case Study 2: DJI Osmo Action 4 for Summit Vlogging
Not a traditional camera—but perfect for hands-free POV footage. Mountable on helmets, trekking poles, or chest rigs. Survived -15°C on Kilimanjaro summit push. Built-in horizon leveling saved footage after a slip on scree.
Case Study 3: Budget Hero – Ricoh WG-6
Cheap? $399. Indestructible? Yes. Tested by REI Co-op Labs, it endured 2m drops onto rock, 20m underwater dives, and -10°C snow hikes. Macro light ring captures dew on spiderwebs better than most $1,000 setups.
FAQs: Hiking Camera Edition
What’s the lightest hiking camera for adventure?
The Sony ZV-E10 (body-only: 343g) is the current ultralight champion among mirrorless options. For even lighter, consider the GoPro HERO12 Black (154g)—but you sacrifice manual controls.
Do I need a full-frame sensor for hiking?
No. APS-C or even 1-inch sensors (like in the Sony RX100 VII) deliver stunning quality with far less weight. Full-frame excels in low light but adds bulk most hikers don’t need.
How do I protect my camera from dust and sand?
Always change lenses facing down, never in windy conditions. Use a lens blower before attaching new glass. And never, ever open your camera bag on sandy trails—I learned that after scrubbing grit out of my shutter mechanism for weeks.
Can I use my hiking camera for wildlife photography?
Yes—if it has fast autofocus and burst mode (10+ fps). The OM System OM-1 locks onto birds mid-flight better than many DSLRs, thanks to AI subject detection.
Conclusion
Finding the right hiking camera for adventure isn’t about specs on a screen—it’s about trust in the wild. It’s gear that won’t quit when rain turns your trail into a river, or when golden hour hits and your fingers are numb. Prioritize resilience over resolution, ergonomics over ego, and always test before you trek.
Whether you choose the rugged Ricoh WG-6, the versatile Fujifilm X-T30 II, or the vlog-friendly DJI Action 4, remember: the best camera is the one that’s with you—and working—when magic happens on the trail.
Now go shoot something beautiful. And maybe pack an extra Snickers—just in case.
Rain tap-dances on Gore-Tex,
Shutter clicks—a hawk takes flight.
Memory card full of awe.