Hook: Ever tried setting up your hiking camera mid-hike, only to discover later that it captured nothing but a blurry squirrel? Yeah, we’ve been there.
Purpose: In this guide, you’ll learn all about Adventure Shot Installation Guides—the tools and tips needed to seamlessly capture epic moments during your outdoor explorations. From choosing the right gear to avoiding rookie mistakes, we’ve got you covered.
Preview: By the end of this post, you’ll understand how to install and use hiking cameras effectively, know the best practices for capturing stunning footage, and get inspired by real-world examples of hikers who nailed their adventure shots.
Table of Contents
- The Problem with Hiking Cameras
- Step-by-Step Installation Guide
- Top Tips for Perfect Shots
- Real-Life Success Stories
- Frequently Asked Questions
Key Takeaways
- Hiking cameras can drastically enhance your outdoor memories if set up correctly.
- The key to great adventure shots lies in proper installation and strategic positioning.
- Avoid common pitfalls like poor battery management and improper angles.
The Problem with Hiking Cameras
Confessional fail time—I once spent two hours adjusting my GoPro on a tricky trail ledge, only to realize I’d forgotten to toggle the record button. The result? A memory card full of serene forest stills instead of cinematic trail runs.
Sounds familiar? If not, lucky you. Whether you’re a seasoned explorer or a weekend warrior, getting those perfect adventure shots isn’t always as easy as point-and-shoot. Most beginner hikers fumble with setups, unclear settings, and subpar installations that ruin what should be glorious content.
This is where Adventure Shot Installation Guides come into play (chef’s kiss!). They offer a foolproof plan to ensure every hike is documented in high-definition glory.
Optimist You: “Follow these guides, and you’ll never miss a shot!”
Grumpy You: “Sure, but ONLY if the battery’s charged.”
Step-by-Step Installation Guide
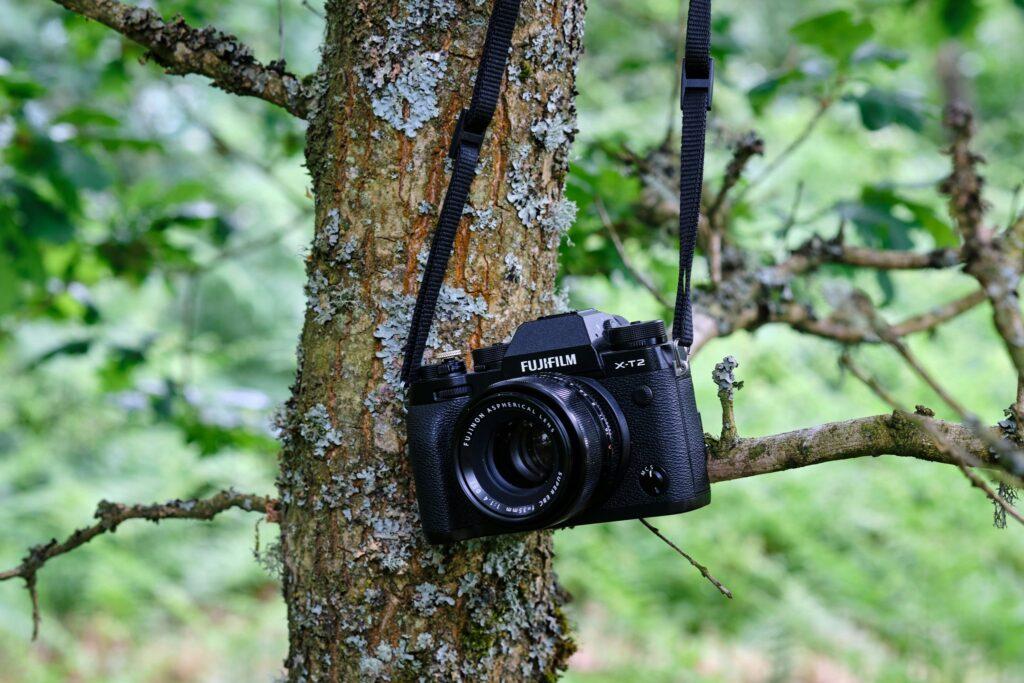
Step 1: Choose the Right Camera

Before diving into installation, pick a camera suited for rugged terrains. Brands like GoPro, DJI Osmo Action, or Garmin VIRB are built for durability and performance.
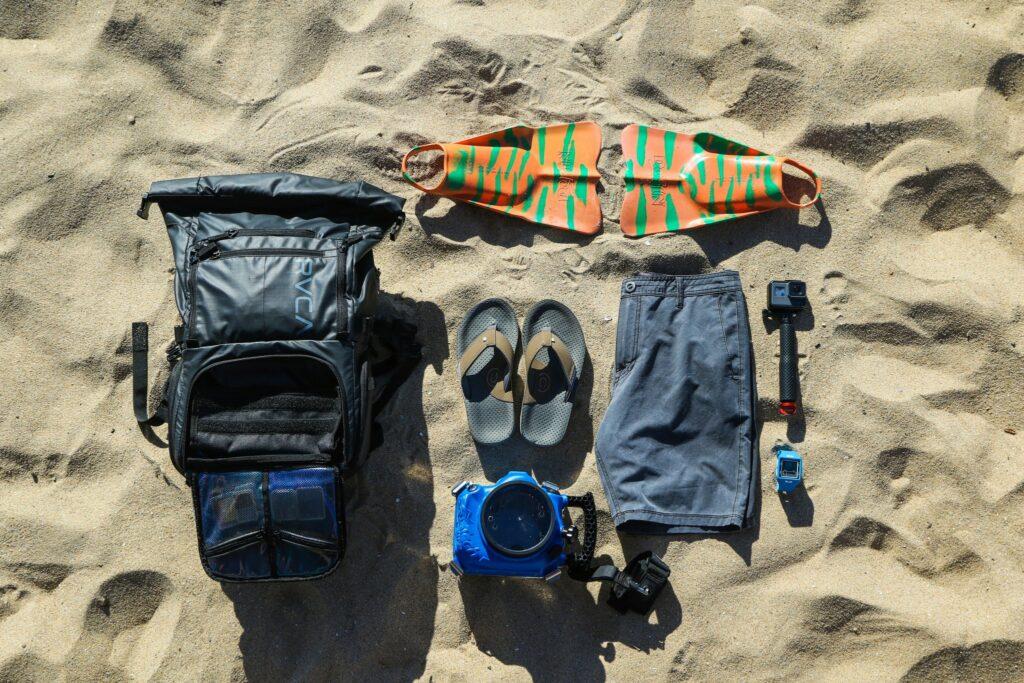
Step 2: Secure Your Mounting Equipment
No one wants their precious device tumbling down a cliff. Use sturdy mounts designed specifically for backpack straps, helmets, or trekking poles.
Step 3: Set Up Your Camera
- Turn it ON (yes, obvious, but don’t skip).
- Select resolution settings based on lighting conditions.
- Ensure SD card is inserted and has enough space.
Step 4: Test Before You Trek
Quickly test recording for at least 10 seconds before heading out. Listen closely—it might whirr like your laptop fan rendering 4K videos (annoying, but necessary).
Top Tips for Perfect Shots
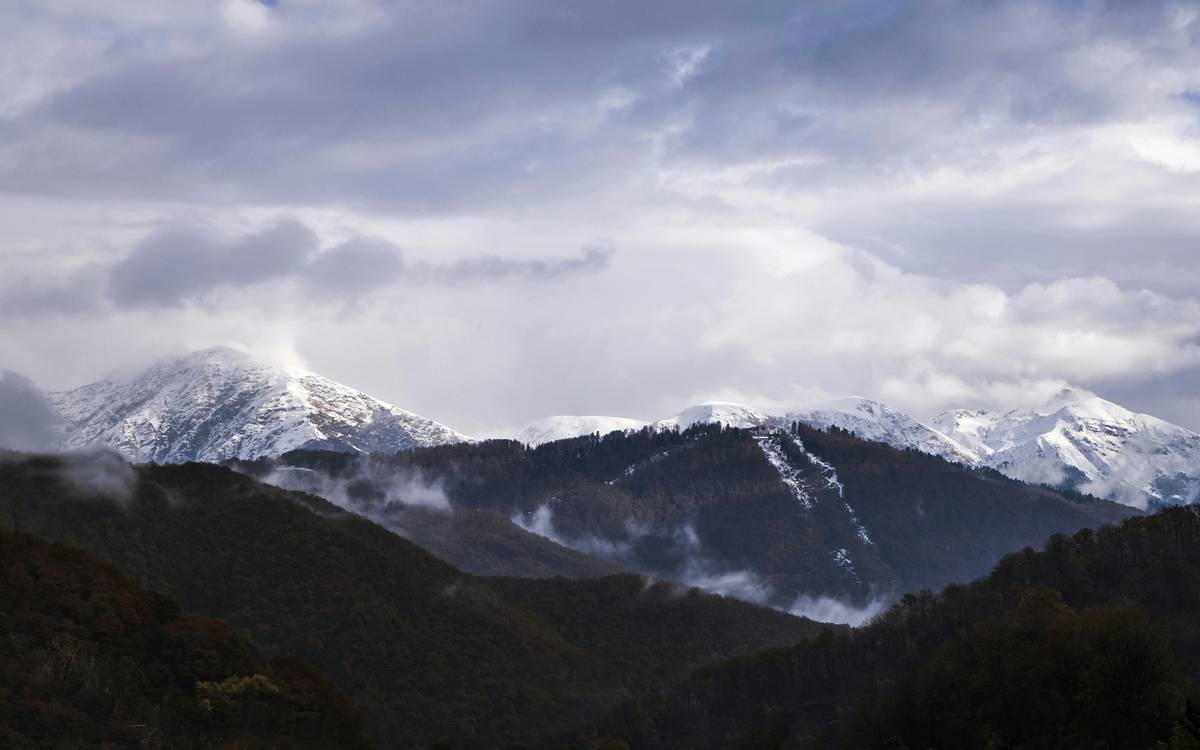
- Use Timelapses: Great for sunrises, waterfalls, or clouds rolling over peaks.
- Angle Wisely: Position slightly downward-facing to avoid endless sky shots.
- Stay Charged: Always carry spare batteries or power banks.
- Avoid Clutter: Keep shots minimalistic; nature sells itself.
Rant Break: Why do people insist on filming EVERYTHING horizontally? Smartphones made vertical video okay—embrace it!
“Tip Alert: Don’t strap your camera TOO tightly—it overheats faster than bad gossip spreads.”
Real-Life Success Stories
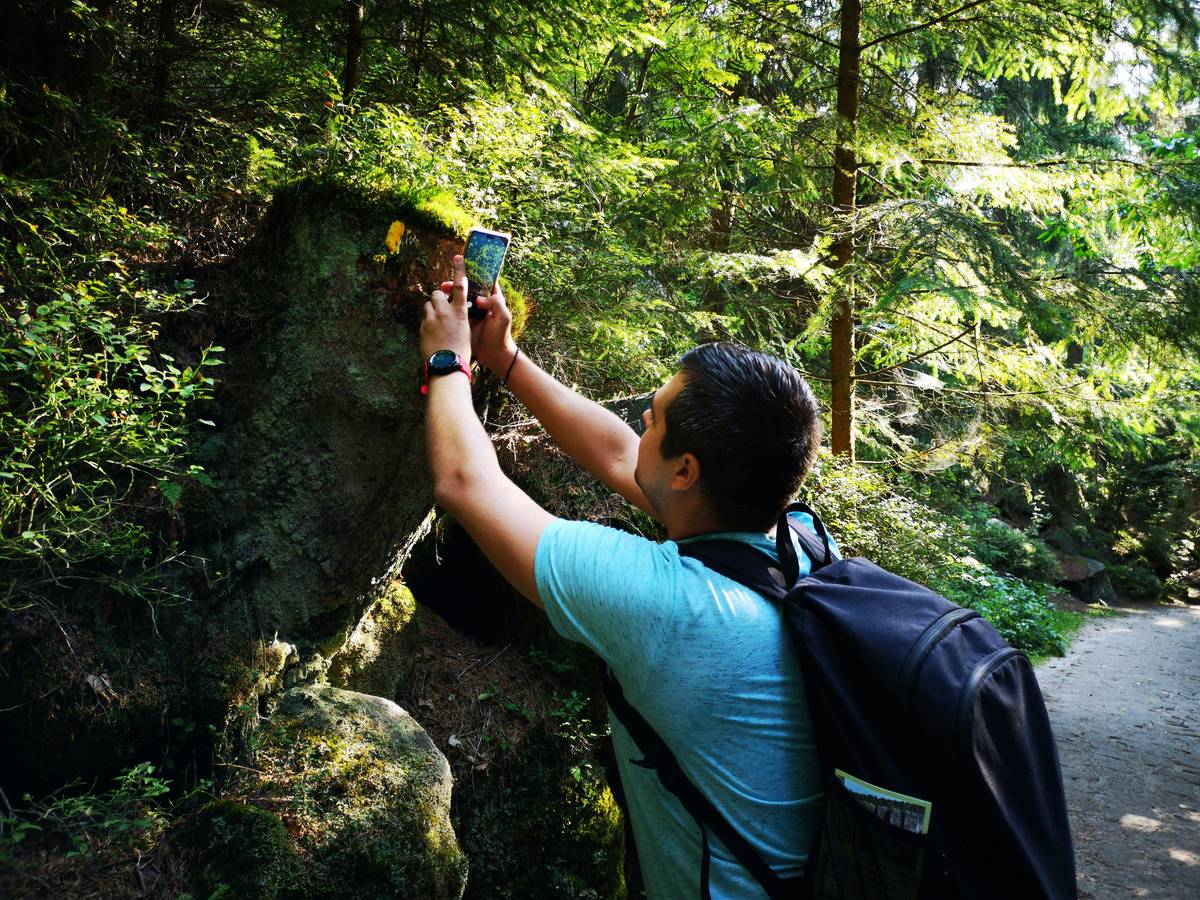
Take Sarah from Colorado, whose GoPro montage went viral after using an Adventure Shot Installation Guide she found online. She mounted her camera low on her chest harness, capturing immersive first-person footage.
Or consider Jake, whose drone-captured summit clips became Instagram gold thanks to meticulous pre-flight setup following detailed guides.
Frequently Asked Questions
Q: Do I need expensive gear for good results?
Absolutely not! Even budget-friendly options work wonders when installed properly.
Q: What’s the worst mistake beginners make?
Ignoring battery life warnings! Dead cameras equal zero memories.
Q: Should I edit my footage?
Depends. Raw shots often tell authentic stories better than overly polished versions.
Conclusion
Capturing unforgettable moments during hikes doesn’t have to be stressful. With the right Adventure Shot Installation Guide, even non-tech-savvy explorers can achieve professional-quality visuals.
Recap: We discussed the problems with unprepared installations, walked through step-by-step instructions, explored best practices, shared success stories, and tackled FAQs.
To wrap things up here’s a little nugget of wisdom:
Snapshots fade,
but memories stay.
Like Tamagotchi care,
Your shots deserve flair.