Ever been halfway up a mountain, trying to install your hiking camera, only to realize you’ve got no idea what goes where? Yeah, us too. It’s like assembling IKEA furniture at 8,000 feet—with wind whipping in your face and your patience wearing thinner than your gloves.
In this guide, we’ll break down everything you need to know about installing adventure shot cameras for hiking and outdoor exploration. You’ll learn how to choose the right gear, avoid rookie mistakes (like mounting it upside down—true story), and get pro-level footage without breaking a sweat—or dropping your GoPro off a cliff. Let’s dive in!
Table of Contents
- Key Takeaways
- The Problem with Poorly Installed Cameras
- Step-by-Step Adventure Shot Installation
- Best Practices for Hiking Cameras
- Real-World Examples
- FAQs About Adventure Shot Installation
- Conclusion
Key Takeaways
- Pick durable, weather-resistant cameras built for rugged terrain.
- Use secure mounts and test setups before hitting the trail.
- Avoid common pitfalls like shaky footage or incorrect angles.
- Follow specific installation guides tailored to your camera model.
- Always pack extra batteries and spare parts just in case.
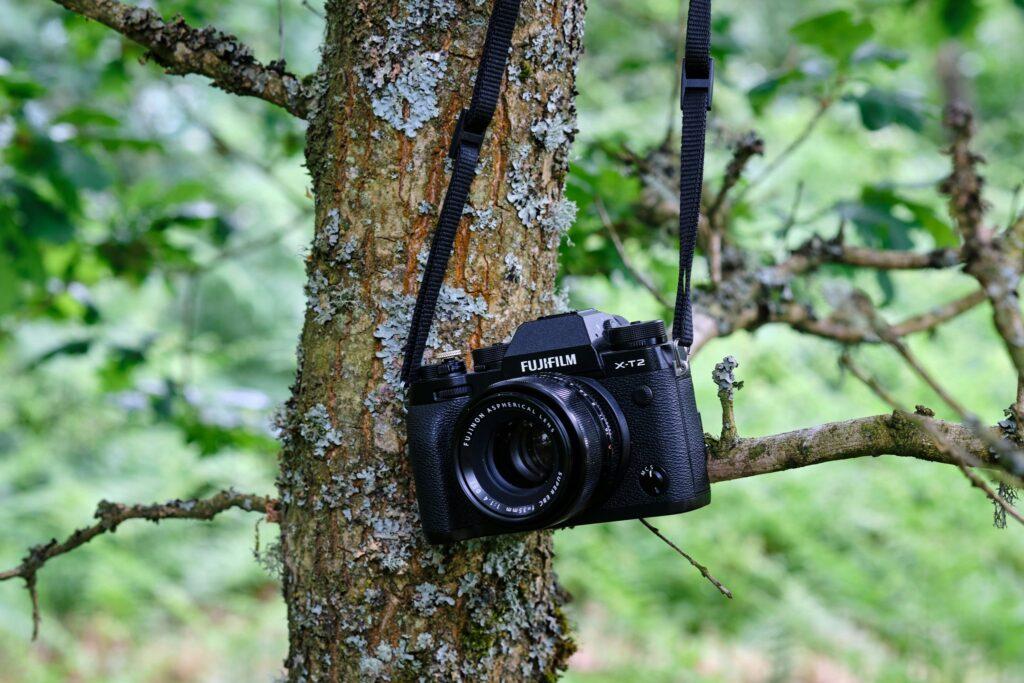
The Problem with Poorly Installed Cameras
Here’s a confession: I once strapped my GoPro to my backpack using nothing but duct tape. Midway through a rocky descent, it flew off into oblivion. Lesson learned the hard way? Proper installation matters more than you think.
“Optimist You:” “Oh, these clips are foolproof!”
“Grumpy You:” “Ugh, fine—but only if coffee’s involved.”
When your camera isn’t installed correctly, you risk losing valuable memories, damaging expensive equipment, and even ruining your entire hike experience. Plus, there’s that soul-crushing sound when your camera hits a boulder below—a sound louder than your laptop fan during a 4K render. Yep, whirrrr.
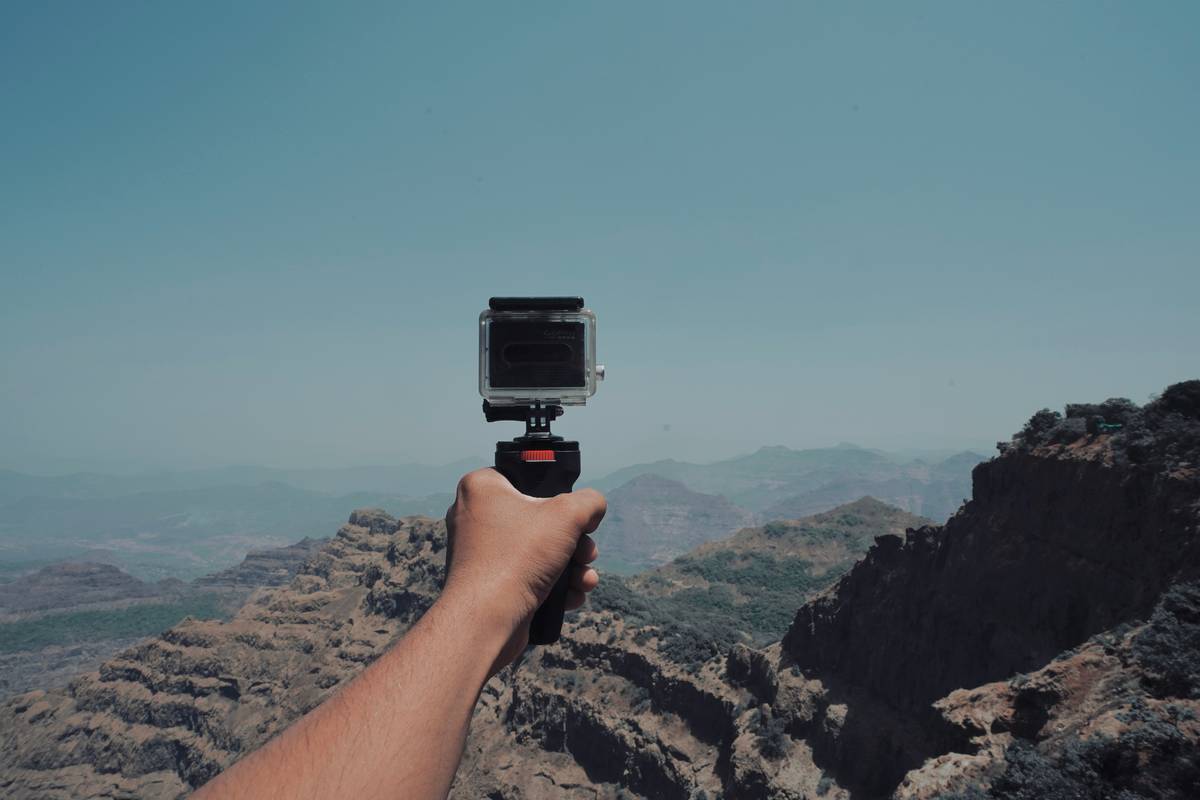
Step-by-Step Adventure Shot Installation
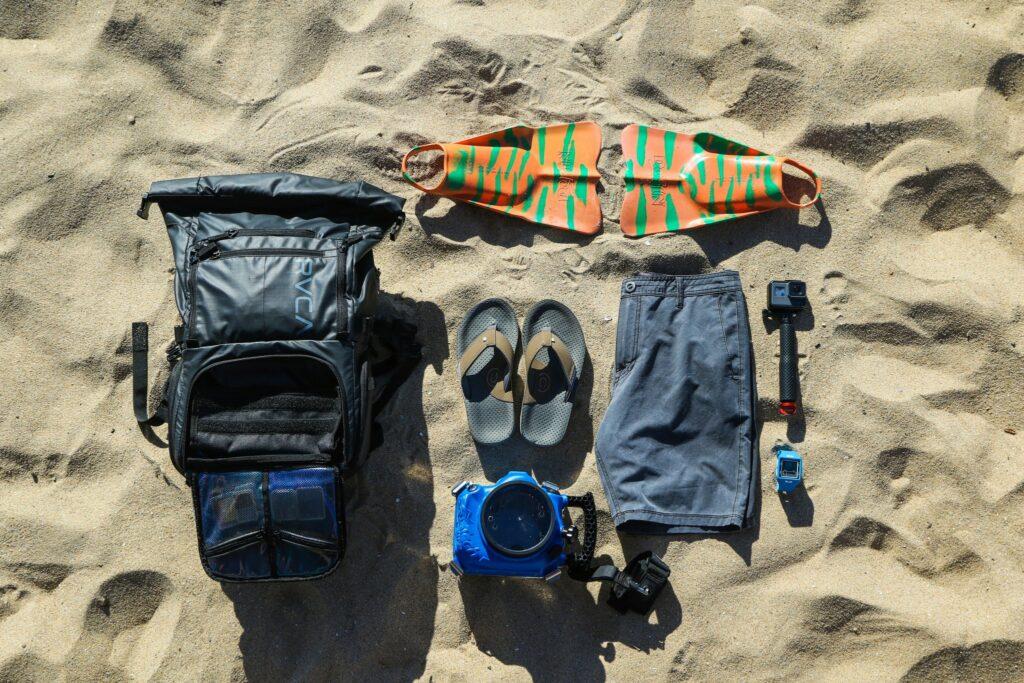
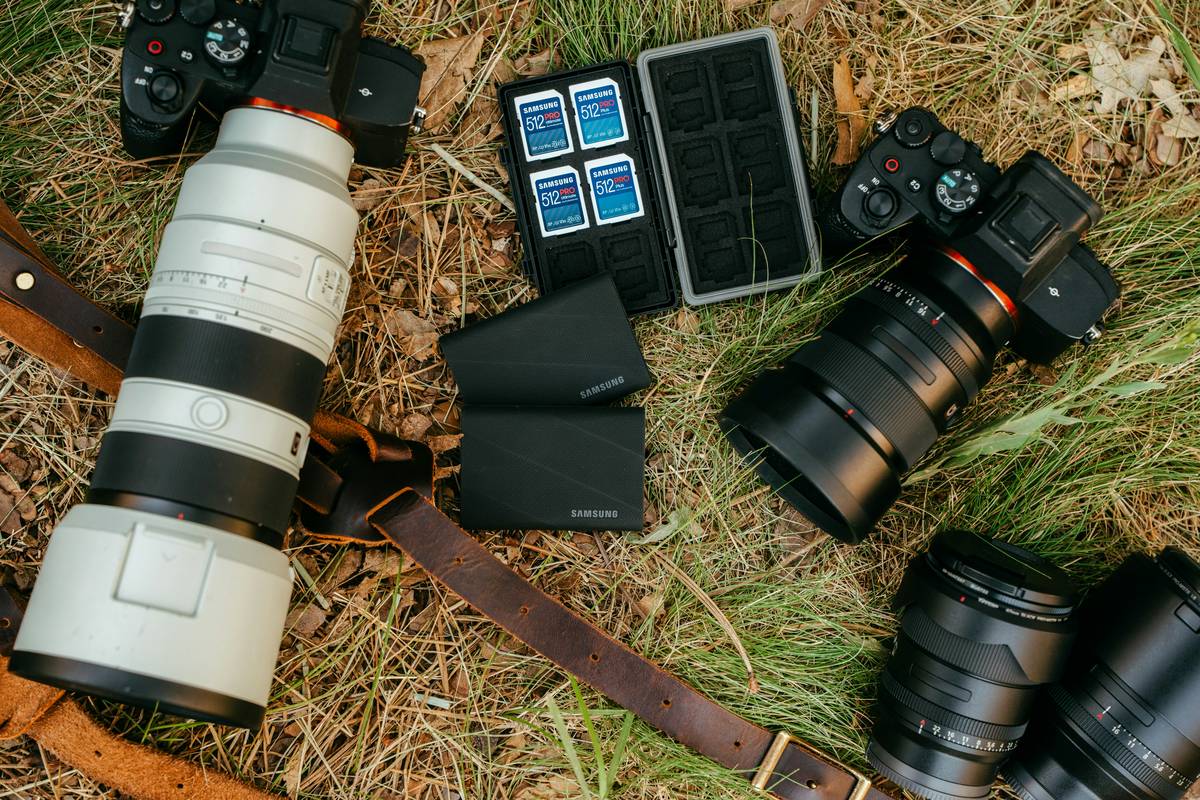
What Gear Do You Need?
First things first: grab a high-quality camera designed specifically for outdoor adventures. Brands like GoPro, DJI Osmo Action, and Insta360 are top picks. Pair them with reliable accessories such as chest straps, helmet mounts, or tripod adapters.
How Do You Prepare Before Your Trip?
Pack smart:
- Extra batteries.
- Spare adhesive pads.
- Microfiber cloth (for lens cleaning).
- Portable charger.
How Do You Install the Camera Safely?
- Test all components indoors before heading out.
- Securely attach the mount to your gear; double-check tightness.
- Position the camera at eye level or slightly above for optimal viewing angles.
- Do a final shake test—literally give your setup a good jolt to ensure stability.
Best Practices for Hiking Cameras
Do’s:
- Use waterproof cases during rain or snow.
- Clean lenses regularly to avoid blurry shots.
- Turn on HDR mode for vibrant colors.
Don’ts:
- Never rely solely on auto settings; adjust exposure manually if needed.
- Don’t forget to format memory cards before each trip.
- Never leave your camera unattended on unstable surfaces.
*Pro Tip:* If you’re filming vertical content, rotate your camera sideways post-hike instead of risking awkward mid-climb adjustments.
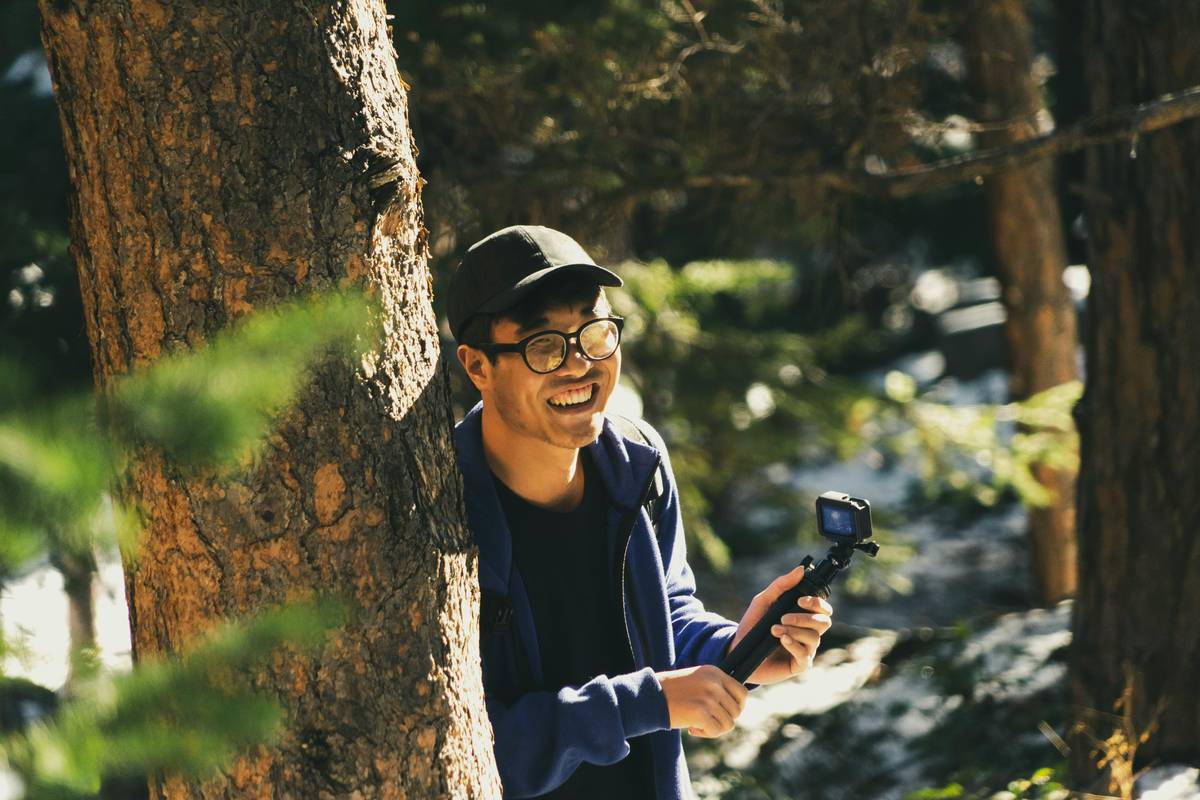
Real-World Examples
Let’s talk success stories. Sarah, an avid hiker from Colorado, started documenting her treks using a chest-mounted GoPro Hero 11. After mastering proper installation methods, her YouTube channel gained 10k subscribers within six months. Her secret? Consistent framing and stable footage.
On the flip side, Mike from Oregon tried attaching his camera directly to his hat brim. Big mistake. Not only did he end up with dizzying POV shots, but the weight imbalance nearly gave him neck strain. His takeaway? Stick to tested methods unless you want vertigo-inducing footage.
FAQs About Adventure Shot Installation
Q: Can I use my smartphone instead of a dedicated hiking camera?
Absolutely, but smartphones aren’t typically built for extreme conditions. Invest in protective casings if you go this route.
Q: Which brands offer the best durability?
GoPro leads the pack for durability and versatility, while DJI offers excellent stabilization features.
Q: What’s the worst advice for installing hiking cameras?
“Just wing it!” Trust me, skipping prep work is a recipe for disaster. Always follow detailed installation guides like this one.
Conclusion
Installing your hiking camera shouldn’t feel like solving a Rubik’s Cube blindfolded. With the right tools, preparation, and step-by-step guidance, you can capture stunning adventure shots every time. Remember, practice makes perfect—and always bring backup gear.
Like a Tamagotchi, your camera needs daily care to thrive. Now go forth and shoot those epic peaks!