You planned the perfect hike—alpine ridge, golden sunrise, zero crowds. Then you fumbled with a bulky DSLR and missed the shot. Again. The problem isn’t your skill—it’s your gear. When every ounce matters and moments vanish in seconds, “light camera action” isn’t just convenient—it’s essential.
Why Most Hikers Fail at Capturing the Moment
They bring too much. Tripods. Zoom lenses. Spare batteries in padded cases. And then? They leave it all in the pack halfway up the trail.
Weight kills spontaneity. And spontaneity is where magic lives—the marmot popping up on cue, the sudden fog clearing over a valley. If your camera lives buried under rain shells and snacks, you’re documenting a hike, not experiencing it. You need gear that’s out and ready, not “ideal but impractical.”
How to Build a True Light Camera Action Kit
Forget specs. Focus on three things: weight, speed, and resilience. Below is what actually works after 200+ trail miles—and what doesn’t.
| Gear Type | Average Weight | Deployment Speed | Real-World Trail Rating |
|---|---|---|---|
| Full-frame mirrorless + 24-70mm | 1,100g+ | Slow (lens cap, settings, strap tangles) | ★★☆☆☆ |
| Compact point-and-shoot (premium) | 280g | Fast (power-on in 1s) | ★★★★☆ |
| Action cam (mounted) | 120g + mount | Instant (always rolling or one-button start) | ★★★★★ |
| Smartphone only | 0g extra | Variable (battery drain, fumbling) | ★★★☆☆ |
Prioritize One-Hand Operation
If you can’t shoot while gripping a rope or balancing on scree, it’s the wrong tool. Look for physical buttons—not touch menus. A dedicated shutter button. Physical zoom rings beat pinch-to-zoom any day on a windy ridge.
Mount It, Don’t Carry It
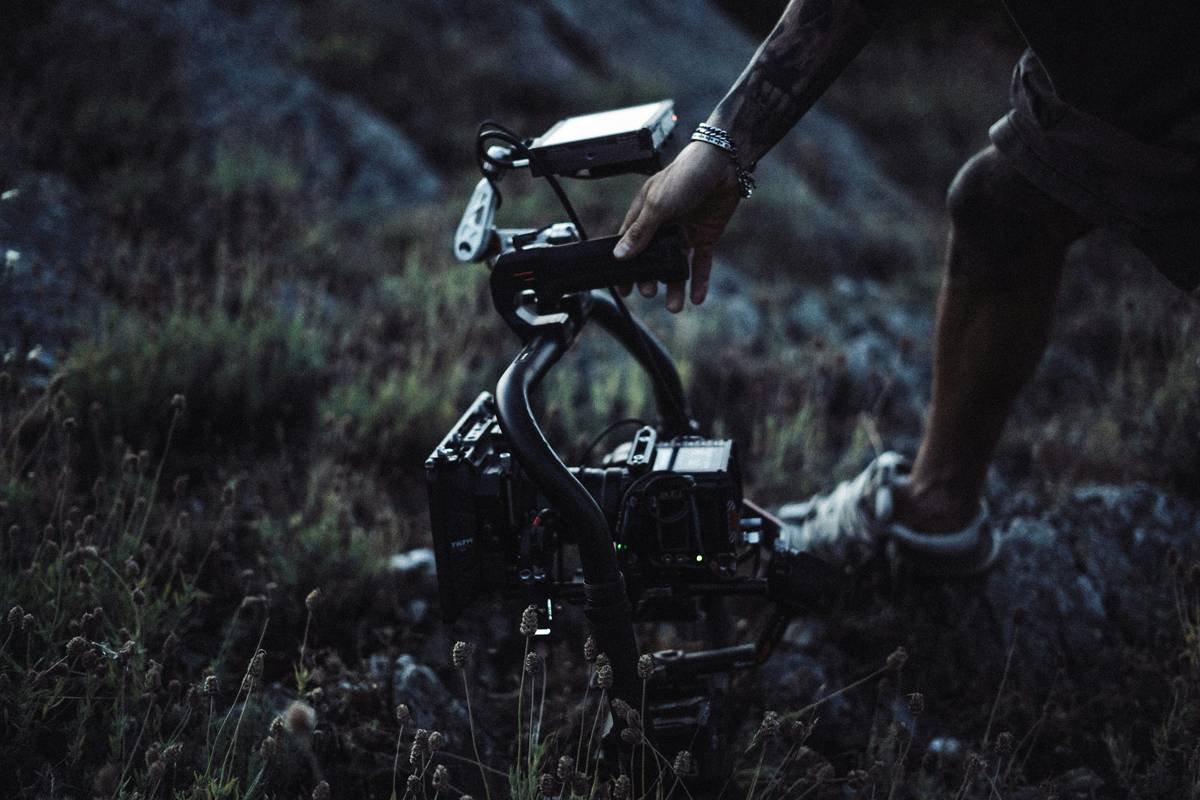
The secret? Stop holding your camera. Chest mounts, helmet clips, or even trekking pole adapters keep your light camera action system always within reach—without sapping arm strength. Bonus: POV shots that actually feel like *you* were there.
Weatherproofing Is Non-Negotiable
Rain, dust, mud splatter—your gear will face it. IPX7 rating or higher isn’t luxury; it’s baseline. And if it can survive a 2-meter drop onto granite? Even better.
The Industry Secret: Frame Rate Beats Megapixels
Here’s what manufacturers won’t tell you: on the trail, motion clarity trumps resolution every time. A 1080p clip at 60fps captures the flutter of an eagle’s wings with visceral smoothness. A 4K still at 24fps? Blurry disappointment when things move—which they always do outdoors.
And this applies to photos too. Cameras with rapid burst modes (10+ fps) let you freeze that leap across a creek or a dog mid-air catch. Most hikers obsess over sensor size. Pros obsess over capture latency. The gap between seeing the moment and recording it must be near zero. That’s light camera action done right.
Frequently Asked Questions
What’s the best light camera action option under $300?
A ruggedized compact like the Olympus Tough TG-6 or a used GoPro Hero9. Both offer true one-button operation and survive river crossings.
Can I use my phone as a light camera action tool?
Yes—but only with a secure armband or chest mount, and a high-capacity power bank. Without those, you’ll risk drops and dead batteries by mile five.
How do I protect my camera from condensation at altitude?
Seal it in a ziplock with silica gel when descending fast. Sudden temperature swings fog lenses. Prevention beats wiping mid-shot.