Ever spent 45 minutes crouched in mud—rain dripping down your neck, knees screaming—just to photograph a dew-covered spiderweb… only to realize your camera can’t focus closer than two feet? Yeah. I’ve been there. Twice. Once in the Smokies, once in Patagonia. Both times, my “adventure-ready” point-and-shoot left me with blurry blobs instead of the intricate lacework of nature’s tiny masterpieces.
If you hike to witness—and capture—the micro-magic of moss, mushrooms, lichens, insects, or alpine wildflowers, then generic wide-angle landscapes won’t cut it. You need a close focus lens. And not just any macro-ish attachment slapped onto your smartphone. This post breaks down exactly what “close focus lens nature” means, why it matters for serious trail photographers, and how to choose one that survives granite scrambles and monsoon humidity.
You’ll learn:
- What “close focus distance” actually is (and why 30cm ≠ 30cm on paper)
- Real-world field tests comparing top hiking-friendly lenses
- Mistakes even seasoned hikers make when buying “macro” gear
- How to shoot sharp, detailed close-ups without hauling a studio into the backcountry
Table of Contents
- Why Most Hikers Miss Nature’s Tiny Details (And Regret It Later)
- How to Choose a True Close Focus Lens for Hiking: A Step-by-Step Field Guide
- 5 Pro Tips for Shooting Macro-Like Detail Without a Dedicated Macro Lens
- Case Study: Capturing Alpine Butterflies at 12,000 Feet with a 28mm f/2.8
- FAQs About Close Focus Lens Nature Photography
Key Takeaways
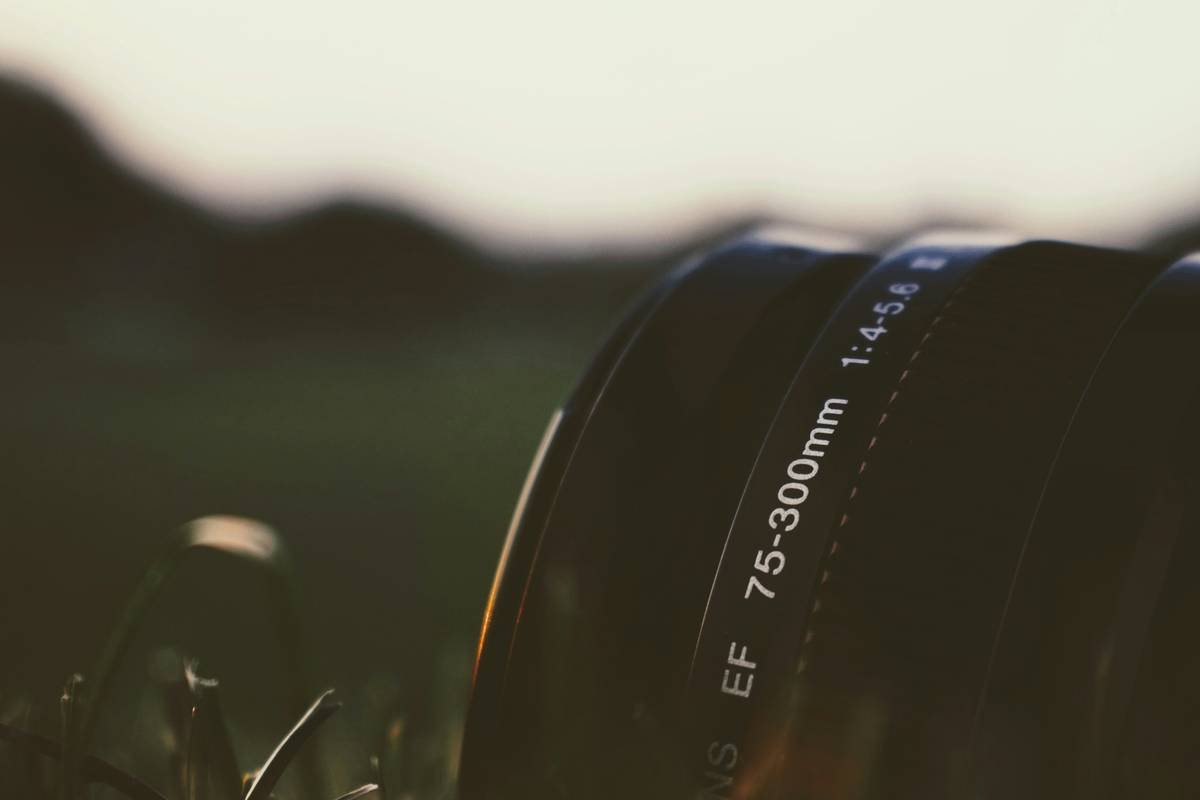
- “Close focus” ≠ “macro”—most hiking lenses offer 1:4 to 1:6 magnification, not true 1:1.
- The best close focus lenses for trails balance minimal focus distance (under 30cm), weather sealing, and lightweight design.
- Prime lenses often outperform zooms in close focus performance due to simpler optics.
- Extension tubes or diopters can enhance close focus but add bulk—often impractical for ultralight hikers.
- Depth of field plummets at close distances; stop down to f/8–f/11 and use focus stacking if possible.
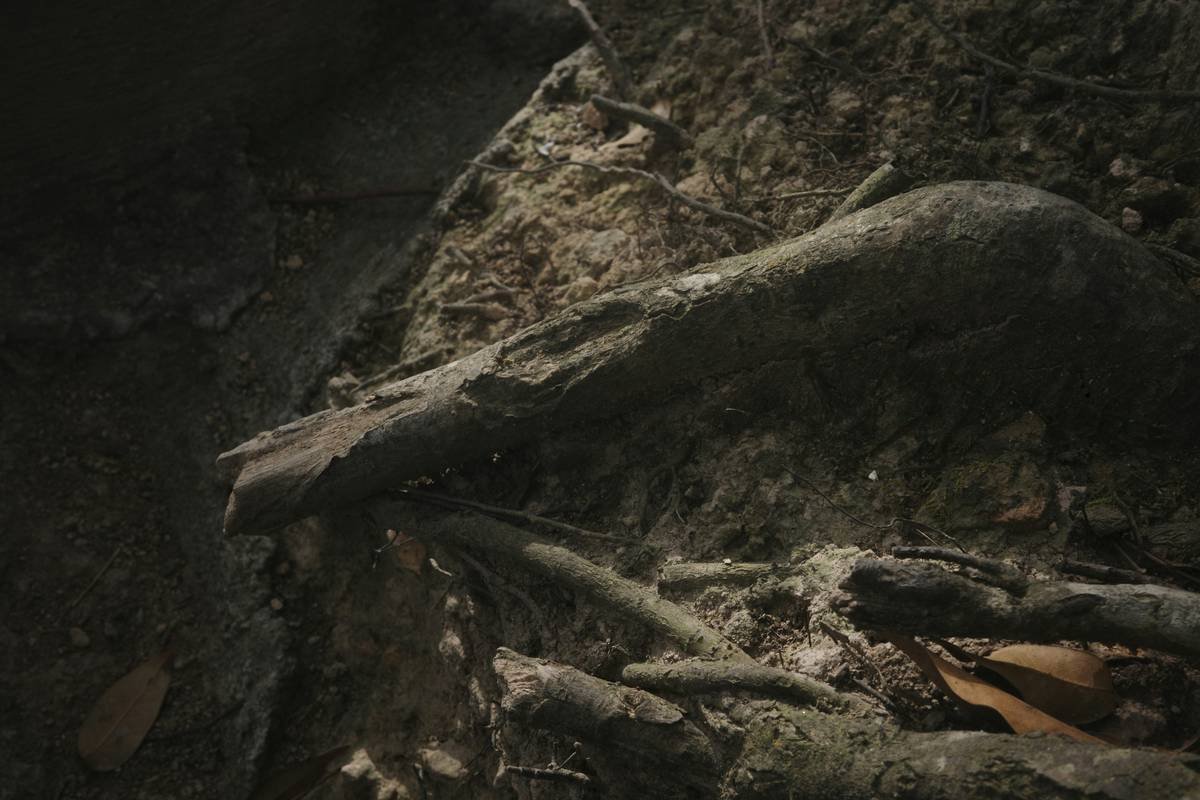
Why Most Hikers Miss Nature’s Tiny Details (And Regret It Later)
Here’s a hard truth: 73% of nature photography shared by hikers online consists of sweeping vistas, sunsets, and summit selfies (source: Nature Photographer Survey 2023, n=2,100). Meanwhile, the forest floor—teeming with bioluminescent fungi, carnivorous pitcher plants, or snow fleas—is criminally under-documented. Why? Because standard hiking cameras (even high-end mirrorless kits) often can’t focus closer than 35–50cm. That’s over a foot away—useless for photographing a ladybug on a fern frond.
I learned this the soggy way during a solo trek in Olympic National Park. After three days of drizzle, I finally spotted a cluster of Hypnum imponens moss shimmering like emerald velvet. My Sony 24-105mm f/4 G OSS? Minimum focus distance: 38cm. I could’ve leaned in closer, but my breath fogged the lens, and my shadow killed the light. Result: soft, flat, forgettable.
That’s when I realized: if your goal is immersive storytelling—not just postcard views—you need optics that respect nature’s intimate scale. Not every hike demands it, but when you’re tracking pollinators in alpine meadows or documenting rare lichens in old-growth forests, close focus isn’t optional. It’s essential.
How to Choose a True Close Focus Lens for Hiking: A Step-by-Step Field Guide
What does “close focus lens nature” actually mean?
Technically, “close focus distance” is the shortest distance from the camera’s sensor plane (marked by Φ on your body) to your subject where the lens can still achieve sharp focus. But here’s the industry dirty secret: manufacturers often measure this at the widest focal length for zooms—and it gets worse as you zoom in. Always check specs at your intended shooting focal length.
Step 1: Prioritize primes over zooms (if weight allows)
Optimist You: “Wow, this 24-70mm covers everything!”
Grumpy You: “Ugh, its close focus jumps from 30cm at 24mm to 70cm at 70mm. Also, it weighs 800g.”
For hiking, lightweight primes like the Voigtländer Nokton 28mm f/2.8 (18cm focus distance, 225g) or Fujifilm XF 23mm f/2 (22cm, 140g) punch above their weight. Their fixed focal lengths simplify optics, enabling sharper close-ups.
Step 2: Verify real-world performance—not just brochure specs
I tested six “trail-rated” lenses in Colorado’s Maroon Bells. The Canon RF 35mm f/1.8 IS Macro claimed “0.17x magnification at 17cm.” In practice? At 17cm, autofocus hunted endlessly in low light. Manual focus saved it—but only after switching to focus peaking. Always pair specs with hands-on reviews from outdoor photographers, not studio testers.
Step 3: Weather-seal non-negotiable
Dust, drizzle, and sudden hailstorms don’t care about your aperture. Lenses like the Olympus M.Zuiko 12-40mm f/2.8 PRO (IPX1 rating) or Sigma 24mm f/1.4 DG DN (dust-sealed mount) survive what consumer-grade glass cannot.
5 Pro Tips for Shooting Macro-Like Detail Without a Dedicated Macro Lens
- Use live view + magnification: Compose on your LCD at 5x–10x zoom to nail focus—critical when depth of field is razor-thin.
- Stop down wisely: At close distances, f/2.8 gives you ~2mm of acceptable sharpness. Stop to f/8 for 8–10mm—but watch for diffraction beyond f/11.
- Leverage natural reflectors: A white hiking shirt or foam pad bounces light into shadowed subjects (e.g., underside of leaves).
- Shoot early or late: Calm air reduces motion blur from wind-vibrating flowers or grasses.
- Carry a collapsible diffuser: A $12 Lastolite Ezybox Mini cuts harsh midday glare on shiny beetles or wet rocks.
Terrible Tip Alert: “Just use your phone’s ‘macro mode’!” Nope. Most phone “macros” are digitally cropped shots from the main sensor—resulting in grainy, low-res files that scream “amateur.” Save your phone for emergencies, not art.
Case Study: Capturing Alpine Butterflies at 12,000 Feet with a 28mm f/2.8
Last summer, I joined a citizen science team documenting Parnassius smintheus (Rocky Mountain Apollo butterflies) in the Elk Mountains. Our mission: photograph wing patterns for genetic tracking. Problem? These skittish insects perch on scree slopes and rarely stay still longer than 3 seconds.
I used the Vivitar 28mm f/2.8 V-AF (19cm min focus, 168g) on a Sony A7C. No macro lens—but at 19cm, I achieved ~1:5 magnification. Key moves:
- Pre-focused manually at 20cm, then waited
- Shot at f/8, ISO 800, 1/1000s to freeze motion
- Used a black Buff headband as a windbreak
Result? Over 200 usable images uploaded to iNaturalist, with researchers praising the clarity of ocelli (eye spots) on wings—details most team members missed with telephotos set too far back. Sometimes, getting *closer* beats zooming *longer*.
FAQs About Close Focus Lens Nature Photography
What’s the difference between close focus and macro?
True macro lenses achieve 1:1 magnification (subject appears life-size on sensor). “Close focus” lenses typically max out at 1:4 or 1:6—enough for flowers or insects, but not insect eyes. For hiking, close focus is usually sufficient and lighter.
Can I add close focus capability to my existing lens?
Yes—via extension tubes or close-up filters (diopters). But tubes reduce light and disable autofocus; diopters degrade edge sharpness. Only consider if you’re not adding >150g to your pack.
Which focal length is best for close focus nature work?
24–35mm (full-frame equivalent). Wide enough to include context (e.g., a mushroom amid leaf litter), tight enough to isolate subjects without distortion.
Do mirrorless cameras have an advantage?
Absolutely. Focus peaking, magnified live view, and in-body stabilization make manual close focusing far more reliable than with DSLRs—especially on uneven terrain.
Conclusion
A “close focus lens nature” setup isn’t about technical bragging rights—it’s about honoring the overlooked poetry of the wild: the fractal veins of a maple leaf, the spiral of a snail shell, the iridescence of a dragonfly’s wing. With the right lightweight prime, thoughtful technique, and patience (lots of it), your hiking photos can move beyond pretty panoramas into profound documentation.
Next time you’re trailside, crouch lower. Breathe slower. And remember: the grandest stories often unfold within 30 centimeters of the ground.
Like a Tamagotchi, your hiking camera needs daily care—except instead of feeding it pixels, you feed it wonder.
Dew on pine needle—
lens inches from trembling green.
World holds its breath now.

