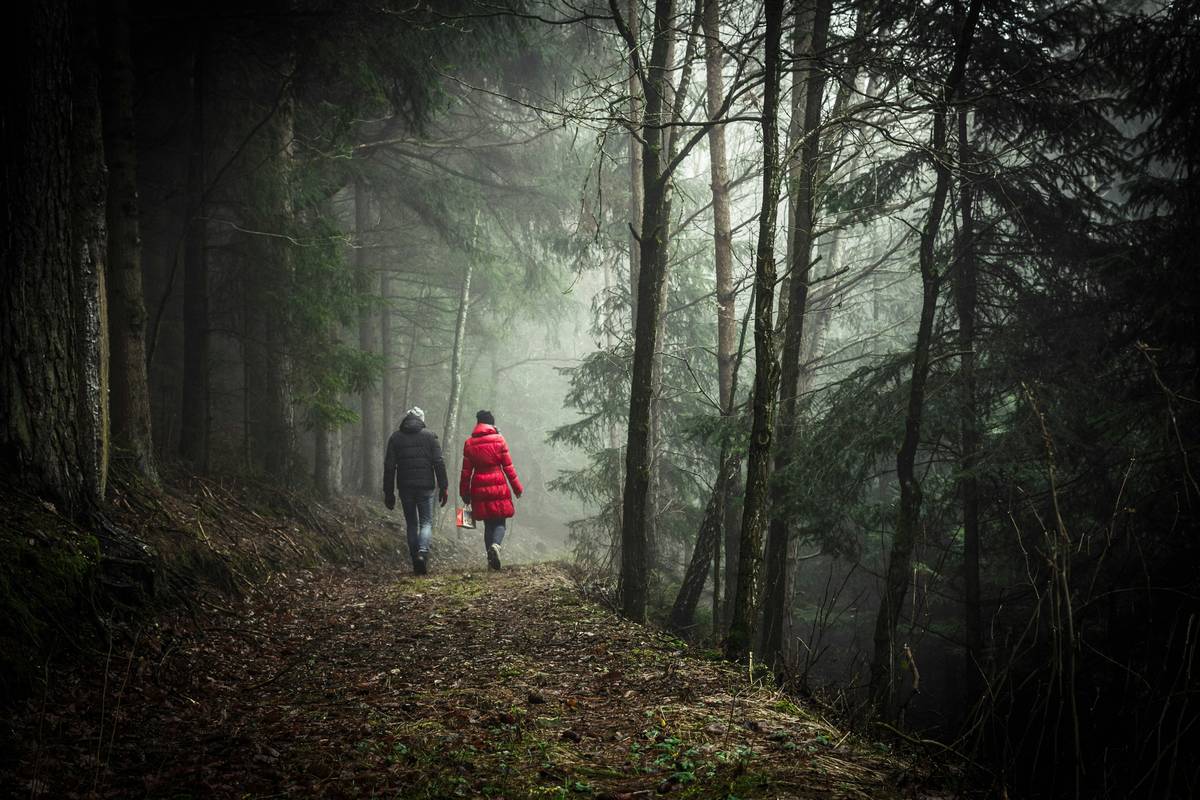
Ever hiked six miles uphill with 20 pounds of gear on your back, only to snap a blurry photo of a majestic eagle perched high in a tree? It’s frustrating. Like, “I could’ve carried three granola bars instead of this camera” frustrating.
If you’re an outdoor adventurer obsessed with capturing every detail of nature—from distant waterfalls to shy wildlife—you need more than just any hiking camera. You need one equipped with a nature zoom lens.
In this post, we’ll explore why this specific gear should top your checklist, how to choose it wisely, and expert tips for getting mind-blowing shots without breaking your bank (or your back). Ready? Let’s dive in.
Table of Contents
- Why Every Hiker Needs a Nature Zoom Lens
- How to Choose the Perfect Nature Zoom Lens
- Tips for Capturing Stunning Shots in the Wild
- Hikers Who Nailed Their Photos with These Lenses
- FAQs About Choosing and Using Nature Zoom Lenses
Why Every Hiker Needs a Nature Zoom Lens
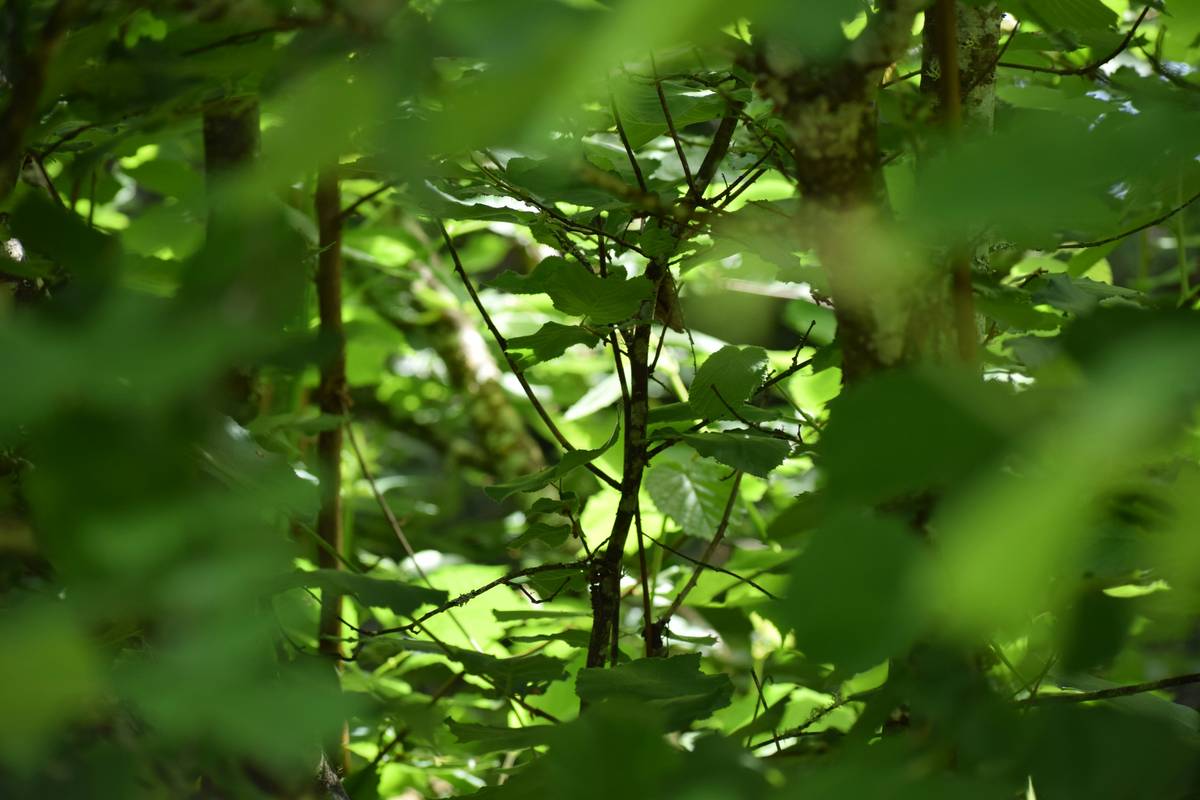
Picture this: You’re standing at the edge of a cliff, gazing out over rolling hills, when suddenly—a fox darts across your path. Do you settle for a grainy snapshot from 50 yards away? Or do you reach for something that can freeze that moment with clarity?
A nature zoom lens allows photographers to bridge distances while maintaining sharpness and detail—perfect whether you’re chasing elusive wildlife or framing epic landscapes. Here’s why:
- Magnification Power: A good zoom lens lets you capture subjects far away as if they were right beside you.
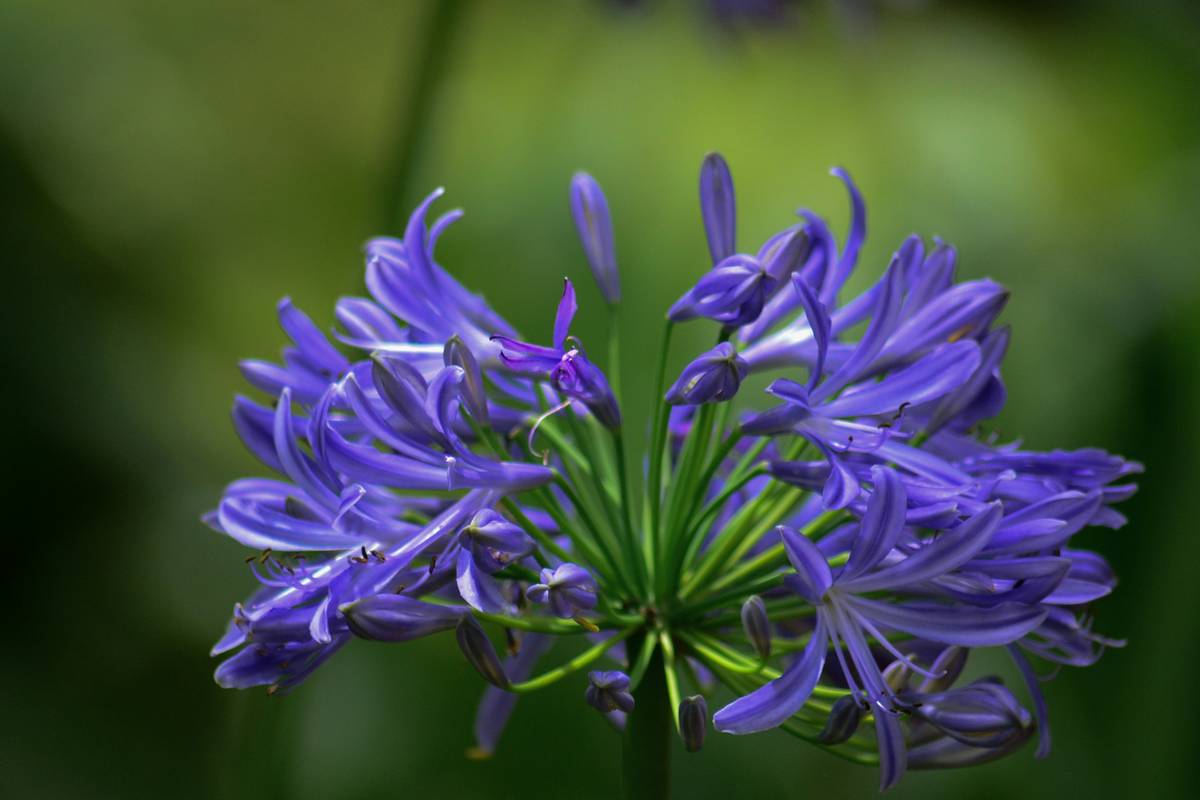
- Versatility: From macro flower shots to panoramic vistas, these lenses handle multiple scenarios.
- Portability: No need to lug around five different lenses.
“Optimist You: ‘This will make all my photos Insta-worthy.’
Grumpy You: ‘Yeah, but have you seen how much dust gets on them during hikes?’”
How to Choose the Perfect Nature Zoom Lens
Finding the ideal lens feels overwhelming—but let me share my biggest blunder first. One time, I bought a bargain-bin zoom lens because it was “cheap.” Spoiler alert: It couldn’t even focus past five feet. So don’t be like me.
Here are actionable steps to avoid such disasters:
Step 1: Determine Your Budget
Optimist Me: “You can totally find amazing deals under $500!”
Realist Me: “High-quality glass costs money. Be prepared.”
Set aside funds based on what features matter most to you (zoom range, aperture speed, etc.).
Step 2: Prioritize Key Features
- Zoom Range (e.g., 70-300mm)
- Aperture Speed (f/4 or lower)
- Weather Resistance (trust me, dew happens).
Step 3: Test Before Buying
Visit a store, rent online, or borrow from friends before committing. There’s nothing worse than buying blind.
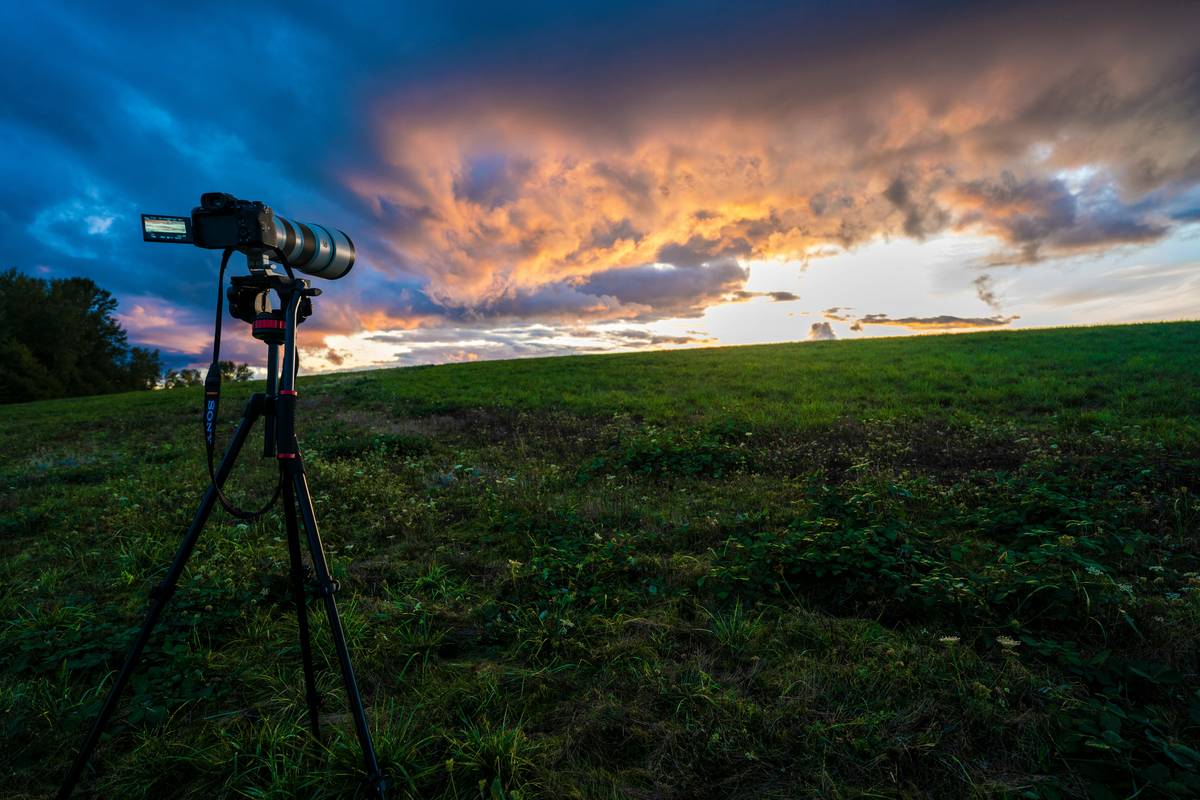
Tips for Capturing Stunning Shots in the Wild
Now comes the fun part—actually taking those drool-worthy photos. Follow these rules:
- Shoot During Golden Hour (sunrise/sunset).
- Use Manual Focus When Needed (don’t trust autofocus alone).
- Invest in a Sturdy Tripod for Long Exposures.
Pro Tip Alert: Always carry microfiber cloths; dirt + expensive lenses = recipe for heartbreak.
Hikers Who Nailed Their Photos with Nature Zoom Lenses
Check out Sarah M., who used her 100-400mm zoom lens to document rare Himalayan blue sheep:
“The lens made everything feel within arm’s reach,” Sarah says. “Without it, I wouldn’t have caught their intricate details so well.”
FAQs About Choosing and Using Nature Zoom Lenses
Q1: Can smartphones replace nature zoom lenses?
No. Smartphones may offer decent magnification, but lack optical quality.
Q2: What’s the worst tip you’ve heard about photography?
Someone once told me to shake the lens after cleaning it. Terrible idea unless you fancy scratches.
Conclusion
Your journey into capturing natural beauty starts with understanding your tools. By investing in a reliable nature zoom lens, you open doors to stunning visuals without compromising convenience.
Remember: Great hiking photography isn’t just about the destination—it’s also about being prepared along the way.
Wild trails stretch wide,
Hidden wonders wait for eyes,
Zoom in, hold tight.

