Ever been out on the trail, staring at a dew-speckled leaf or an intricate spiderweb, wishing your camera could capture all that tiny magic? Yeah, us too. Whether you’re documenting your hikes, building a social media following, or just capturing memories, a macro lens is your passport to seeing—and sharing—the hidden beauty of the great outdoors. In this post, we’ll break down how “macro lens nature” shots can revolutionize your hiking adventures and give you practical tips to level up your photography game.
Table of Contents
- Why You Need a Macro Lens for Hiking
- Step-by-Step Guide: Choosing the Right Macro Lens for Your Camera
- Macro Photography Tips Every Hiker Should Know
- Case Study: A Day in the Life of a Hiking Photographer
- FAQs About Macro Lens Nature Photography
Key Takeaways
- A macro lens lets you explore nature’s details without needing high-end gear.
- Proper technique (like stabilizing your hands) makes a world of difference.
- Hikers who use macro lenses create unique content that stands out online.
Why Do Hikers Need a Macro Lens for Nature Shots?
Let’s get real for a second: most hiking photos are epic landscapes or selfies with trees in the background. And while those have their place, they can start feeling repetitive after a while. When I first started hiking, I would snap dozens of wide-angle shots only to delete most of them later because… well, pine trees look pretty much the same from one angle to another.
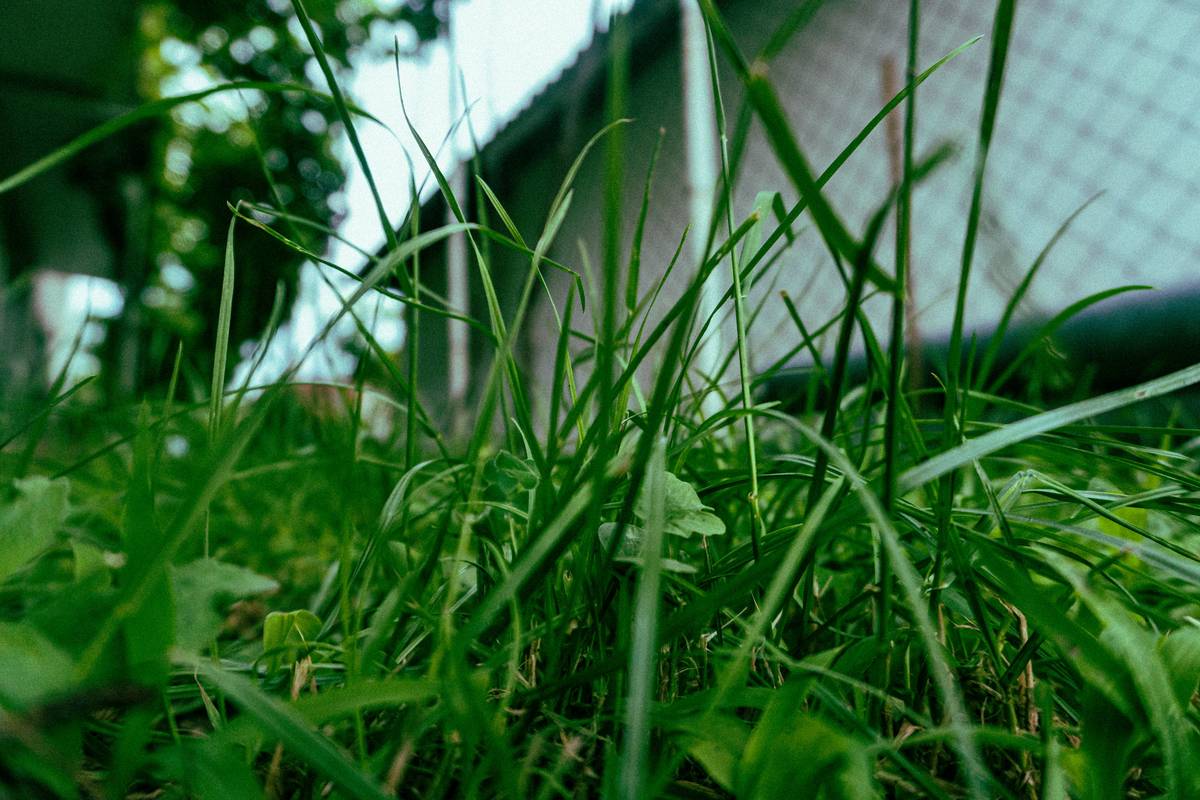
That was until I stumbled across my buddy’s camera setup. He had this little attachment called a macro lens—and he let me test it on some moss growing near our campsite. Holy smokes. Suddenly, that patch of green stuff wasn’t boring anymore; it looked like Narnia-level enchantment. Tiny droplets glistened under sunlight, veins in leaves popped with texture—it was pure sorcery. That’s when I realized: if you’re not shooting “macro lens nature,” you’re missing half the adventure!

Close-up photo of dew-covered moss showcasing intricate textures made possible by a macro lens.
Step-by-Step Guide: Choosing the Right Macro Lens for Your Camera
Optimist You:* “There are so many options—it’ll be easy!”
Grumpy You: “Ugh, fine—but only if coffee’s involved.”
Finding the perfect macro lens doesn’t need to feel overwhelming. Follow these steps:
1. What Type of Camera Do You Have?
- If you shoot with a DSLR or mirrorless camera, go for interchangeable lenses like Canon EF 100mm f/2.8L or Sony FE 90mm f/2.8 G OSS.
- For smartphone photographers, clip-on macro lenses like the Xenvo Pro Lens Kit or Moment Macro Lens are affordable and effective.
2. Consider Magnification Power
A true macro lens offers 1:1 magnification, meaning what you see through the viewfinder matches its actual size. Cheaper versions might not deliver crisp detail—so don’t skimp here!
3. Budget vs. Quality
While budget-friendly lenses exist, investing in quality will pay off in longevity and image sharpness. If money’s tight, rent before buying to ensure compatibility.
Hiker setting up a shot in the wilds with a professional-grade macro lens attached to her DSLR.
Macro Photography Tips Every Hiker Should Know
Now that you’ve got the right gear, let’s talk about getting killer “macro lens nature” results:
- Stability Matters: Even slight hand movements blur close-up images. Use a tripod or stabilize yourself against a tree.
- Leverage Natural Light: Avoid flash whenever possible—it flattens textures. Early morning and late afternoon light enhance colors beautifully.
- Get Low, Go Slow: Crouch down low and move slowly to avoid startling insects or disturbing delicate subjects.
**Terrible Tip Disclaimer:** Don’t try photographing bees unless you’re super sure they’re chill. I once spent an hour nursing a bee sting. Trust me—it’s not worth it.
Case Study: A Day in the Life of a Hiking Photographer
Jamie, a seasoned hiker turned Instagram influencer, swears by her macro lens. On a recent trip through Banff National Park, she posted a series of close-ups featuring alpine flowers and frosty grass blades. The engagement? Through the roof. Her followers couldn’t believe such intricate details existed literally underfoot.
“People always say, ‘Wow, I never noticed nature looked like THAT!’” Jamie shares. “It’s like giving them permission to slow down and notice the small wonders.” Jamie also admits that mastering manual focus took practice, but now she wouldn’t hit the trails without her trusty macro companion.

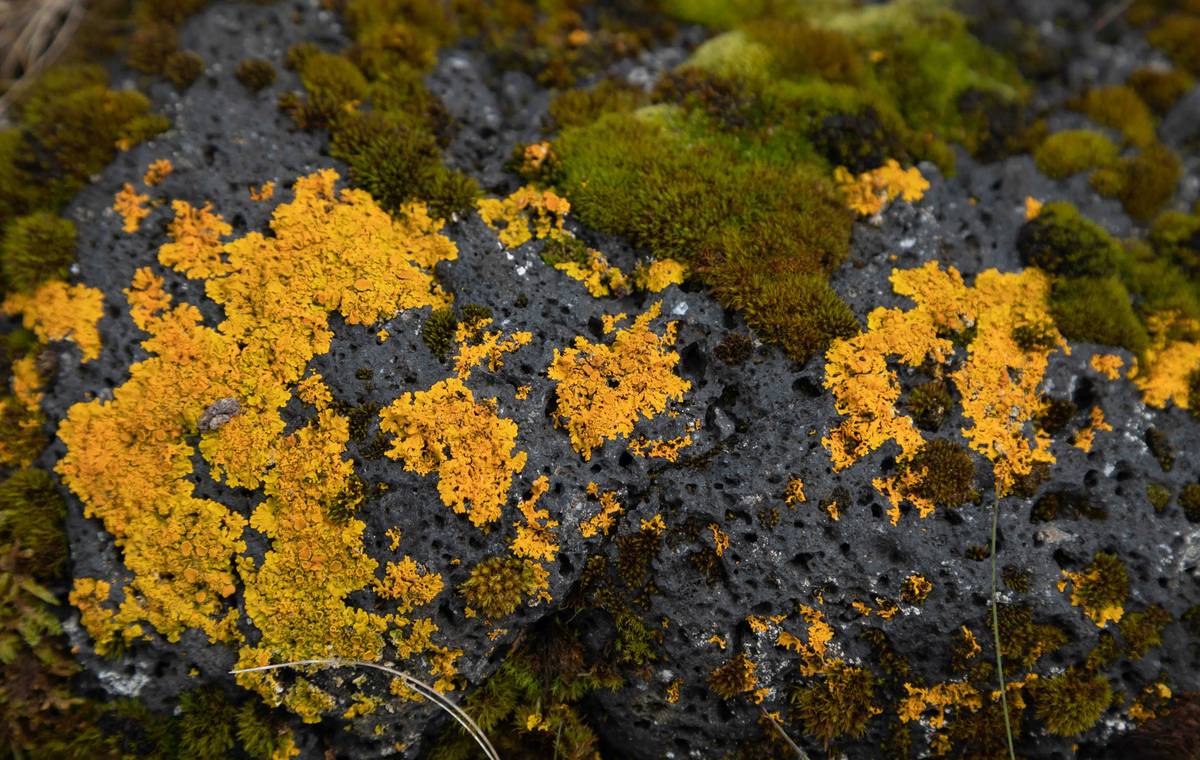
Vivid alpine flower highlights stunning natural hues, demonstrating the power of macro photography during a hike.
FAQs About Macro Lens Nature Photography
What is the best macro lens for beginners?
Start simple! For smartphones, consider clip-ons like Moment Macro Lens ($99). DSLR users love the Sigma 70mm Macro Art Series ($450).
Can I use a zoom lens instead of a dedicated macro?
Technically yes, but results won’t compare. Dedicated macros provide better depth of field control and sharper close-ups.
Is editing necessary for macro photos?
Not mandatory, but minor tweaks (contrast, brightness) bring out maximum vibrancy.
Conclusion
So there you have it: adding a macro lens to your hiking kit unlocks an entirely new dimension of outdoor exploration. From capturing dew-kissed petals to immortalizing critter encounters, macro photography invites you to interact more deeply with nature. Ready to invest in your own lens yet?
Remember: every time you kneel down to frame that bug or flower, you’re creating something truly special—art that tells a story beyond miles logged and peaks conquered.
Oh, and since nostalgia fuels creativity…
Leaves shimmer bright,
Tiny bugs live large today—
Hike the unseen path.

