“Ever spent 3 hours editing a 30-second Reel that still looked like it was shot on a potato? Yeah, us too.”
If you’re an outdoor enthusiast with a passion for hiking and capturing breathtaking moments in nature, you already know how important adventure video editing is. But let’s face it—editing can sometimes feel harder than scaling that steep trail at sunrise. Whether you’re sharing your adventures on YouTube, Instagram, or TikTok, mastering Adventure Video Editing Tips can elevate your content from amateur to cinematic brilliance.
In this post, we’ll guide you through:
- Why storytelling is key to engaging adventure videos
- A step-by-step process for turning raw footage into polished masterpieces
- Actionable tips (and some brutal honesty about what NOT to do)
Table of Contents
- Key Takeaways
- Why Adventure Video Editing Matters
- Step-by-Step Guide to Editing Adventure Videos
- Best Practices for Adventure Video Editing
- Real-World Examples of Stunning Adventure Edits
- FAQs About Adventure Video Editing
- Conclusion
Key Takeaways
- Your GoPro or DSLR captures incredible visuals, but storytelling transforms them into impactful narratives.
- Use color grading and sound design to evoke emotion in your audience.
- Edit selectively; cutting unnecessary clips keeps your story tight and engaging.
Why Adventure Video Editing Matters
Let’s get real: most people don’t care about shaky footage of you trudging uphill. What they want is to *feel* the crunch of gravel underfoot, hear the rustle of leaves overhead, and see those panoramic views unfold before their eyes—all wrapped up in a seamless story arc.
Here’s why proper editing is non-negotiable:
- Better Engagement: Platforms prioritize well-edited content because it holds viewers’ attention longer.
- Showcase Your Skills: Editing separates casual hikers from influencers who inspire others to hit the trails.
- Evoke Emotions: Great edits immerse viewers in your journey, making them wish they were there.
Confession: I once tried slapping together a highlight reel without any structure. It played out like someone’s chaotic vacation slideshow—no transitions, mismatched music, and zero storyline. Unsurprisingly, the only likes came from my mom.
Step-by-Step Guide to Editing Adventure Videos
Optimist You: “This sounds easy!”
Grumpy Me: “Ugh, fine—but make sure you have coffee ready.” Here’s how to turn chaos into cinematic gold:
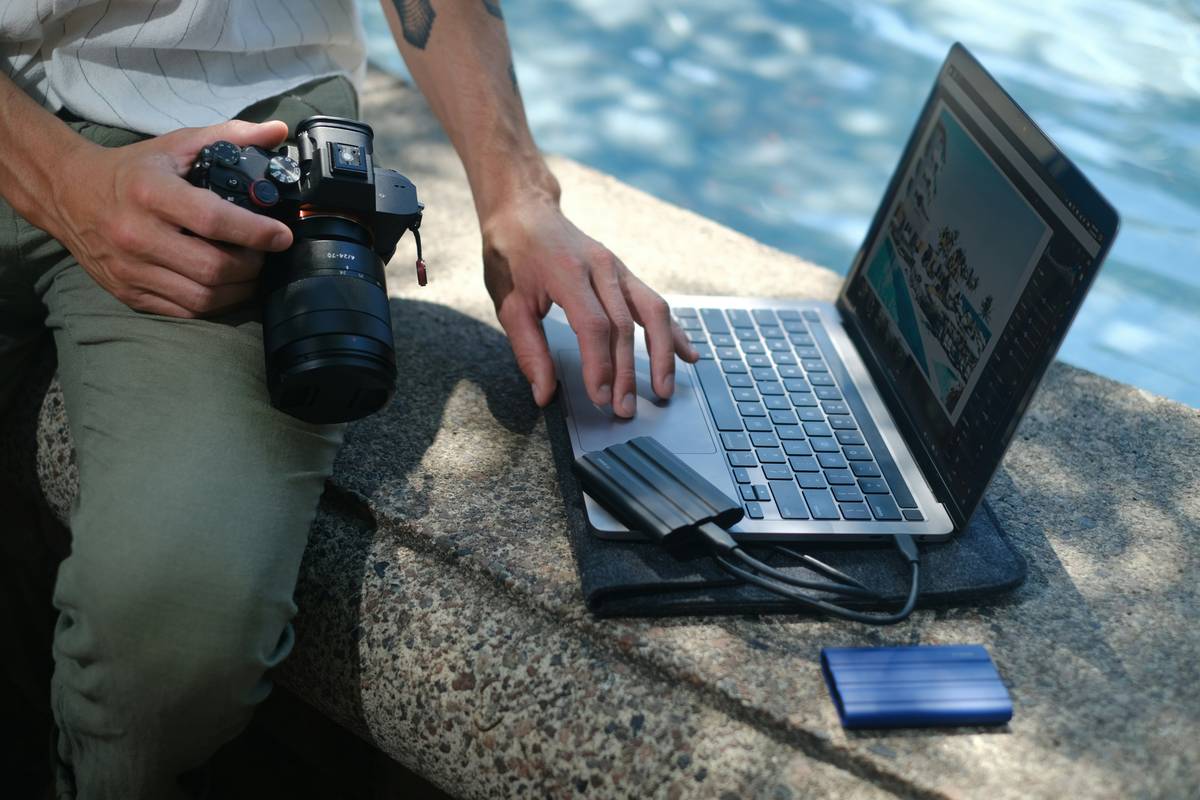
Step 1: Organize Your Raw Footage
No one wants to search through endless files named “GOPRXXXX.MP4.” Sort clips into folders based on location, activity, or time of day. Pro Tip: Rename your best shots as “Keepers” so they stand out.
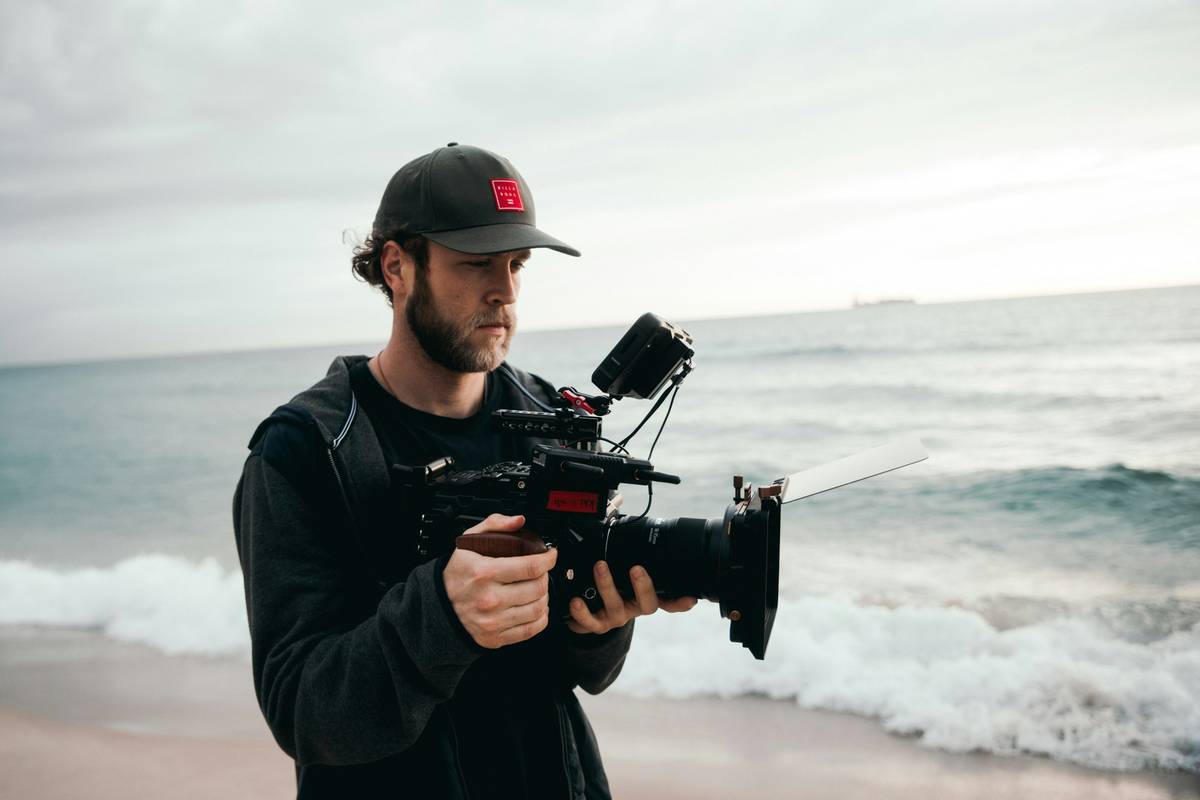
Step 2: Choose the Right Software
- For Beginners: iMovie or CapCut (free & user-friendly).
- For Pros: Adobe Premiere Pro, Final Cut Pro, or DaVinci Resolve (advanced features).
Step 3: Build a Storyline
Think three-act structure: introduction (starting point), rising action (challenges/trails), and climax (stunning summit shot). Throw in a resolution to wrap things up—maybe a sunset or wildlife encounter.
Step 4: Cut Ruthlessly
Kill your darlings, folks. If a clip doesn’t add value, cut it. Even if it means losing that epic selfie where you look flawless.
Best Practices for Adventure Video Editing
Tip #1: Master Color Grading
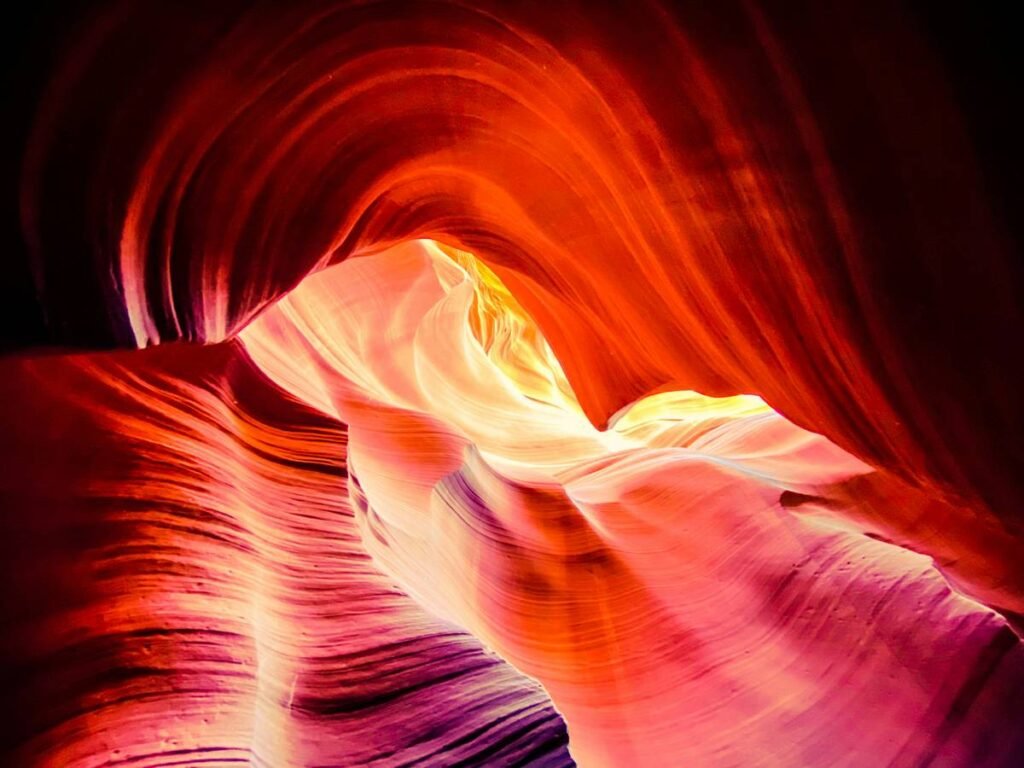
Your footage probably won’t pop straight off the SD card. Adjust brightness, contrast, and saturation to reflect the mood of each scene. A cool blue tone works wonders during cloudy hikes, while warm tones bring sunsets alive.
Tip #2: Add Dynamic Transitions
Skip overly flashy effects unless you’re aiming for meme status. Simple fade-ins/outs or whip pans keep things professional yet exciting.
Tip #3: Sync Sound Strategically
Nature sounds = chef’s kiss. Capture ambient audio whenever possible. If not, layer royalty-free tracks underneath to mimic wind, birdsong, or rushing water.
Terrible Tip Disclaimer:
Don’t: Just slap trending songs onto every clip. Music should enhance emotions, not overshadow your visuals. Unless you’re going full ironic montage (guilty pleasure alert!).
Real-World Examples of Stunning Adventure Edits
Check out @HikeWithMike’s Instagram series, which blends vertical shots perfectly optimized for mobile viewing. Or watch Casey Neistat’s classic travel vlogs, proving that even simple gear + killer storytelling beats expensive cameras without soul.
FAQs About Adventure Video Editing
Q: What camera settings are best for hiking videos?
A: Shoot in 4K at 30fps for crisp details, or drop to 60fps for slower-motion playback opportunities.
Q: Do I need fancy equipment?
A: Not really. A good phone gimbal paired with solid editing skills goes a long way!
Q: How long should my videos be?
A: Keep Reels/TikToks around 15–60 seconds; YouTube shorts closer to 2–5 minutes. Long-form content depends on your niche audience.
Conclusion
Editing adventure videos might seem daunting at first, but remember: it’s all about crafting a compelling narrative. From organizing your footage to mastering color grading, these Adventure Video Editing Tips will set you apart from the pack. And hey—if all else fails, just throw in more slo-mo mountain goats. Works every time.
Final Easter Egg Haiku:
Trail meets tech magic,
Pixels dance beneath my lens—
Adventure forever.