Ever returned from an epic hiking trip only to find your landscape photos look… meh? Yeah, us too. There’s nothing worse than standing atop a breathtaking ridge, snapping what you *think* is the perfect shot, only to realize later it’s underexposed, blurry, or just plain dull. Lucky for you, mastering Landscape Camera Settings can fix all that—and we’re here to show you how.
In this guide, you’ll learn:
- The biggest mistakes hikers make when shooting landscapes (including one *chef’s kiss* terrible tip).
- Actionable steps to dial in your camera settings like a pro.
- Real-life examples of jaw-dropping outdoor shots and the settings behind them.
Table of Contents
- Key Takeaways
- Why Landscape Camera Settings Matter
- Step-by-Step Guide to Nailing Your Settings
- Pro Tips for Perfect Outdoor Shots
- Case Study: Before & After Landscape Magic
- FAQs About Landscape Camera Settings
- Conclusion
Key Takeaways
- Use Aperture Priority mode (f/8–f/16) to control depth of field.
- Shoot in RAW format for better post-processing flexibility.
- Golden hour (shortly after sunrise/sunset) delivers the best lighting for landscapes.
- Avoid over-editing; subtlety wins every time.
Why Landscape Camera Settings Matter (And Why You’ve Been Getting It Wrong)
Here’s the cold, hard truth: Your phone might take decent pictures, but if you want jaw-dropping, frame-worthy shots of nature’s beauty, you need to step up your game. I once spent three hours climbing a mountain at dawn only to discover my landscape photos were as flat as my morning coffee. Why? Because I didn’t understand proper landscape camera settings. Rookie move.
This was my mistake—a blurry mess because I ignored proper ISO settings.
Sure, modern cameras have auto modes, but they often fail to capture the dynamic range of natural light. From uneven exposures to color casts, automatic settings don’t cut it when you’re aiming for magazine-quality imagery. That’s why knowing your gear inside out is critical. Let’s dive into how not to screw it up next time.
Step-by-Step Guide to Nailing Your Landscape Camera Settings
What are the Best Camera Modes for Landscapes?
Optimist You: “Just use Auto mode!”
Grumpy You: “Ugh, fine—but only if coffee’s involved.”*
Nope, no Auto mode today. Instead:
- Aperture Priority Mode: Set your aperture between f/8 and f/16. This keeps most of the scene sharp while avoiding diffraction issues.
- Shutter Speed: Use a tripod and slow shutter speeds (1/30th second or slower) to let more light in without blurring movement like waterfalls or clouds.
- ISO Sensitivity: Keep it low—around 100 or 200—to minimize noise.
How Do You Balance Exposure?
Landscape photography often involves contrasting light sources (e.g., bright skies vs. shadowy trees). Here’s where Graduated Neutral Density (GND) filters come in handy. Or, bracket multiple shots and blend them in post-processing.
Should You Shoot in RAW?
YES. Always shoot in RAW. Unlike JPEG, RAW files retain maximum detail, making it easier to tweak exposure, white balance, and contrast during editing.

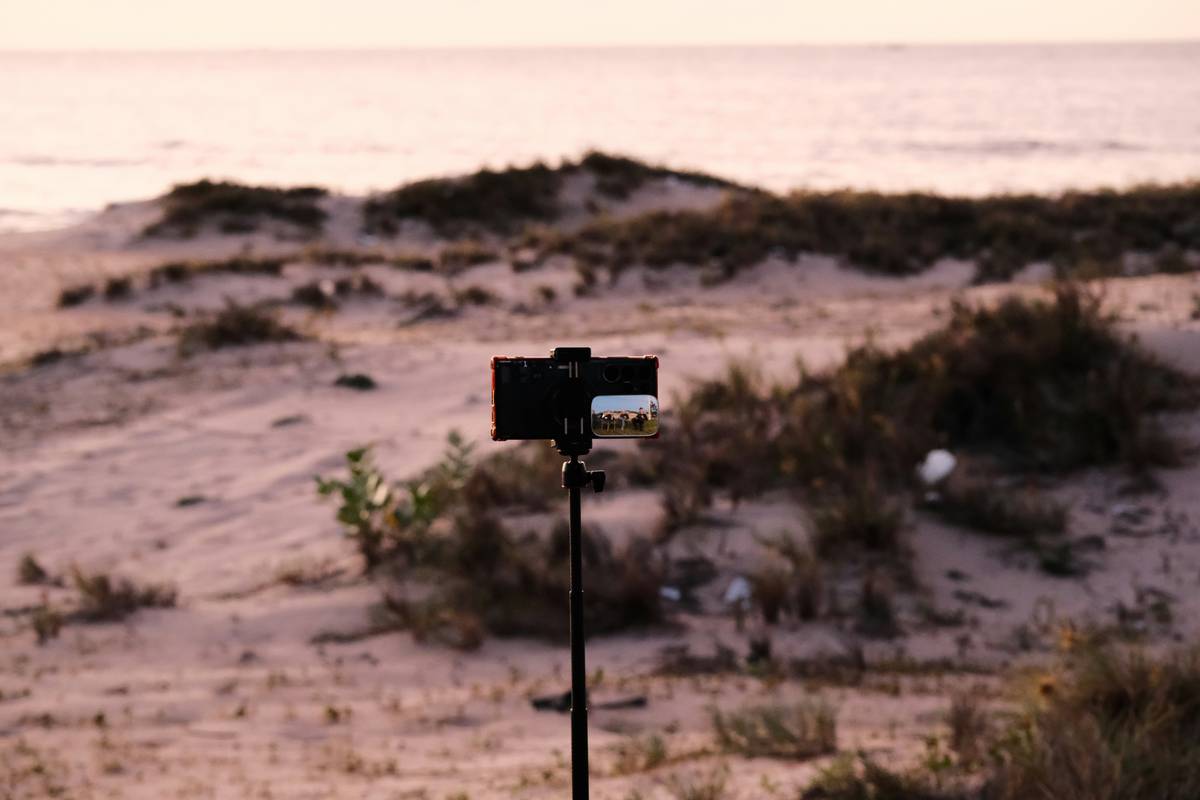
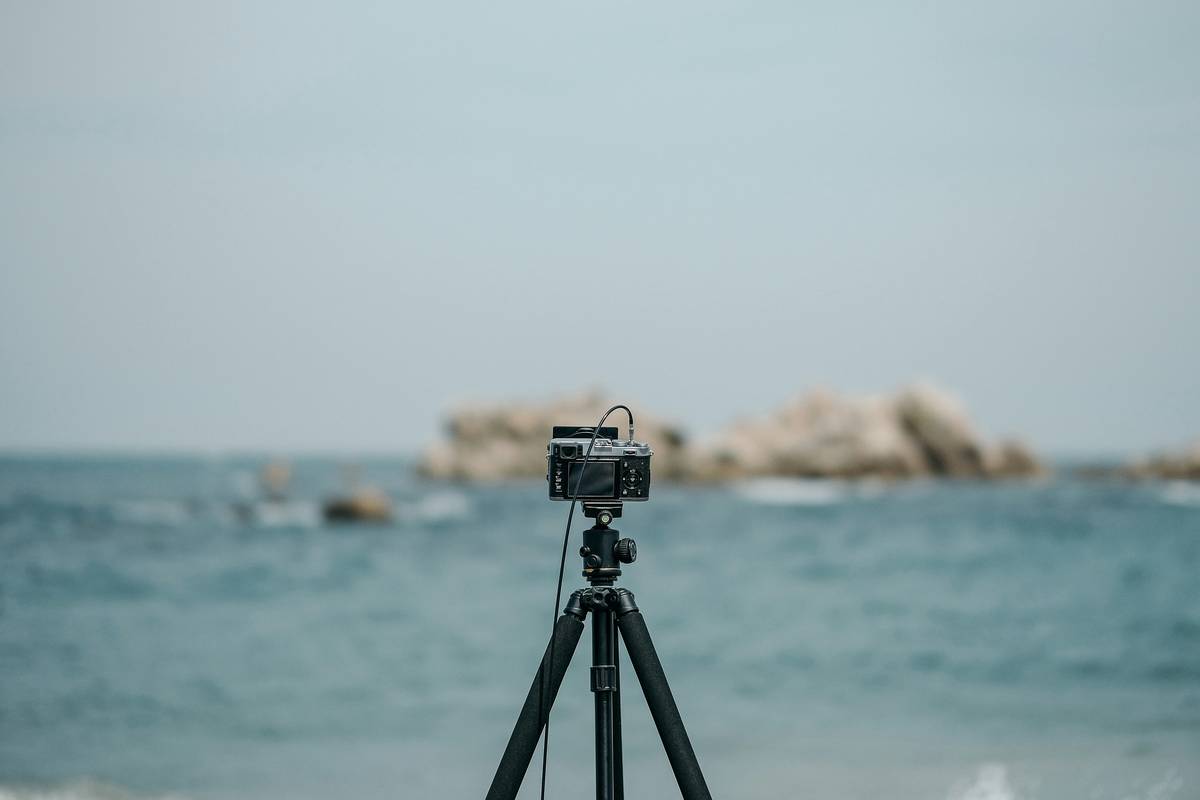
Using a tripod ensures stability for long-exposure shots.
Pro Tips for Perfect Outdoor Shots
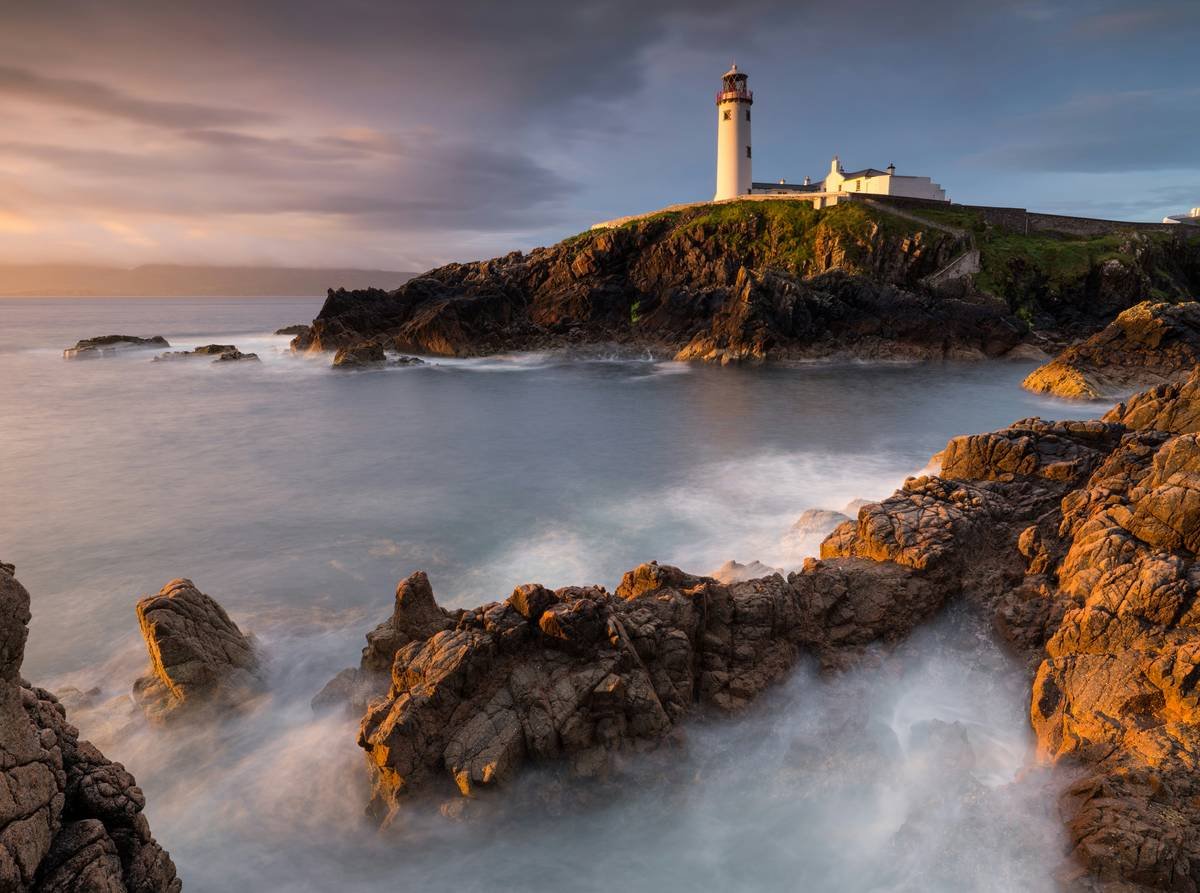
Tip #1: Chase Golden Hour Lighting
Morning or evening light adds warmth and softness to landscapes. Skipping golden hour is like eating plain toast instead of avocado toast—it’s just missing something.
Tip #2: Focus on the Foreground
Add layers by emphasizing interesting rocks, flowers, or streams in the foreground. It creates depth and draws viewers’ eyes through the image.
Tip #3: Avoid Overusing Filters
Polarizing filters reduce reflections on lakes and boost colors, but overdoing them makes skies unnaturally dark. Subtlety is key.
WARNING: The One Terrible Tip Everyone Tells You To Do
Someone will tell you to max out saturation and sharpening in post-production. Don’t do it. It’s like slathering ketchup on filet mignon—it ruins everything.
Case Study: Before & After Landscape Magic
Check out these two images taken at Yosemite National Park. On the left, a rushed shot using default settings results in washed-out colors and poor composition. On the right, adjusting aperture, adding a GND filter, and shooting during golden hour transforms the same view into pure magic.
See the difference tweaking Landscape Camera Settings can make!
FAQs About Landscape Camera Settings
Q: Do I need a fancy DSLR camera for great landscape photos?
A:
Not necessarily! While high-end DSLRs offer superior quality, many mirrorless cameras and even advanced point-and-shoots can deliver excellent results with the right settings.
Q: What lens should I use for landscapes?
A:
A wide-angle lens (10–24mm) is ideal for capturing expansive scenes. However, mid-range zoom lenses (24–70mm) work well too.
Q: Can I recover bad exposures in post-production?
A:
To some extent, yes—if you shot in RAW. But prevention beats cure: get it right in-camera whenever possible.
Conclusion
Capturing stunning landscapes requires practice, patience, and precision—but with the right Landscape Camera Settings, anyone can elevate their hiking photography game. Remember to prioritize aperture, experiment with lighting, and avoid lazy shortcuts like cranking up saturation in editing.
Now go forth and photograph those majestic peaks, roaring rivers, and serene forests—you’ve got this. Happy trails, friends!
P.S. Need a quick reminder? Here’s your haiku:
Golden hour whispers,
Aperture clicks softly—
Nature stands still.

